Home
» Pets
»
How to Trim Pet Nails When Your Animal Dislikes Paw Handling
How to Trim Pet Nails When Your Animal Dislikes Paw Handling
When a dog or cat pulls a paw away, the safest first goal is not to finish the trim. It is to help the animal stay relaxed enough to learn that paw contact and nail tools predict something good. Work in very small steps, reward calm participation, and stop before the animal feels trapped. Over time, that can make home nail care more manageable; it is not a quick fix for every pet, and no trim is worth a bite, a fall, or a painful injury.
This guide focuses on dogs and cats. Nail shape and safe handling vary among species, so ask an exotic-animal veterinarian or qualified groomer about rabbits, guinea pigs, birds, and other pets. If paw sensitivity is new, painful, or accompanied by a limp or visible injury, get veterinary advice before practicing.
What does a good result look like?
Success is a pet that can stay loose and recover easily between small steps. Look for a soft body, normal breathing, taking treats if the pet usually accepts them, and choosing to remain nearby. A pet may be learning even if you only touch one paw or trim one nail during a session. The goal is steady, low-stress progress, not a full set of nails in one sitting.
Pulling away, leaning back, freezing, hiding, panting when not hot, flattened ears, a tucked tail, repeated lip licking or yawning, hissing, growling, or refusing a normally welcome treat can mean the step is too difficult. Pause, give the animal space, and next time return to an easier step. A growl is useful information; do not punish it or try to outlast it.
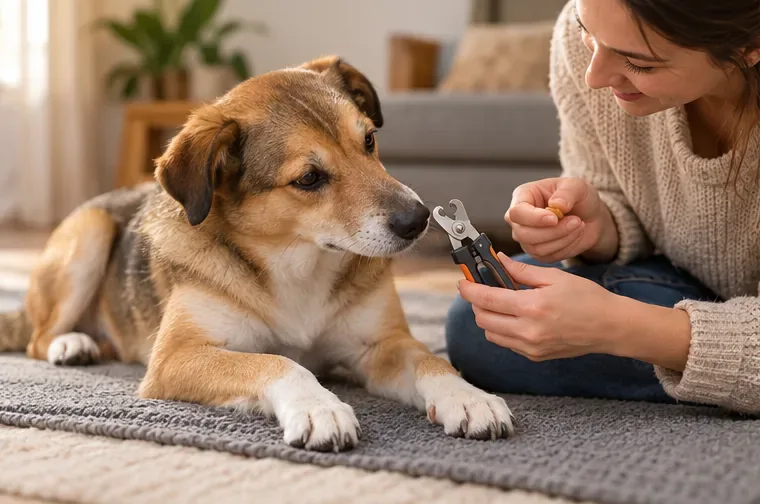
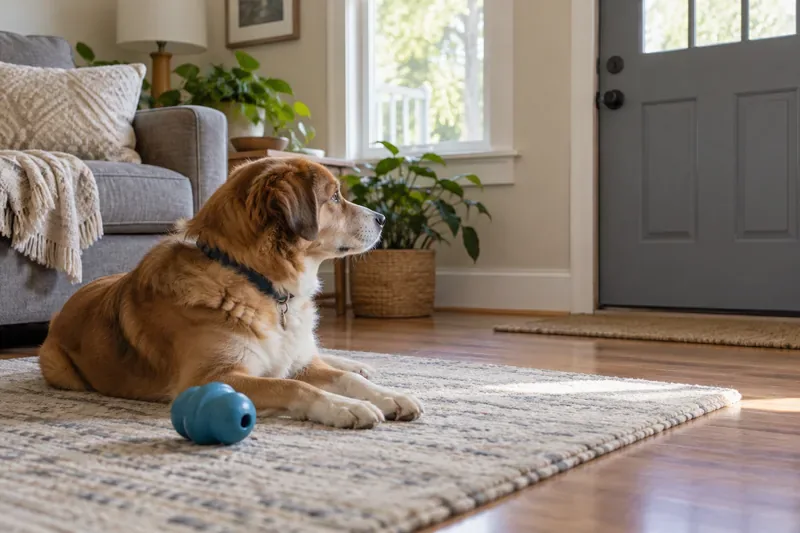
Start with the clippers in view and a reward, while the dog can choose to stay near them.
How do you build comfort before trimming?
Choose a quiet, familiar place with a nonslip surface. Have small treats ready and use a pet nail clipper that fits the animal’s nail. Keep sessions brief and end while things are still going well. The following steps can take multiple sessions each; advance only when the current step looks easy for your pet.
1. Make the tool predictable
Set the clippers on the floor or hold them several inches away. Let your pet notice or sniff them, then offer a treat. Put the clippers away. Repeat a few times if the pet remains comfortable. Do not reach for a paw yet. If you use a grinder, introduce its sound at a distance before bringing it near the animal; vibration and noise can be another training step.
2. Pair gentle contact with rewards
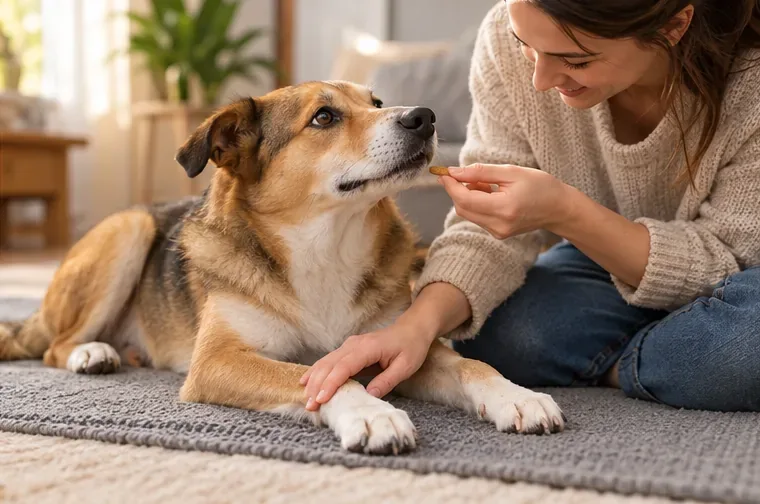
When your pet is settled, briefly touch a comfortable area such as the shoulder or upper leg, then give a treat and stop. In later sessions, slowly move your hand down the leg toward the paw. A light gliding touch may feel less startling than grabbing the foot. Touch the paw for a moment, reward, and let go. If your pet moves away, do not follow and hold on; make the next attempt shorter or start higher on the leg.
Move from familiar touch toward the paw gradually, and reward the dog for staying comfortable.
3. Practice a brief paw hold and the clipper motion
Once a touch is easy, briefly support the paw, then release and reward. Gradually practice touching one toe and, if tolerated, gently extending a nail. For cats, a light press on the toe pad makes the claw extend; release promptly. Let the paw go before the pet needs to pull it away.
Next, hold the clippers while repeating an easy paw touch. You can bring them near a nail and make the closing motion in the air without cutting. Reward and finish. For a grinder, practice the sound and positioning separately. There is no need to jump from first paw contact straight to a trim.
4. Trim a tiny amount, then stop
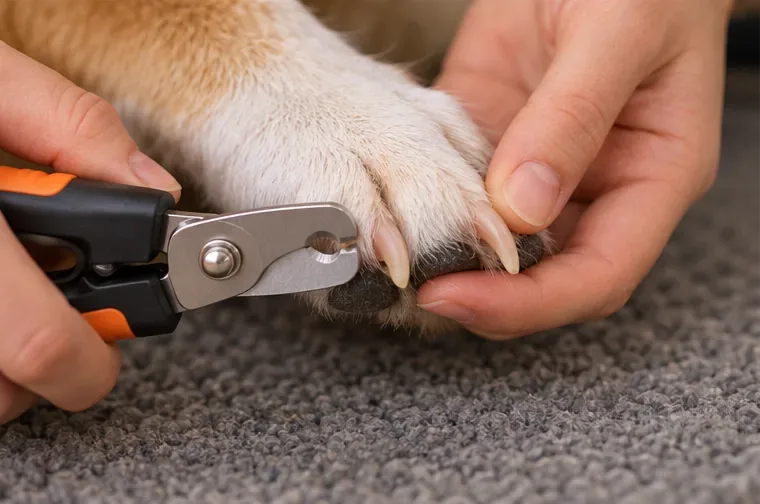
When your pet accepts the paw, toe, and tool calmly over repeated practices, try one nail. Use a sharp, pet-appropriate clipper and good light. Trim only the very tip or hooked end; small cuts are easier to control than a large cut. On a dog with light nails, the quick—the living tissue containing blood vessels and nerves—may be visible inside the nail. Avoid it. With dark nails, it may not be visible, so remove only a tiny sliver at a time and stop if you are unsure. For a cat, clip only the sharp, translucent tip, keeping well away from the pink quick.
For a first trim, remove only a tiny tip and keep the clipper well away from the quick.
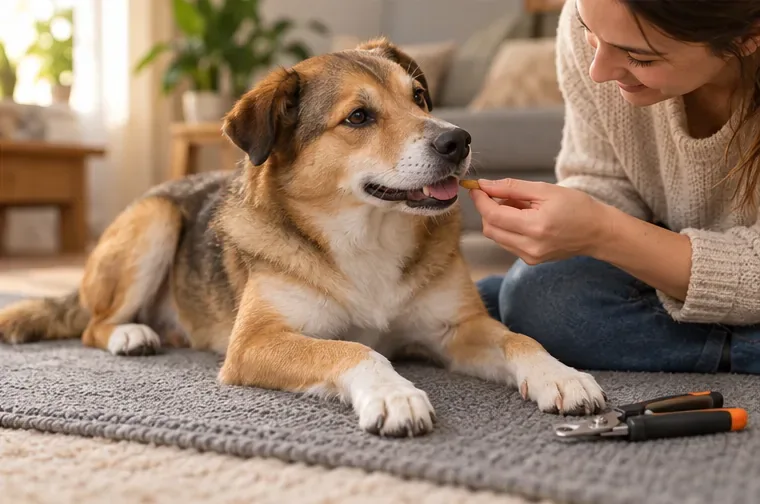
Reward, release the paw, and take a break. One nail can be a complete session. If your pet stays relaxed, you may later try another nail, but do not turn willingness into a reason to push for all four paws. Cats often do better with only one or two claws in a sitting; dogs can also build up gradually. The ASPCA and veterinary guidance emphasize slow handling and cautious trimming rather than rushing.
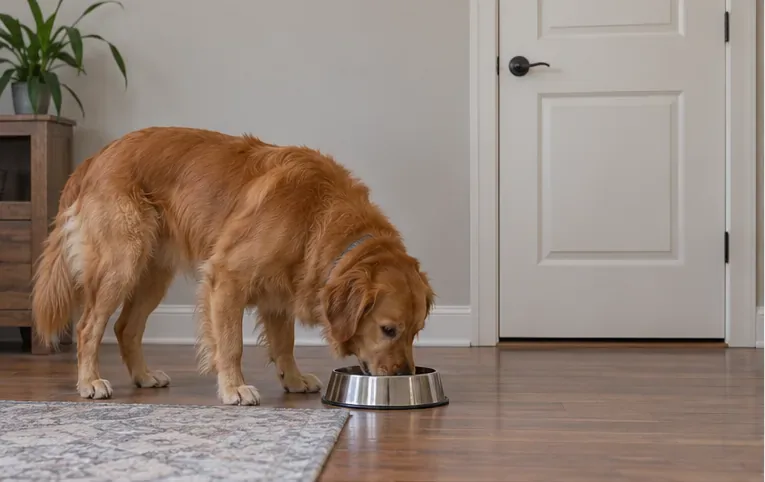
End with a reward and a pause while the dog is still calm, even if you trimmed only one nail.
How can you tell when to progress or step back?
Track the easiest step your pet accepts comfortably: seeing the clipper, a brief leg touch, paw contact, toe touch, a short hold, tool near the nail, then one small trim. Progress when the animal stays relaxed at a step over more than one practice, not because a calendar says it is time. If stress appears, stop and return to an easier step next time. Small wins are a better measure than the number of nails completed.
Keep the pet free to move away when possible. Avoid pinning, chasing, yelling, or having several people hold the animal down. Forced restraint can increase fear and may make future handling more difficult. If the pet is too large or reactive for safe home handling, do not try a tighter hold as the next solution.
When should you pause and get professional help?
Contact a veterinarian if resistance is sudden or focused on one foot, or if you notice limping, swelling, redness, a broken or split nail, bleeding, a nail curling into the paw pad, or repeated licking at the foot. These signs can have medical causes and need assessment; this article cannot determine what is causing them.
If nails are already too long or need attention before training is complete, ask your veterinary clinic or a qualified, low-stress groomer to handle the immediate trim. A veterinary team can also discuss a plan for a highly fearful pet, including whether prescribed anxiety medication or sedation is appropriate. Do not give human medication or use calming products without veterinary direction.
If you accidentally cut into the quick and the nail bleeds, stop the trim. Veterinary guidance describes using pet styptic powder on the nail tip for minor bleeding. Contact a veterinarian if bleeding is heavy, does not stop, or the nail is badly damaged. Do not keep trimming to “finish” the session.
What are the limits of at-home training?
Gradual practice can change an animal’s response, but it may take repeated short sessions and may not make every pet comfortable with home nail trims. Pain, past frightening experiences, age, mobility, and individual temperament can all affect handling. Even a pet that accepts paw contact may object to the clipper sound or toe pressure. Treat each part as its own skill and adapt the plan with professional help when progress stalls or safety is uncertain.
For a dog or cat that dislikes paw handling, the best outcome may be a cooperative home routine, a professional trim, or a combination. Judge progress by relaxed body language, the ability to pause, and safe nail length—not by completing every nail at once.
Sources checked September 30, 2026. Guidance varies by species and individual animal; ask a veterinarian about medical concerns or a pet that cannot be handled safely.