Home
» Food & Drink
»
How to Keep Cut Apples From Browning Without a Sour Taste
How to Keep Cut Apples From Browning Without a Sour Taste
For a less sour way to slow browning, dip apple slices in a dilute saltwater bath, then drain, briefly rinse if you are sensitive to salt, dry, and refrigerate them in a covered container. This avoids the lemon or vinegar taste that some people dislike. The dip slows discoloration; it does not keep apples fresh indefinitely, and the result can vary with the apple and how it is cut.
When an apple is sliced, its flesh meets oxygen. The enzyme polyphenol oxidase (PPO)—a protein that helps drive a chemical reaction—acts on naturally occurring compounds in the fruit and creates brown pigments. Acid, antioxidants such as vitamin C, and some salt treatments can slow that reaction. A sour citrus dip is not the only option.
What you need
Firm apples, a clean knife, cutting board, and bowl
Cold potable water and ordinary table salt
A colander and clean towel or paper towels
A clean, covered food-storage container
A practical starting ratio is 1 level teaspoon of table salt in 1 quart (4 cups) of water. That is roughly 6 grams per liter, close to a 0.1 mol/L sodium chloride solution used in published fresh-cut apple research. In one study, slices treated at that concentration did not have a noticeable salt taste in the tested conditions. Salt crystal size and spoon packing can change the amount, so weighing about 6 grams per liter is more consistent if you have a kitchen scale. Do not use flavored, seasoned, or salt-substitute products for this method.
How to keep cut apples from browning without a sour taste
1. Wash the whole apple before cutting
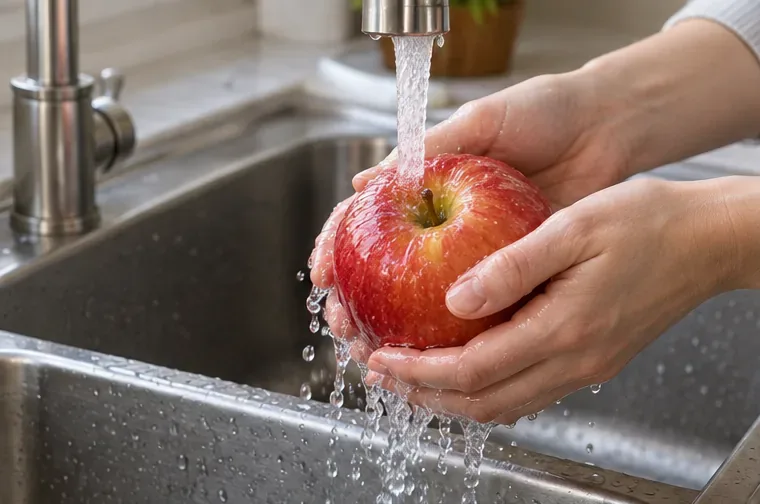
Wash your hands, then rinse the apple under clean running water and rub its surface with your hands. Dry it with a clean towel, then slice it on a clean cutting board with a clean knife. Washing before cutting helps avoid transferring dirt from the peel onto the flesh. FDA guidance says not to wash produce with soap, detergent, or commercial produce wash; plain running water is the recommended home approach.
Rinse the whole apple under running water before slicing it.
2. Mix a fresh, dilute saltwater bath
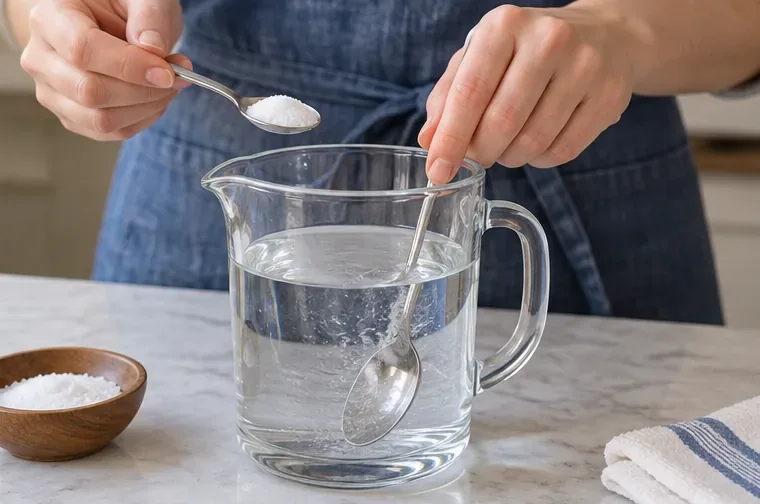
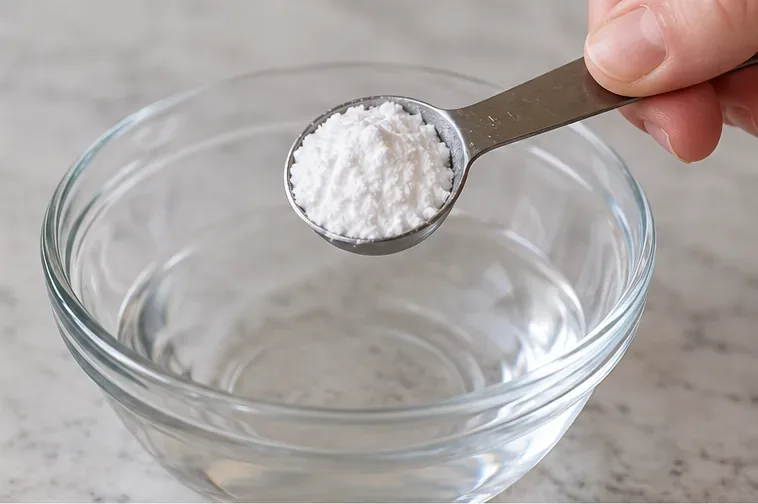
Stir 1 level teaspoon of table salt into 1 quart of cold water until it dissolves. Make enough liquid to cover the slices, but do not make the solution stronger to chase a longer-lasting result: more salt can leave a salty taste. A food-science paper tested sodium chloride dips for fresh-cut apples, and a later apple-storage study used a 0.1 mol/L dip for five minutes before packing slices in a sealed bag and storing them cold. Those controlled studies support salt as a browning treatment, but they do not guarantee the same color or flavor for every apple variety or home refrigerator.
Stir a measured amount of table salt into cold water rather than sprinkling salt directly on the fruit.
3. Soak the slices briefly
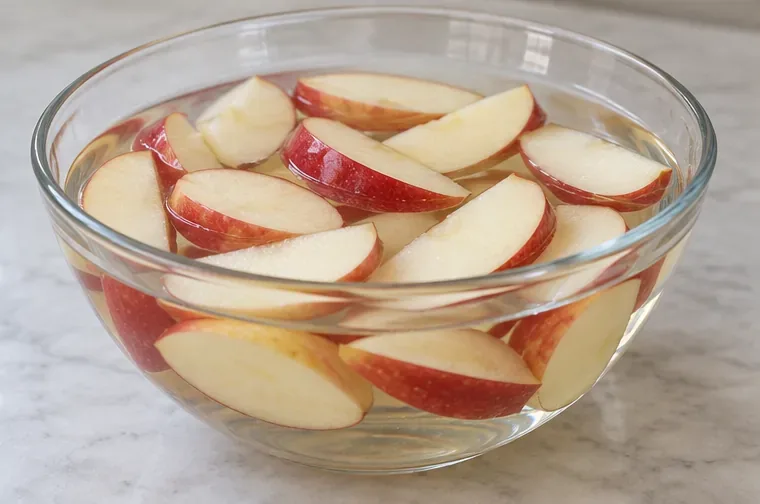
Add the cut apple pieces and make sure their exposed surfaces are wet. A five-minute dip is a reasonable starting point based on published treatment research; use a timer so the slices are treated consistently. If you are preparing a large amount, work in small batches so the pieces are not packed tightly together. Use a fresh solution for a new batch, and do not reuse a bowl or utensil that has contacted raw meat or its juices.
The treatment is designed to slow the enzyme-driven browning reaction, not to sanitize fruit or prevent all changes in texture. The cited research studied particular apple varieties and controlled storage conditions, so a very fast-browning apple may still darken sooner than a different variety. If appearance matters for a platter, test a few slices first and prepare close to serving time.
Keep the cut surfaces under the saltwater during the brief dip.
4. Drain, rinse if needed, dry, and chill
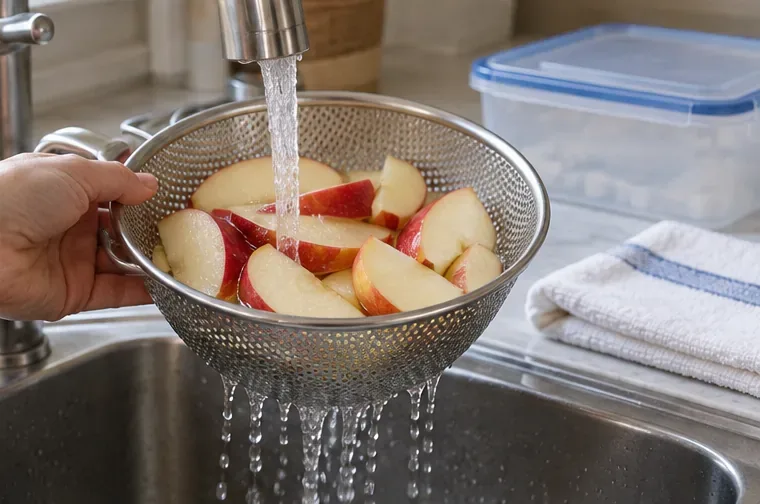
Pour the slices into a clean colander and drain them well. If you want to minimize any salt taste, give them a quick rinse under cool potable water, then pat them dry with a clean towel. A rinse removes salt left on the surface, but the research cited here did not establish an ideal rinse time for every variety; try a small piece first. If you can taste salt, rinse briefly again rather than soaking the apples in fresh water for a long time, which may dilute their flavor.
Pack the slices in a clean, covered container and refrigerate promptly. Less open air around the cut surfaces can help limit exposure, while chilling slows quality changes; neither step guarantees a particular color for a fixed number of hours. FDA advises keeping perishable produce properly chilled, and USDA food-safety guidance treats cut fruit as perishable: do not leave it at room temperature for more than two hours, or more than one hour when the temperature is above 90°F (32°C).
Drain and briefly rinse the slices to remove surface salt, then dry and refrigerate them in a covered container.
Which no-sour option should you choose?
Method
Flavor effect
Best fit
Dilute saltwater dip, followed by draining and an optional quick rinse
Not sour; may taste faintly salty if not rinsed or drained well
Preparing slices ahead when you want to slow browning without citrus
Keep the apple whole and cut it shortly before serving
No added flavor
The most neutral choice when you can slice at the last minute
Cold water and covered storage
Neutral, but a long soak can water down the surface flavor
A short hold when you do not want to add salt or acid
Ascorbic acid (vitamin C) solution or a labeled produce-preserver product
May be mildly tangy, depending on concentration and product
When a salt-free treatment is preferred; follow the package or extension directions
Utah State University Extension describes ascorbic acid mixed with water as a way to prevent fruit from browning, but vitamin C is still an acidic option and may not suit someone who wants no tart note at all. If you have a medical reason to limit sodium, skip the salt bath and use whole apples until serving or choose a product whose ingredients and directions fit your needs. Brown color alone does not tell you whether fruit has been stored safely; use time, temperature, cleanliness, and signs of spoilage to make that decision.
Common mistakes to avoid
Using lemon juice as the default. It can slow browning, but the added citrus flavor is exactly what this method is meant to avoid.
Making the brine too strong. A stronger bath can leave a salty surface. Measure the salt, drain the slices, and rinse briefly if needed.
Skipping the wash or using soap. Rinse the whole apple under running water before cutting; do not use detergent on produce.
Expecting a permanent fix. Browning may still happen over time. Make only what you need, keep it cold, and serve it while the texture is crisp.
Leaving slices out for a long event. Use a chilled serving bowl or replenish a smaller portion, and follow the two-hour/one-hour food-safety limits for cut fruit.