How to Cool a Large Pot of Food Safely Before Refrigerating It

Cool a large pot of soup, stew, or other leftovers safely: divide it into shallow containers, use an ice bath when needed, and refrigerate promptly.
A small bowl of dough can seem unchanged for a long time when the kitchen is chilly. That does not always mean the yeast is dead or the recipe has failed: fermentation slows as dough gets cooler. The practical fix is to protect the dough from drafts, give it a gently warm place, and judge readiness by how it looks and feels—not by the clock alone.
This guide focuses on a small batch of yeasted bread dough. Sourdough and enriched doughs can also rise slowly, but their starters and formulas behave differently, so follow the recipe’s own cues when available.
| Goal | Practical target or check |
|---|---|
| Dough temperature | About 75°F to 80°F (24°C to 27°C) is a useful general range for many wheat-based doughs; follow a recipe-specific target when given. |
| Warm spot | Warm, draft-free, and steady—not hot. Check the actual temperature if possible. |
| Cover | Use a lid, reusable bowl cover, or plastic wrap so the small dough does not dry out. |
| Readiness | Use the recipe’s volume and texture cues. A rise time is an estimate, not a deadline. |
King Arthur Baking’s bread experts describe roughly 75°F to 80°F as a useful dough-temperature zone, while their proofing guide gives a similar low-to-mid-70s range for the surrounding environment. Dough formulas vary, so treat these figures as a starting point rather than a guarantee of a particular rise time. See their guidance on sluggish dough and bread proofing overview.
Put the dough in a clean container with enough room for expansion. For a small batch, a transparent, straight-sided container is especially helpful: mark the dough’s starting level with a piece of tape or a rubber band on the outside. This gives you a more reliable visual comparison than trying to remember its height in a wide bowl.
Cover the container with a lid, bowl cover, or plastic wrap. A loose woven towel may let the surface dry, forming a skin that can resist expansion. You want the cover to keep drafts and dry air off the dough while leaving room for it to rise.
If you have an instant-read thermometer, check the dough after mixing. It helps distinguish a cool dough from a yeast or measuring problem. A small batch contains less dough mass than a large batch, so it can respond relatively quickly to the temperature around it; avoid leaving it exposed on a cold counter or near an exterior door.
Start with the least complicated option: move the covered bowl to a warmer part of the home, away from drafts. A cabinet above the refrigerator or a sheltered shelf may be warmer than the counter. Check the spot with a thermometer if you have one. The goal is a steady, comfortable warmth, not the hottest place you can find.
Set the covered dough beside a mug of warm water inside a switched-off microwave, then close the door to hold a mild, humid environment. The microwave is being used as an insulated space, not as a heating appliance. Do not turn it on while the dough is inside. Check the temperature before leaving the dough there; replace the mug with fresh warm water if the space cools.
Place the covered, watertight dough container inside a larger bowl of warm water. Keep the water outside the dough container and check it periodically so it does not become uncomfortably hot. King Arthur’s bread coach describes a surrounding water bath in the 105°F to 120°F range as one possible warming method, but a gentler temperature is sensible if you cannot monitor it closely. The dough itself should not sit in hot water.
A proofing box gives the most controlled temperature if you bake often. An oven can be unpredictable: its light may warm the interior more than expected, and someone could accidentally turn the oven on. If you use the oven as a resting place, confirm that it is off, place a clear reminder on the controls, and measure the temperature instead of assuming it is safe. Never set the bowl on a hot burner, radiator, or heating element.
King Arthur’s practical methods for warming sluggish dough include an insulated microwave or a warm-water bath. Their guidance also warns that excessive warmth can make dough overproof. If you are unsure how warm a spot is, choose the cooler option and allow more time.
In a cool room, dough may need longer than the recipe’s estimate. Check the dough at intervals and look for the stated rise, bubbles, softness, or expansion. Many bread recipes call for the first rise to approximately double, but not every dough should be judged by doubling alone. Enriched doughs with butter, eggs, or sugar and doughs with different hydration may move at another pace.
Do not keep adding yeast just because the dough is slow. Extra yeast can change flavor and fermentation balance, and it may not solve a temperature problem. First move the dough to a warmer place and give it time. If nothing changes after a reasonable wait in a suitable warm environment, check the yeast’s freshness, the measurement of salt and yeast, and whether the liquid was much hotter or colder than the recipe intended.
Use the recipe’s water-temperature instruction and the yeast package directions. For example, Red Star’s specific homemade white sandwich bread recipe calls for water and milk warmed to 110°F to 115°F and gives rise cues for that formula. That is not a universal water temperature for every yeast, dough, or recipe. See the manufacturer’s white sandwich bread method as an example, not a substitute for your own recipe.
The first rise, often called bulk fermentation, happens after mixing and before shaping. The final proof happens after shaping, when the dough rests in its pan or on its baking surface. Both stages can slow in a cool kitchen, and each has its own readiness cue. A dough that has expanded enough during bulk fermentation can still need time after shaping.
For many shaped loaves, a gentle finger-poke test can help near the end of the final proof: lightly flour one fingertip and press the dough. If the indentation springs back immediately, it may need more time; if it returns slowly and only partway, it may be ready. If the dough deflates or the dent remains sharply, it may be overproofed. This is only a cue, not a perfect test for every recipe or dough style. King Arthur explains the distinction between bulk fermentation and the final proof in its proofing guide.
A cool kitchen usually calls for patience and a more consistent resting place, not a different dough recipe. Keep the small batch covered, warm it gently, and let the dough’s expansion guide you. The exact schedule depends on the recipe, yeast, dough temperature, and room conditions, so no single time or warming trick can guarantee the same result for every batch. Sources reviewed October 1, 2026.
Cool a large pot of soup, stew, or other leftovers safely: divide it into shallow containers, use an ice bath when needed, and refrigerate promptly.
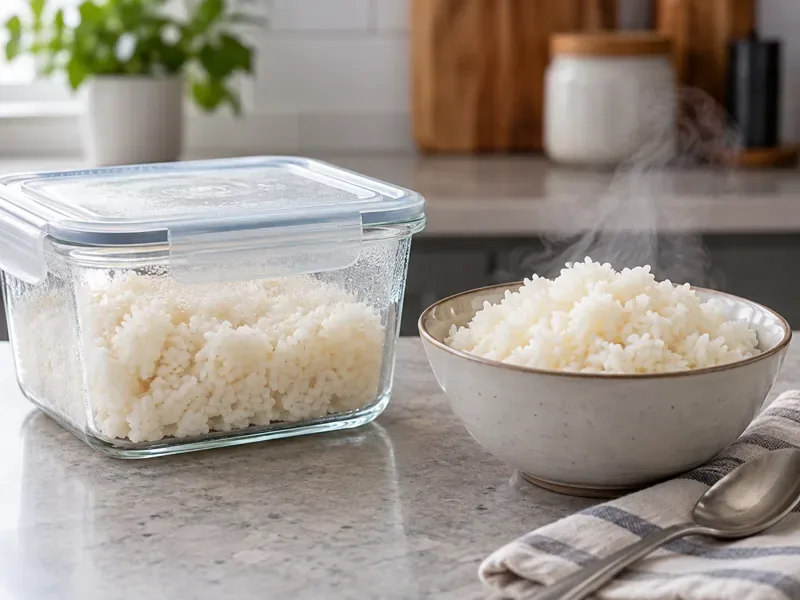
Learn why refrigerated rice firms up, how to restore its texture, and how to cool, store, and reheat leftovers safely to 165°F.
Use a gentle warm spot, cover the dough, and follow visual cues to help a small batch rise in a cool kitchen without overheating or overproofing it.
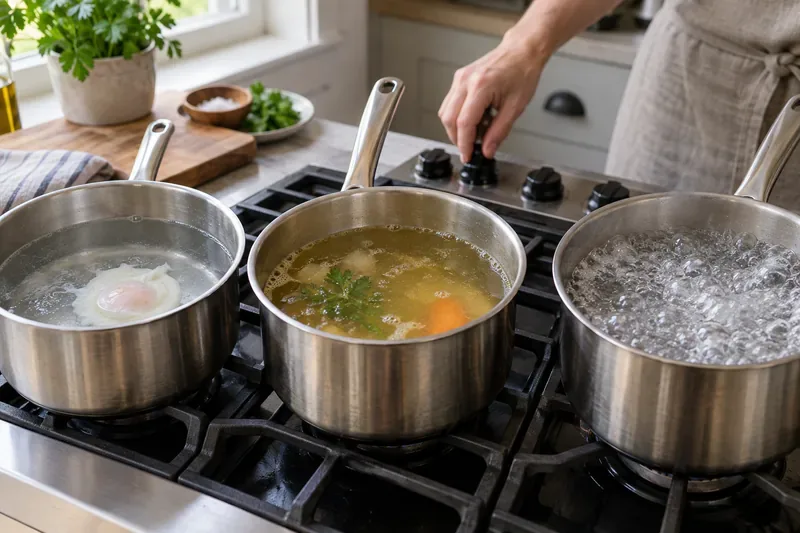
Learn how poaching, simmering, and boiling differ by water movement, temperature, and best uses, plus how to control the heat and check doneness safely.
Learn why melted chocolate turns thick and grainy, how to rescue it as sauce or ganache, and when baking or starting over is the better choice.
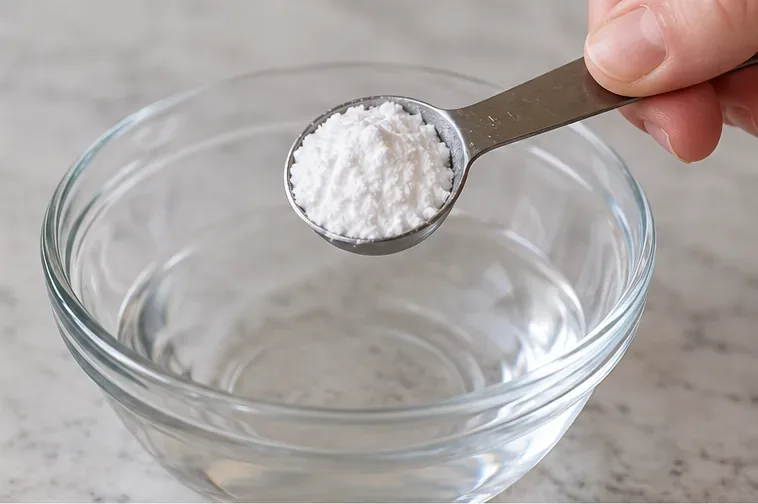
Test baking powder with warm water, read the bubbles, and learn when to replace it. This simple guide also explains storage, dates, and common testing mistakes.
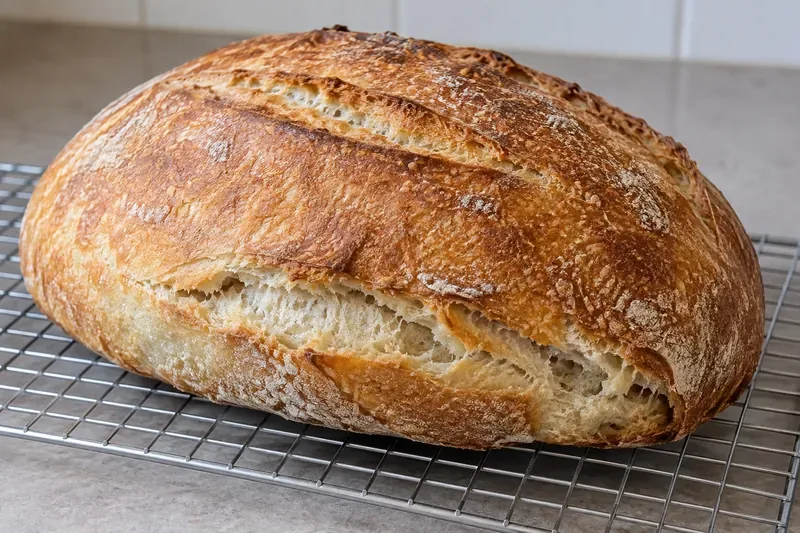
A side split usually means the loaf expanded at a weak point instead of opening through its score. Learn how scoring, steam, shaping, proofing, and pan fit affect the result.
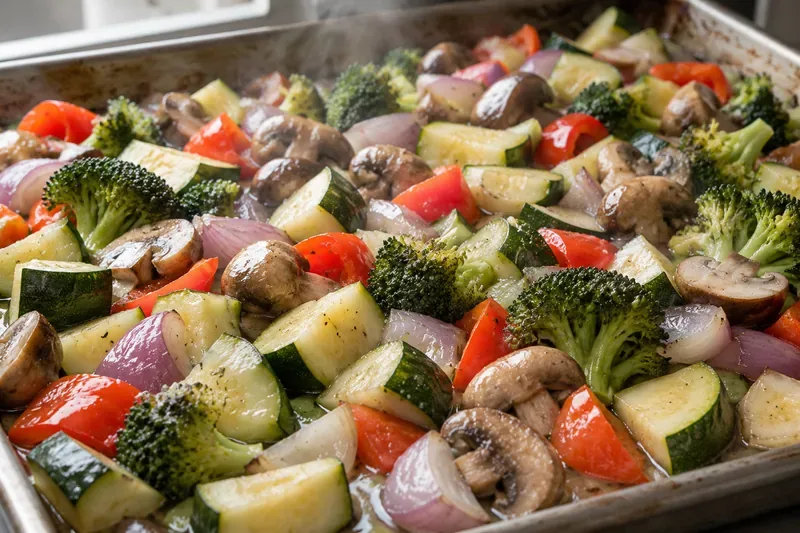
Crowded pans, surface moisture, low heat, and mixed vegetables can leave roasted vegetables pale and soft. Learn what causes steaming and how to fix it.
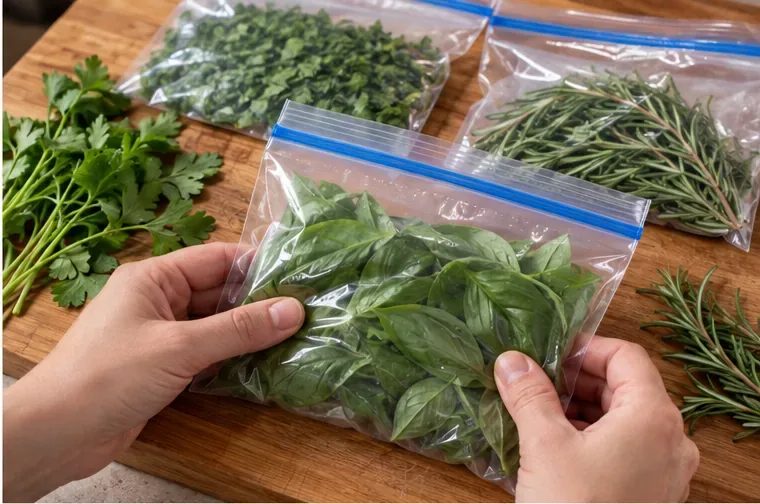
Compare the best ways to freeze fresh herbs in bags, water, or oil, with practical trade-offs for preserving aroma, color, texture, and cooking convenience.
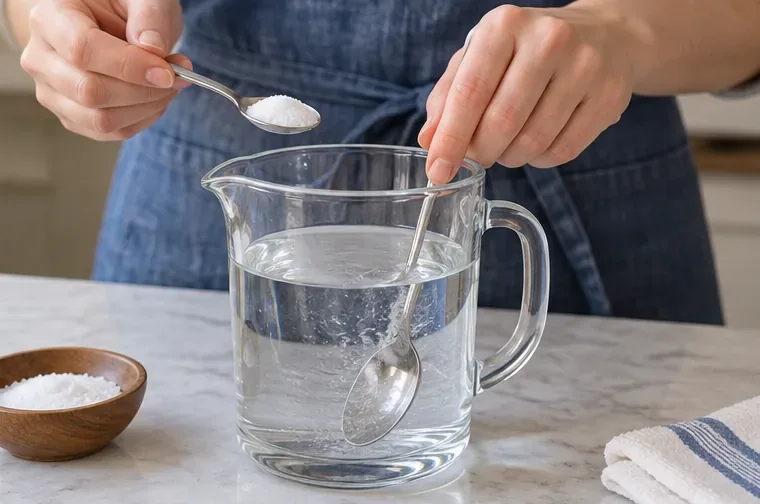
Keep apple slices lighter without lemon’s sour taste. Learn a dilute saltwater dip, quick rinse, storage tips, food-safety basics, and common mistakes.