You are melting chocolate for strawberries or a cake when it suddenly turns thick, gritty, and stubborn. It may look ruined, but the best next move depends on what caused the change and what you need the chocolate to do. A water-seized batch can often become a sauce or ganache. It usually will not return to smooth, tempered chocolate for a crisp coating. If the chocolate has scorched, changing the texture will not repair the bitter flavor.
Here is how to distinguish those situations and choose a practical recovery. The guidance below reflects food-science references and manufacturer handling advice reviewed September 30, 2026; exact behavior varies with the chocolate’s recipe, cocoa percentage, and the amount of heat or moisture involved.
What does “seized” chocolate mean?
Chocolate is not simply melted sugar. It is a dense suspension: tiny particles of sugar, cocoa, and sometimes milk solids are distributed through a continuous cocoa-butter fat phase. A 2025 review in Annual Review of Materials Research describes chocolate in these terms, and research on chocolate processing examines how particle aggregation and friction affect whether the mass flows.
When a small amount of water or steam gets into melted chocolate, water dissolves some sugar at the particle surfaces. The particles can then gather into sticky clumps, and the thickened mass stops flowing smoothly. A wet spoon, condensation from a lid, steam from a double boiler, or even a little water in a bowl can be enough to trigger it. Guittard’s chocolate-melting guidance specifically warns that water or steam exposure can cause chocolate to seize and thicken.
Overheating can also make chocolate thick, grainy, or separated, but it is a different problem. Excessive heat can damage flavor and disrupt the fat-and-solid mixture. In everyday cooking, people may call both problems “seizing”; for choosing a fix, notice whether moisture entered and whether the chocolate smells scorched.
Choose a recovery based on what you are making
| Your goal | Best practical choice | Trade-off |
|---|
| Drizzle, hot chocolate, dessert sauce, or a soft filling | Add enough warm liquid to make a smooth sauce or ganache | The mixture becomes a different recipe and will not set like plain tempered chocolate |
| Brownies, cookies, cake, or custard | Use the seized chocolate in a batter or base if it is not burnt | Texture may be less predictable if visible clumps remain |
| Dipping, molded pieces, or a crisp chocolate shell | Start again with dry chocolate; keep the seized batch for another use | Uses more chocolate, but protects the finish and snap |
| Chocolate smells burnt or tastes acrid | Discard it and begin again | There is no reliable way to remove a scorched flavor |
The key trade-off is between saving the chocolate and preserving its original job. Adding liquid can restore flow by making a new, wetter chocolate mixture. It cannot restore the low-moisture structure needed for tempering and a firm, shiny coating.
How to turn seized chocolate into sauce or ganache
- Take it off the heat. Continued heating can scorch the chocolate and make the texture harder to judge. If it smells burnt, do not try to mask the flavor with cream or sugar.
- Choose a liquid for the finish you want. Warm cream makes a richer ganache; warm milk makes a lighter, less rich sauce; warm water can make a dairy-free chocolate sauce. A little liquid changes the consistency less than a larger amount. Keep in mind that cream or milk introduces ingredients that may affect storage and use.
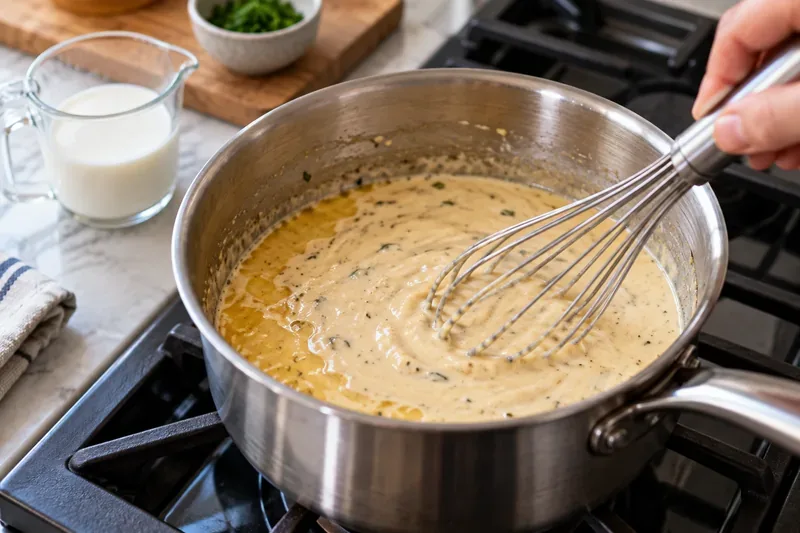
- Add warm liquid gradually while stirring. Add a small spoonful and mix thoroughly before adding more. The first addition may make the chocolate look even thicker. Keep stirring and add more warm liquid until the mixture becomes smooth and flows the way you need. Avoid splashing in a few drops at a time and stopping there; too little moisture can keep the particles clumped.
- Use gentle heat only if needed. Set the bowl over warm water or use short, low-power microwave bursts, stirring between them. Do not let steam or water drip into the mixture. An immersion blender can help smooth a sauce or ganache, but it is optional and can introduce air if used carelessly.
- Check the texture after it is mixed. For a pourable drizzle, it should fall from a spoon in a ribbon. For a thicker filling, stop adding liquid sooner and let it cool. Recipes and chocolate types differ, so there is no single liquid-to-chocolate amount that guarantees the same result in every bowl.
Remember the apparent paradox: a little water can make melted chocolate seize, yet enough liquid can help it flow again. The first amount partially wets and clumps particles; with more liquid and thorough mixing, the mixture can become a smooth sauce or ganache. The outcome is useful, but it is no longer plain melted chocolate.
When is baking it in better than trying to smooth it?
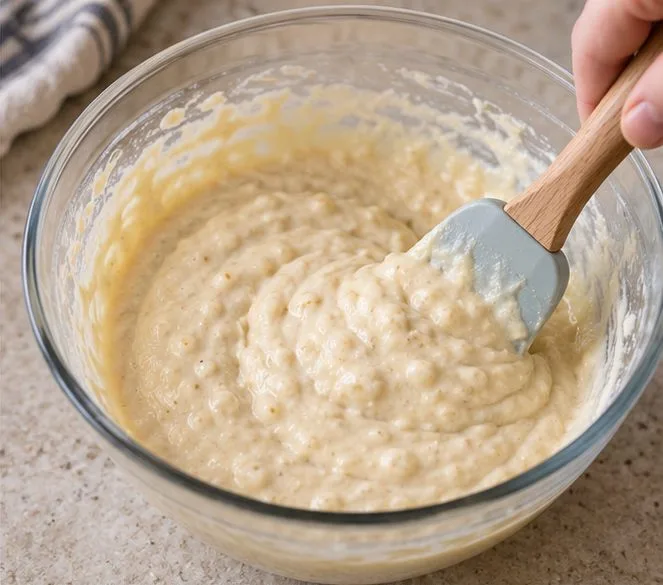
If you are baking, the chocolate does not always need to become glossy in the bowl first. When it is not scorched, you can let it cool, chop or break it into small pieces, and fold it into brownies, cookies, or another recipe where melted chocolate is not required for a silky coating. For a custard, pudding, or hot chocolate, a sauce-like rescue may blend in more evenly.
Baking is the low-effort option when you do not need a perfectly smooth drizzle. Its limitation is control: large hard clumps may leave uneven pockets, and a recipe designed around melted chocolate may need a smooth base. If the lumps remain obvious, warm the mixture gently with enough liquid for a sauce or choose a recipe that incorporates chocolate pieces.
When should you start over?
Start over if you need the chocolate to coat fruit, form a shell, fill a mold, or set with a clean snap. Seized chocolate has lost the flow and composition needed for those results; extra cocoa butter or repeated heating is not a reliable way to reverse the change. You may be able to temper fresh chocolate, but do not count on tempering the rescued sauce or ganache as if it were unchanged chocolate.
Also restart when the batch has a burnt smell, bitter scorched taste, or stubborn dry lumps after gentle mixing. The time spent trying to cover a burned flavor often costs more than a fresh small batch. Keep any unburned seized chocolate for brownies or a sauce if it is still pleasant to eat.
Prevent another batch from seizing
- Use a completely dry bowl, spatula, knife, and storage container. Keep steam and water away from the chocolate.
- If using a double boiler, make sure the bowl sits above—not in—the water, and keep the water at a gentle simmer rather than a vigorous boil.
- For the microwave, use medium power and short intervals, stirring each time. Guittard recommends 15-second intervals at medium power as one approach; your microwave and batch size may need less time.
- Stop heating when most pieces are melted and stir the remaining pieces smooth with residual warmth.
- If the recipe includes cream, milk, or another liquid, follow a recipe that combines them deliberately. Avoid adding a small, unmeasured splash to chocolate meant for dipping.
Chocolate composition and batch size affect how quickly it melts and how fluid it becomes. Do not assume that a temperature or timing that worked for one bar will suit every chocolate. When the finish matters, use a reliable recipe for that chocolate type and keep the working bowl dry.
A quick decision check
Ask three things: Did water or steam get in? Does the chocolate smell burnt? What texture does the recipe need? If it is not burnt and sauce or ganache is acceptable, add warm liquid and stir until smooth. If baking is the destination, repurpose it in a suitable recipe. If you need a crisp shell—or it is scorched—start fresh.
Sources
The sources explain chocolate structure and moisture-sensitive handling. Exact rescue proportions are not universal; use texture as your guide and follow a tested recipe when a precise sauce or ganache consistency matters.