Home
» Crafts
»
Why Homemade Stickers Lose Adhesion—and How to Make Them Last Longer
Why Homemade Stickers Lose Adhesion—and How to Make Them Last Longer
What is the most common reason a homemade sticker stops sticking?
Usually, the adhesive never made enough clean, close contact with the surface—or the sticker’s materials were not suited to the surface and conditions. Dust, oil, moisture, texture, weak adhesive coverage, cold application, and repeated bending can all start an edge lift. Once an edge lifts, dirt and moisture can work underneath and the sticker may peel faster.
Current maker instructions illustrate the basic rule: Cricut’s Printable Sticker Paper help page, edited April 14, 2026, says to apply the sticker to a clean, dry project surface. That is guidance for that specific product, not a promise that every homemade sticker will last equally long. See Cricut’s current printable sticker paper instructions. For pressure-sensitive adhesives, 3M explains that dry, clean surfaces, firm pressure, time, and temperature affect how much contact the adhesive makes. The exact product instructions still control. Read 3M’s overview of surface considerations for adhesive selection.
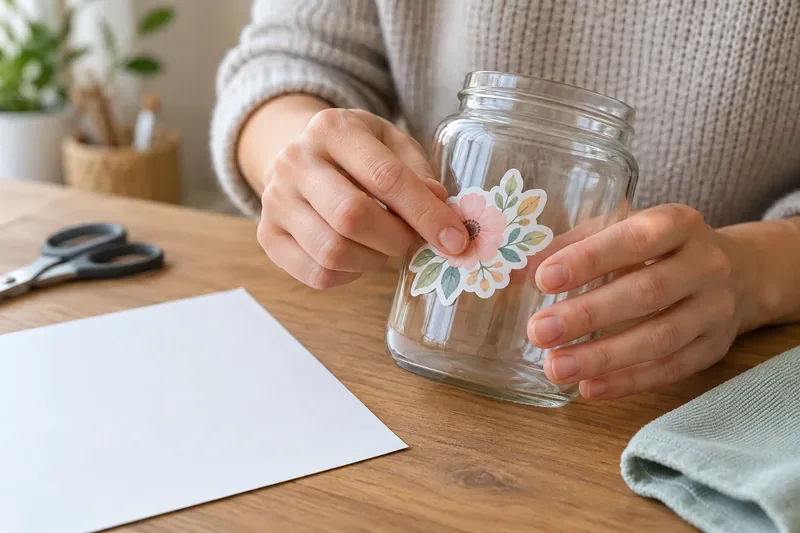
A maker smooths a paper sticker onto a glass jar, pressing across the sticker to improve surface contact.
Does the way you make the sticker matter?
Yes. “Homemade sticker” can mean different constructions, and they do not behave the same way.
Sticker construction
What holds it on
Likely limitation
Printable sticker paper
A pressure-sensitive adhesive layer on a release liner
Adhesion depends on the paper’s adhesive, surface, application, and exposure; water resistance varies by product.
Paper plus double-sided tape
The tape adhesive, often only where strips or dots were placed
Gaps between tape areas can let corners bend or lift, especially on curved items.
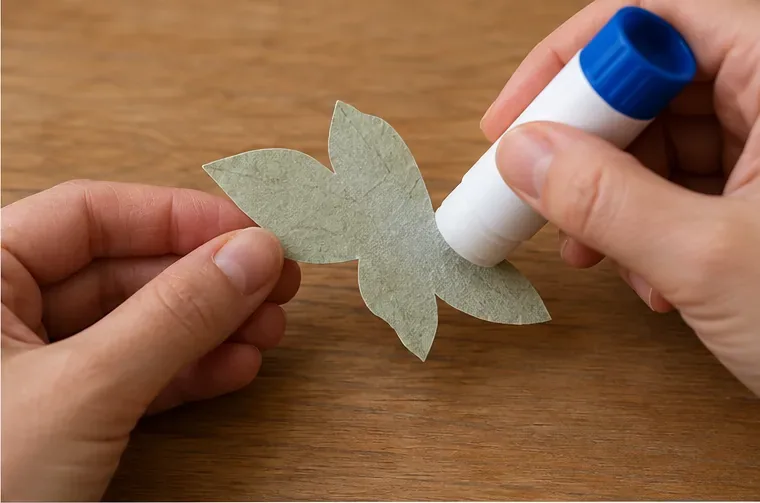
Paper with craft glue or a glue stick
A liquid or paste adhesive that may need drying
It is not automatically equivalent to peel-and-stick adhesive; glue may wrinkle paper or bond poorly to a nonporous surface.
For a printed sticker sheet, check whether the adhesive is permanent or removable and which printer or surface the manufacturer approves. Removable adhesives are designed to come away more easily, so they may not be the best choice for a frequently handled item. If you assemble a sticker from paper and craft glue, follow that glue’s instructions and test the exact paper and object before making a batch.
Can the surface itself cause peeling?
Definitely. Dust, skin oil, lotion, grease, wax, cleaner residue, and moisture can form a barrier between adhesive and the object. A rough, dusty, flexible, or porous surface also gives the adhesive less even contact than smooth glass or metal. Curves and corners add stress: a stiff paper sticker tries to flatten, so its edges can pull away from a small bottle or a sharply curved case.
Some plastics are especially difficult. 3M identifies polyethylene and polypropylene among low-surface-energy plastics; ordinary label adhesives may not wet those surfaces well. Silicone and some coated or textured finishes can also be challenging, depending on the specific material and adhesive. A stronger adhesive formulated for a difficult plastic may help, but no one sticker paper works on every substrate. 3M explains why low-surface-energy plastics can be harder to bond. Useful check: test one sticker on the actual object, not just on a similar-looking material.
How should you apply a homemade sticker for better hold?
Start with a compatible object. Use a smooth, rigid, clean surface when you can. Avoid silicone, dusty wood, textured fabric, waxed finishes, or soft-touch coatings unless the sticker maker says the adhesive is suitable.
Clean and dry it completely. Use a cleaner that is safe for that surface. Avery recommends a lint-free wipe and a dry, room-temperature surface for its labels; rubbing alcohol can damage some paints and plastics, so check the object’s care instructions before using it. Never apply over cleaner residue or dampness. See Avery’s label application guidance.
Handle the adhesive by its edges. Touching the sticky side can transfer skin oils and dust. Peel the liner gradually instead of letting the adhesive fold onto itself.
Lay it down without stretching. Align one edge, then smooth the sticker from the center outward. Press firmly across the whole area, especially the perimeter, with a clean finger or soft card that will not scratch the surface. This pushes out small air pockets and brings more of the adhesive into contact.
Give the bond time. Keep the object at the temperature and for the waiting period specified by the sticker-paper maker. Some pressure-sensitive adhesives build contact over time, but there is no universal wait period for all craft materials. Avoid washing, soaking, flexing, or heavy handling until the product’s directions allow it.
Why do stickers fail after they seemed secure?
Water and humidity can soften paper, curl a liner, or reach the adhesive at an edge. Heat, cold, direct sun, repeated rubbing, and flexing may also shorten service life. A paper sticker with a clear laminate over its printed face may resist smudges better, but a top film alone does not make the adhesive or paper backing waterproof. Water can still enter around the edge unless the whole construction is designed for that use.
Storage matters before application, too. Keep unused sheets flat in their original packaging, away from extreme heat, dampness, and direct sunlight. Avery’s guidance for one label product warns that temperature and humidity extremes can affect sheet flatness and cause curling; that is a product-specific example, so follow the storage directions for your own material. Read Avery’s storage notes for label sheets.
Which option makes sense for the job?
For a notebook, planner, gift tag, or indoor decoration, ordinary printable sticker paper or double-sided tape may be enough. For a water bottle, lunch container, outdoor sign, or frequently washed item, choose a label material and adhesive that are explicitly rated for the surface and exposure—often a compatible film or vinyl product rather than plain paper. “Water-resistant,” “waterproof,” “permanent,” and “removable” are product claims with different meanings; check the manufacturer’s conditions instead of assuming them from appearance.
If a sticker is already peeling, clean the object around it and replace the sticker if the adhesive has collected lint or lost tack. Pressing dirt back under a lifted edge rarely restores a durable bond. Avoid adding random household glue over the edge: it can discolor the sticker, damage a finish, or leave a hard ridge without fixing the mismatch underneath. When durability matters, do a small test first and check it after normal handling, cleaning, and exposure before making many copies.
Longer-lasting homemade stickers start with a compatible adhesive and surface, then benefit from careful cleaning, full contact, firm pressure, and suitable storage and use. The best choice depends on whether you value easy removal, low cost, appearance, or resistance to water and wear.