How to Cut Felt Cleanly Without Frayed or Ragged Edges
Get clean felt edges with the right scissors, a steady pattern, and smooth cutting strokes. Learn when a rotary cutter or utility knife makes more sense.
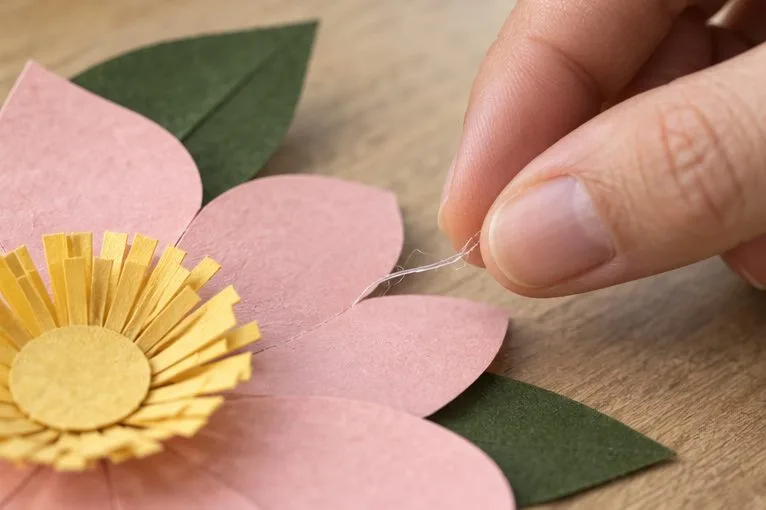
Hot-glue strings are the hair-thin filaments that stretch between a glue-gun nozzle and a project as you move the gun away. They are usually cosmetic, but pulling one while it is warm can smear the glue, tug a delicate piece out of position, or lift a painted or coated finish. The lowest-risk fix is usually simple: let the strand cool, identify where it is attached, and remove only the loose filament with a light touch.
Hot-melt glue is a thermoplastic adhesive: it softens when warmed and hardens as it cools. That behavior explains why heat may seem tempting, but it also means heat can soften a bond you intended to keep. Use the project material and finish—not a universal solvent or household trick—to choose your method.
First, set the glue gun safely aside. Follow its own manual; as a general precaution, keep hands away from the hot nozzle and melted adhesive, place the gun on its stand, and unplug it when you are finished. Let the project cool until the glue is firm and no longer tacky. Do not blow on or fan the strand toward another surface, where it could settle and form a second attachment.
Gather a pair of blunt-tip tweezers, a clean wooden craft stick or plastic card, and small scissors or flush cutters if a strand connects two separate glue points. A soft dry brush can help with very fine residue on a sturdy surface. Avoid metal blades, abrasive pads, and liquids until you know how the surface reacts.
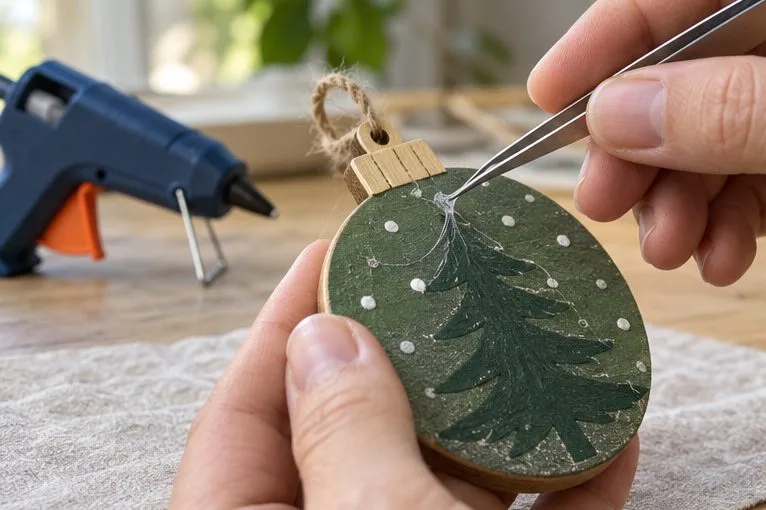
Wait until the string looks opaque or firm and feels cool without touching the hot glue. A few moments may be enough for a hair-thin strand, but a thicker blob or a project that holds heat takes longer. Never test the temperature with a fingertip while the adhesive may still be hot; glue-gun manuals warn that melted glue and the nozzle can cause burns.
An anchor point is a spot where the string is bonded to the project. Look along the entire strand before lifting it. If one end is attached to a decorative detail, seam, painted edge, or paper layer, do not pull the strand across that feature. Decide whether it is truly loose or whether it is part of a needed joint.
Hold the project steady on a flat surface. Use blunt tweezers to grasp a free end, then lift it upward and back toward the nearest glue dot rather than dragging it sideways across the finish. Keep the strand low and move slowly. If it releases with almost no resistance, continue. If the surface flexes, paint lifts, paper tears, fibers rise, or a decorative piece shifts, stop; that resistance is a sign the glue is attached to something you should protect.
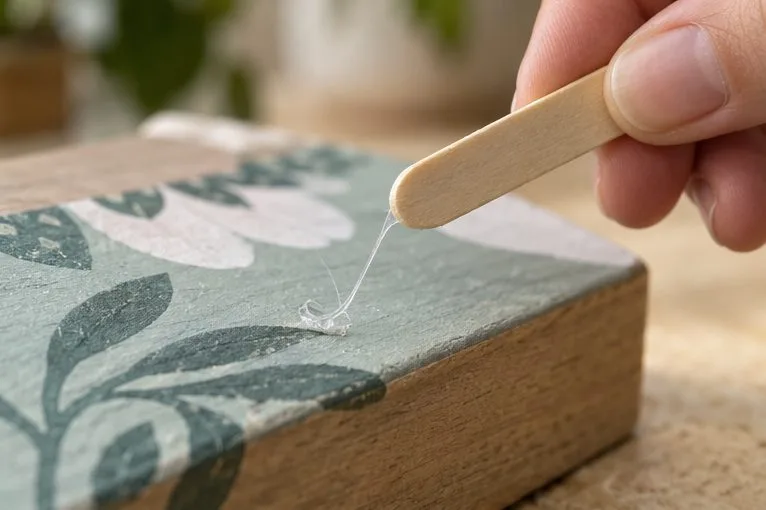
Some strings stretch between two intentional glue deposits. Pulling the whole strand can disturb either bond. After the adhesive has cooled, snip the filament near the glue dot with small scissors, leaving a tiny stub rather than cutting into the project. Lift only the loose middle section. If a stub remains on a hard, durable surface, nudge it sideways with a wooden stick or plastic card; do not dig underneath the glue dot.
| Project surface | Start with | Use extra care with |
|---|---|---|
| Painted wood, sealed craft wood, or finished decor | Cool fully, then lift a free strand with blunt tweezers or a wooden stick. | Heat, sharp scraping, and solvents that may soften paint, varnish, or stain. |
| Paper, cardstock, or a layered collage | Support the paper flat and remove only a loose, cooled filament. | Peeling force, moisture, and rubbing; each can buckle paper or lift a printed or glued layer. |
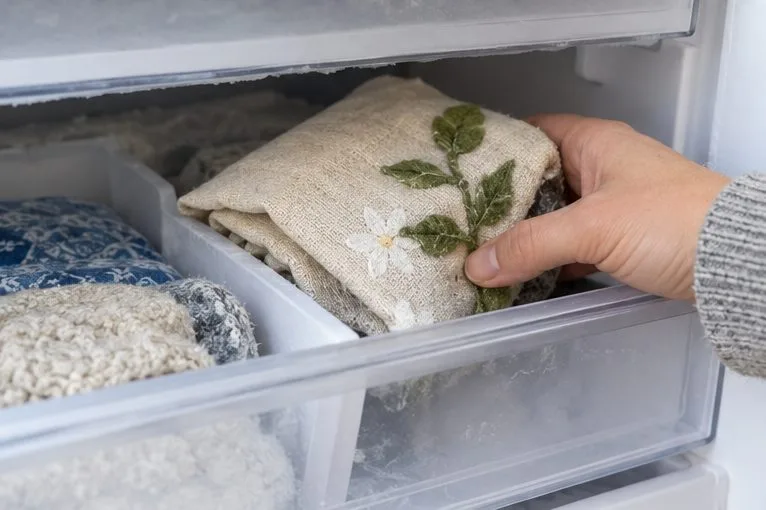
| Fabric or felt | For hardened glue, place the item in a freezer; once cold, gently lift or scrape with a dull edge. | Pulling fibers, sharp tools, and acetone. Some synthetic fibers can be damaged by acetone. |
| Plastic, foam, or a coated surface | Try a light mechanical lift in a hidden area first. | Heat and chemical cleaners; different plastics and coatings react differently. |
| Glass or glazed ceramic | Lift a cooled loose thread with a fingernail or plastic edge. | Metal blades on decorated, coated, or fragile pieces. A blade can scratch or slip. |
For fabric, Loctite’s fabric guide specifically recommends freezing hot glue, then trying a dull-edged tool or fingernail once it is frozen. The same page cautions that acetone can dissolve some synthetic fibers and recommends testing a hidden area before using removal products. Treat that advice as material-specific; it does not mean a freezer or solvent is suitable for every assembled craft.
Pause rather than escalating force. Recheck whether the filament is bonded to a painted surface or woven into fibers. If a thin residue remains on sturdy, uncoated wood, glass, or metal, a plastic card may help roll or nudge it away. Test first in an inconspicuous spot and use short, gentle motions. Do not assume advice for removing other kinds of glue applies to hot-melt glue; adhesives differ, and the wrong product can stain, cloud, soften, or loosen a finish.
On paper or an irreplaceable finished object, a nearly invisible remnant may be safer than a visible tear or scratch. If the glue string is actually holding a component in place, it is part of the bond, not stray debris. Leave it intact unless you are prepared to repair and reattach that piece.
Use the smallest bead that will hold the piece, and pause briefly after releasing the trigger before moving the gun away. A short, controlled lift toward the glue point may reduce a long filament, but different guns, glue sticks, temperatures, and materials behave differently. Test your technique on scrap matching the project rather than practicing on the finished surface. Keep a safe stand under the gun and follow the manufacturer's operating instructions; never wipe the hot nozzle with a finger or cloth.
For most craft projects, the safest sequence is cool, inspect, lift gently, and stop at resistance. The freezer method is a useful option for a fabric spot, while paper, painted surfaces, plastic, and mixed-material crafts call for extra restraint. There is no single solvent or temperature method that is safe for every finish, so consult the material maker when the surface is valuable or unfamiliar.
Get clean felt edges with the right scissors, a steady pattern, and smooth cutting strokes. Learn when a rotary cutter or utility knife makes more sense.
Learn a gentle, surface-aware way to remove cooled hot glue strings from crafts, with practical steps for wood, paper, fabric, plastic, and more.
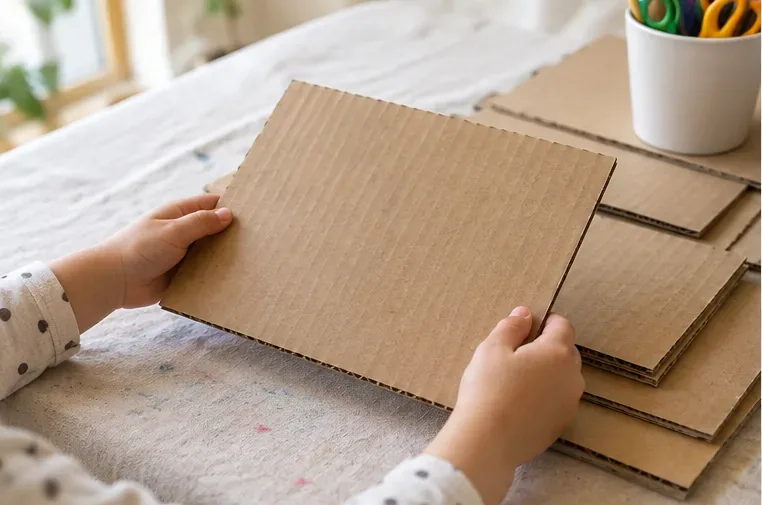
Help kids paint cardboard without warping it. Learn which paint to use, how much to apply, how to dry each coat, and what mistakes to avoid.
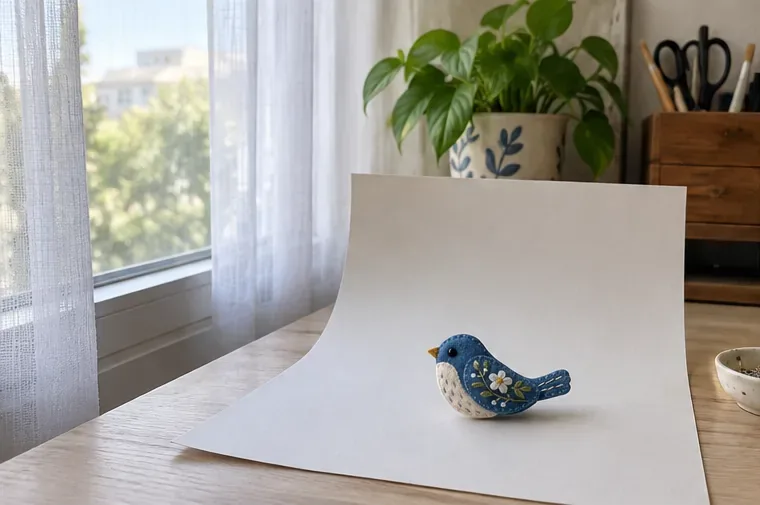
Photograph small crafts with soft window light, a simple white reflector, and precise focus. Learn how to reduce blur, harsh shadows, and color shifts.
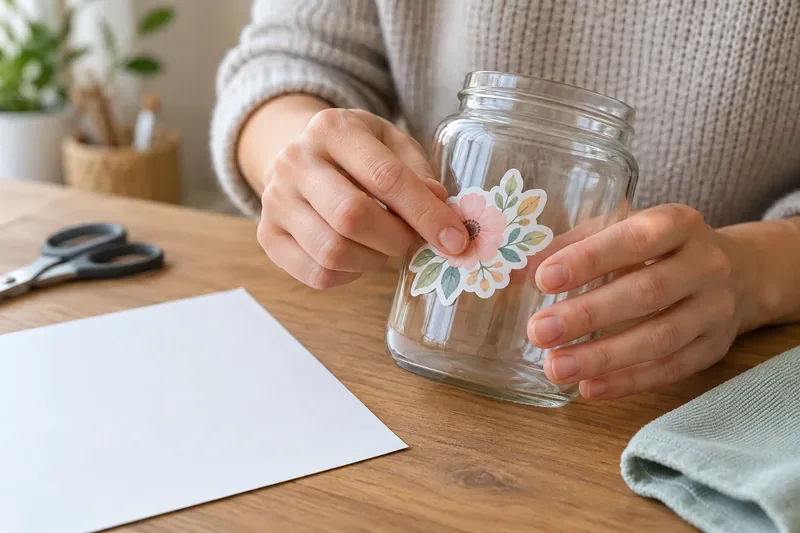
Homemade stickers peel when adhesive, surface, and conditions do not match. Learn how to prep surfaces, apply stickers smoothly, choose materials, and store sheets.
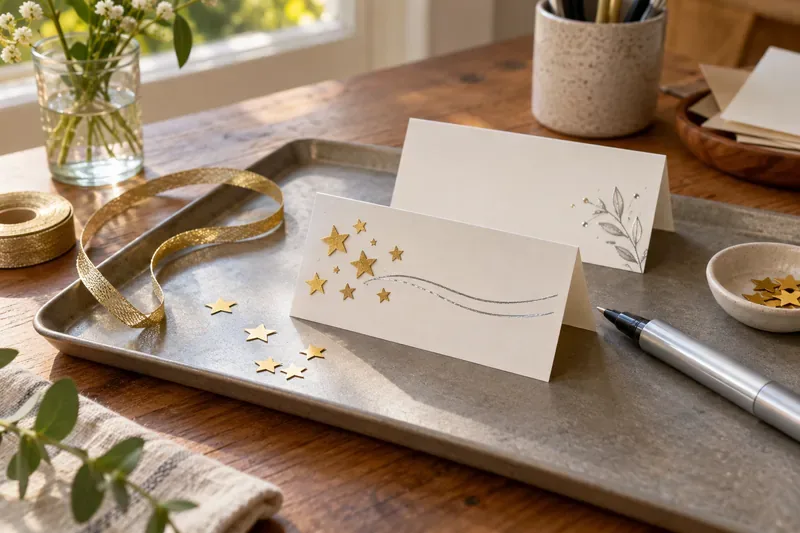
Compare metallic paper, markers, paint, foil accents, and ribbon for a glitter-free sparkle effect. Choose by surface, shine, cleanup, and who will use the craft.
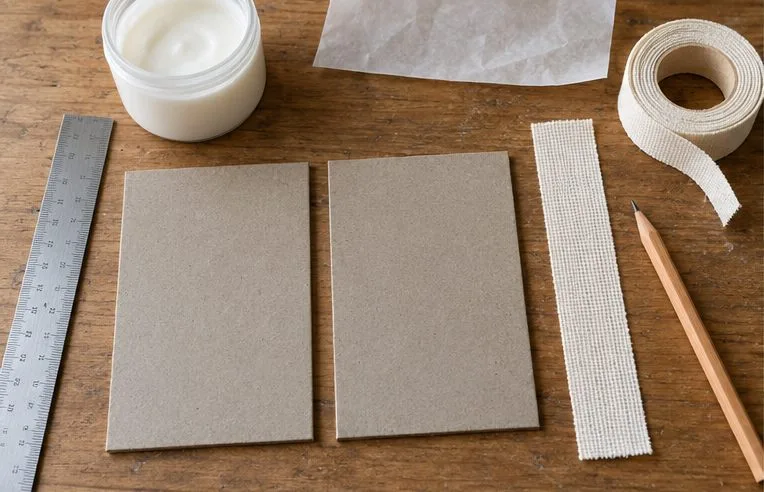
Build a longer-lasting cardboard hinge with rigid panels, a measured gap, and a flexible cloth bridge. Learn how to assemble, test, and troubleshoot it.
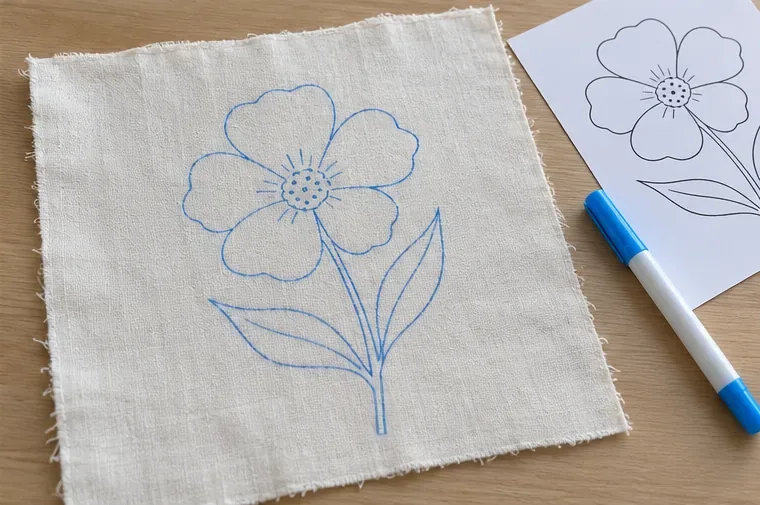
For a simple design on light fabric, tracing with a removable fabric marker is usually the easiest transfer method. Learn the steps, alternatives, and mistakes to avoid.
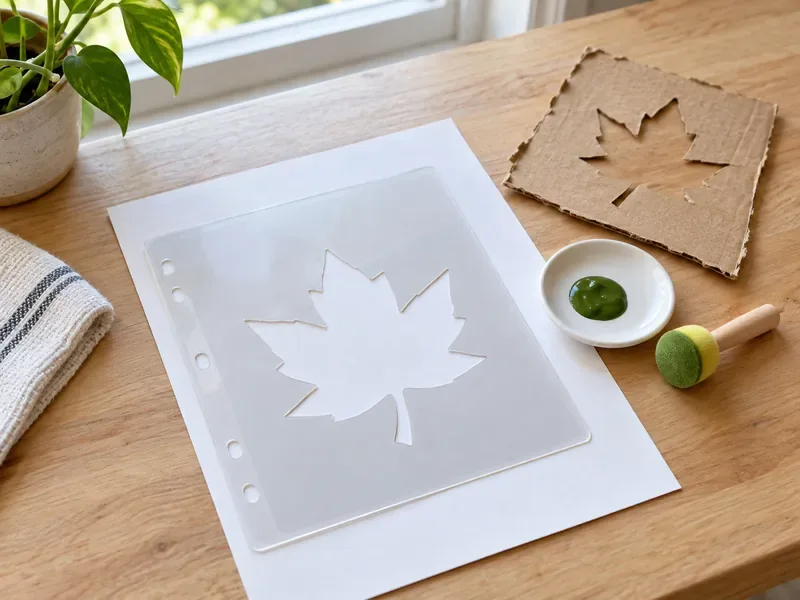
Compare clear plastic dividers, laminated card, and cardboard for reusable craft stencils. Learn what to avoid and how to choose safer paints and cutting tools.
Prevent curled paper crafts with the right adhesive, a thin even coat, and flat drying under gentle pressure. Learn how to flatten a curl safely.