Home
» Crafts
»
How to Make Washable Paint Less Watery for Stamping
How to Make Washable Paint Less Watery for Stamping
For cleaner washable-paint stamps, first stir the paint, then use less of it on the stamp. If it still runs or makes a filled-in print, mix a small test portion with a thicker washable paint of the same type and color family. Add a paint-specific medium only when its label says it is compatible. These options preserve more of the paint’s intended washability than kitchen thickeners, glue, or other improvised additives.
There is no single thickness or mixing ratio that works for every washable paint, stamp material, and paper. Judge the result by a test print: the stamp should carry a thin, even coat, and the impression should have readable edges without a glossy puddle around it.
Stir paint gently before judging its thickness; settled pigment or binder can make the first pour look uneven.
Start with the simplest fixes
Stir before changing the formula
Some water-based paints can separate or settle while stored. Stir slowly from the bottom of the container until the color and texture look even. Avoid vigorous shaking, which can whip in bubbles that leave pinholes in a stamp. If the paint remains unusually thin, lumpy, sour-smelling, or otherwise different from when opened, check the product directions and contact the manufacturer instead of trying to rescue a possibly spoiled or defective bottle.
Paint types sold as “washable” are not all the same. For example, Crayola describes Artista II Washable Tempera as creamy, while its product FAQ distinguishes washable tempera from other washable paint products. Check the exact product name and directions rather than assuming every washable formula should feel alike. See the manufacturer’s washable tempera description and paint-type comparison.
Use less paint and spread it thinly
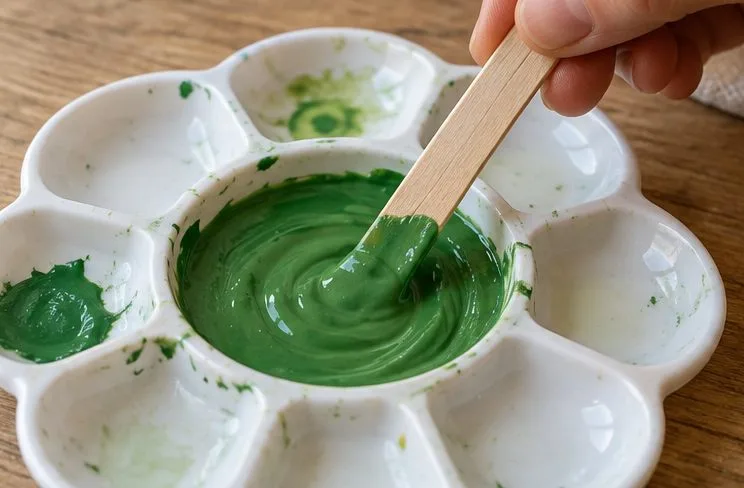
Pour a small amount onto a flat palette, plastic plate, or other washable surface. Dab the stamp onto the paint, or use a small foam roller to spread a shallow, even film over its raised surface. If the stamp sinks into paint or picks up a blob, wipe it and reload with lighter contact. This changes the amount transferred, not the paint itself, so it is the best first choice when you only need sharper impressions.
Make a quick test print on scrap paper to see whether the stamp carries a thin, even layer.
Test on scrap paper similar to the project paper. A good print has a complete shape with edges you can recognize; the paper should not buckle or develop a wet halo. If there are gaps, add a little paint to the stamp. If lines merge or the image looks flooded, unload some paint or spread the palette layer more thinly before thickening the mixture.
Which way of thickening should you choose?
Option
Best for
Trade-off
Stir and reduce the amount on the stamp
A one-off craft or a stamp that is overloading
Does not change the paint’s body; may not fix prints that still run
Blend with thicker washable paint of the same type
A larger batch that needs more body
Uses more paint and may change the color or opacity
Use a compatible paint medium
A project where the paint maker recommends a particular medium
May affect finish, drying, adhesion, or washability; compatibility matters
Switch to a thicker washable tempera
Repeated stamping or a classroom project where crisp prints matter
Requires a different product and still needs a test print
Blend in compatible thicker paint
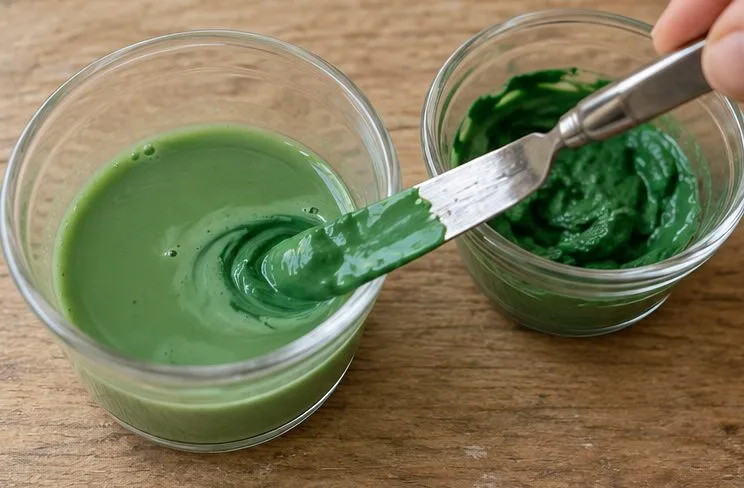
If the paint itself needs more body, move a spoonful into a separate cup instead of modifying the whole bottle. Add a small amount of thicker washable paint that is the same general type, ideally from the same product line, and mix until uniform. Test the cup on scrap paper. Repeat in small additions only if needed. This is usually the most predictable way to thicken a usable batch because you are adding more paint rather than an unrelated ingredient. It can still shift the hue, opacity, or drying behavior, so keep the added color close to the original and adjust one small portion first.
If you need to change the paint itself, blend in a compatible thicker paint a little at a time.
Use a medium only when the label supports it
Some paint ranges have mixing or texture mediums, but a medium designed for one paint does not automatically suit every washable formula. Read the product label and manufacturer instructions for the exact paint and medium. Do not assume acrylic medium, school glue, or another product is compatible just because both materials are water-based. An additive can change the paint’s finish or how it comes out of fabric, skin, or tools during cleanup. If preserving washability is important, test the mixture on the same kind of paper and a washable scrap fabric before using it for the final craft.
Why not add flour, cornstarch, or glue?
These household fixes may seem convenient, but they are not a dependable first choice for children’s washable paint. Dry powders can form lumps unless fully dispersed, and home mixtures do not have a manufacturer-provided ratio or compatibility guidance for a particular paint. Glue may change tack, drying, or cleanup. None of these changes guarantees a sharper print. If the paint will be used by children, use it as labeled and avoid altering a whole container. A separate small test cup limits waste if a change behaves differently than expected.
Letting paint sit uncovered is also hard to control: some water may evaporate, but the surface can dry before the rest reaches a consistent thickness. That makes it easy to end up with a skin or clumps. If a project needs regular, repeatable prints, a thicker washable tempera or a tested compatible paint is easier to assess than an improvised batch.
Improve the print without changing the paint
Stamp material and paper can affect the outcome as much as viscosity. Foam stamps may hold more paint than a shallow carved stamp, so use a roller or a light tap rather than pressing the stamp into a pool. A smooth, sturdy paper usually shows a more defined print than very absorbent tissue or thin notebook paper. Some papers soak up water quickly; changing to heavier paper can reduce feathering, though it will not make the paint itself thicker.
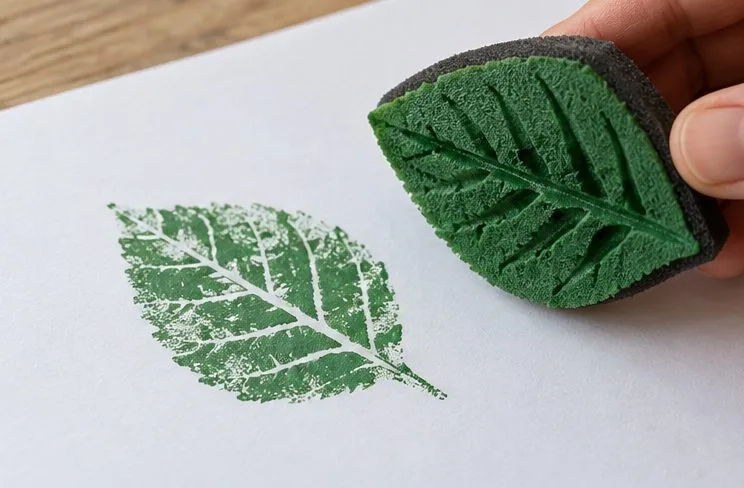
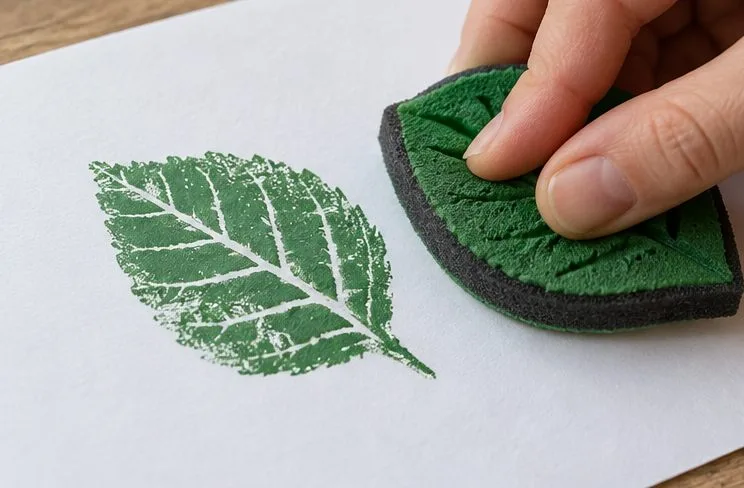
A lightly coated stamp leaves a defined impression without a wet ring of excess paint.
For a simple leaf or shape stamp, try this sequence: stir the paint, spread a thin patch on the palette, coat only the raised surface of the stamp, press straight down with steady pressure, and lift without sliding. Check one impression. Reduce the paint film if edges blur; add a little paint if the shape is incomplete. Make changes one at a time so you can tell whether the issue came from the mixture, loading, pressure, or paper.
Safety and cleanup
“Washable” describes cleanup under the maker’s stated conditions; it does not mean edible, suitable for face paint, or guaranteed to come out of every fabric or surface. Follow the paint label, supervise young children, and keep paint away from eyes and mouths. For children’s art supplies, the Art & Creative Materials Institute explains that its AP seal applies to materials evaluated as non-injurious when used as intended. It also distinguishes art materials from cosmetics intended for application to the body. Read its materials-safety guidance and follow the specific manufacturer’s cleanup directions.
Wash stamps and palettes before paint dries, and use a protected work surface. If the print is still runny after stirring and careful loading, make a small comparison test with a thicker compatible paint. If that produces sharper edges without unwanted color or cleanup changes, use the adjusted batch for the project. If not, choose a different stamp surface or washable paint rather than adding more unverified ingredients.