Why Air-Dry Clay Cracks—and How to Repair It
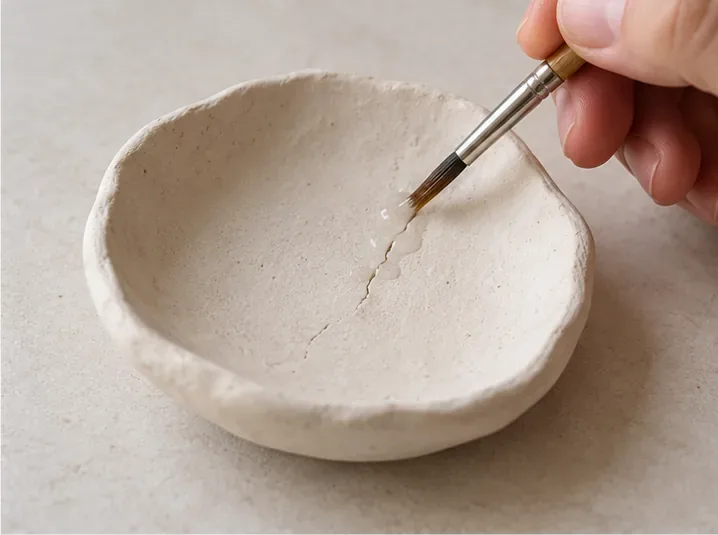
Learn why air-dry clay cracks as it dries, how to patch small cracks with water or fresh clay, and how to dry repairs evenly to reduce repeat damage.
Air-dry clay can crack because it shrinks as moisture leaves it. When one area dries faster than another, or the clay cannot shrink evenly, stress builds and a fissure may form. A small crack may be repairable with a few drops of water or fresh wet clay, but the result depends on the clay brand, the depth of the crack, and whether the piece is still damp or already hard.
The steps below use a small decorative dish as an example. They are general craft guidance, not a guarantee that a repaired piece will regain its original strength. Always check your clay maker's directions first: formulas differ, and some products tolerate rewetting better than others.
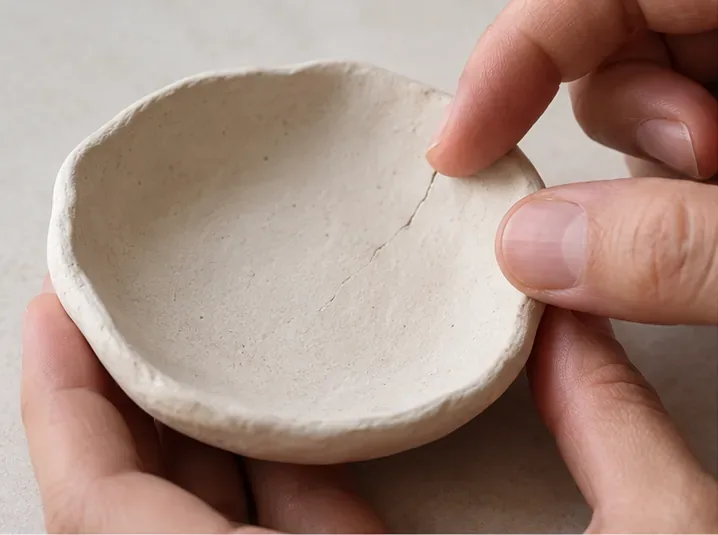
Air-dry clay hardens as water evaporates. As it loses moisture, the material contracts. If a broad or thick area stays wet while a thin edge dries, the two areas shrink at different rates. That uneven movement can pull the clay apart. Direct heat, strong sunlight, or a draft can speed drying at the exposed surface and make uneven drying more likely.
Other common contributors include:
Cracking is not always a sign that the clay was “bad.” The clay type, design, room conditions, thickness, and handling all matter. Crayola's product guidance lists rigid supports, excessive water, and pieces that are too thin among possible causes; its advice is specific to its product and should not be treated as a universal thickness rule. See Crayola's explanation of air-dry clay cracks.
Often, a fine crack in a decorative piece can be filled and blended. A deep split, a crack through a load-bearing handle, or a piece that breaks into separate sections may remain fragile even after the gap looks closed. Repair is most straightforward while the clay is still damp or leather-hard (partly firm but not fully dry). A fully dry piece can sometimes be patched, but rewetting it can soften nearby clay, and the repair itself must dry without pulling away.
Work on a protected, flat surface. Keep the patch small; adding a lot of water or a large lump of wet clay may create another uneven area.
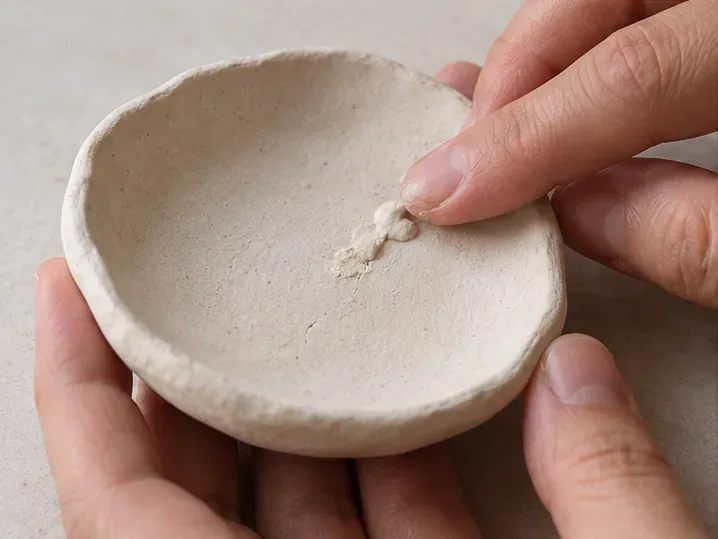
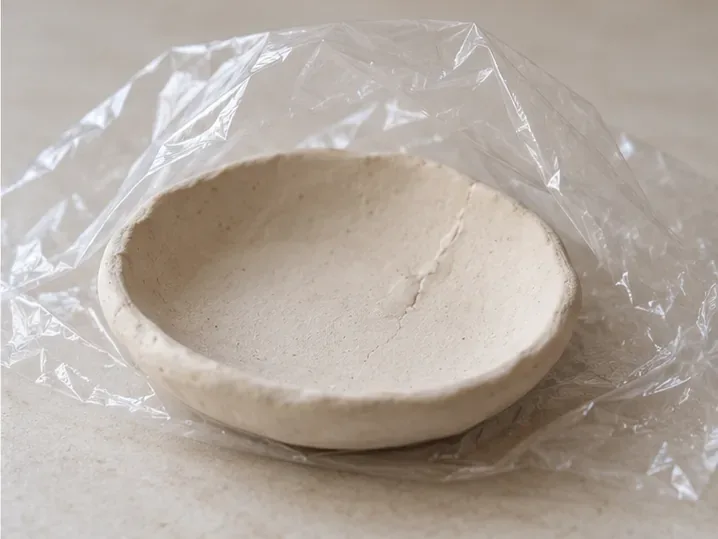
For a small, stable surface crack, first remove loose dust and fragments with a dry soft brush. If the clay maker allows it, try a tiny amount of water and smooth gently, or press a small amount of fresh clay into the opening. Use as little moisture as possible: the dry clay can absorb it unevenly and soften around the patch. Let the repair dry completely before sanding or painting.
For a deep or structural split, a surface smear is unlikely to restore dependable strength. If the object has separated, a craft adhesive that is compatible with the material may join it, but it can leave a visible seam and is not interchangeable with clay. Follow the adhesive label and keep the repaired object decorative unless both the clay and finish are specifically labeled for the intended use.
Air-dry clay should not automatically be treated as waterproof, food-safe, or suitable for outdoor use. Paint or varnish may change appearance and water resistance, but it does not necessarily make a handmade dish safe for food or repeated washing. Use it as a decorative object unless the manufacturer explicitly confirms another use.
Drying time depends on the product, thickness, and surroundings. For example, Crayola says its air-dry clay generally feels dry to the touch after about 24 hours and dries completely in about 72 hours, while noting that size and environmental conditions change the timing. Those figures are not a universal schedule. Follow the package instructions for your specific clay; see Crayola's drying-time FAQ.
Consider rebuilding the piece if the crack runs through a thin wall, reaches an edge that will be handled often, keeps reopening, or compromises a handle or other projecting part. A patch can hide a crack without making the object strong. For a keepsake or an important piece, test a repair on a small sample of the same clay first, and accept that color or texture may not match exactly.
The practical check is simple: after the repaired clay has dried fully according to its product directions, look for a gap that has reopened, a soft area, or a loose patch. If any of these remain, do not rely on the object to hold weight or contain food or liquid. The most dependable prevention is slow, even drying; the most useful repair is a small, compatible patch followed by another slow, complete dry.
Learn why air-dry clay cracks as it dries, how to patch small cracks with water or fresh clay, and how to dry repairs evenly to reduce repeat damage.
Get clean felt edges with the right scissors, a steady pattern, and smooth cutting strokes. Learn when a rotary cutter or utility knife makes more sense.
Learn a gentle, surface-aware way to remove cooled hot glue strings from crafts, with practical steps for wood, paper, fabric, plastic, and more.
Help kids paint cardboard without warping it. Learn which paint to use, how much to apply, how to dry each coat, and what mistakes to avoid.
Photograph small crafts with soft window light, a simple white reflector, and precise focus. Learn how to reduce blur, harsh shadows, and color shifts.
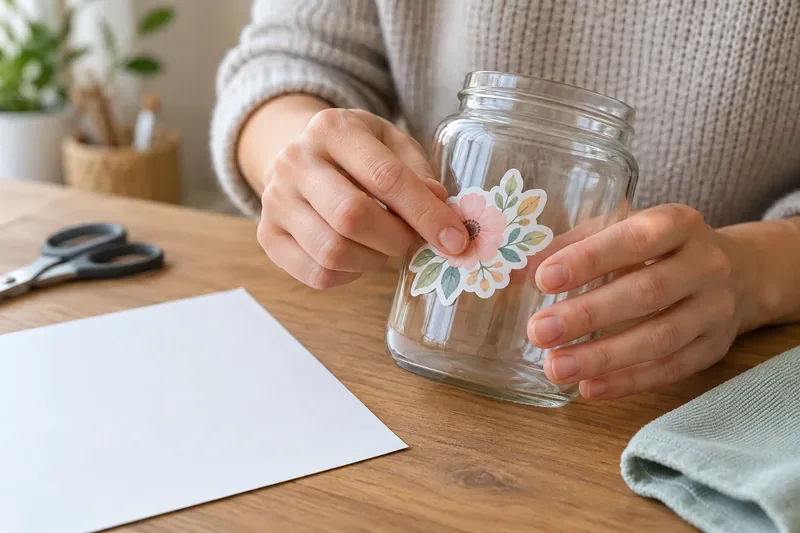
Homemade stickers peel when adhesive, surface, and conditions do not match. Learn how to prep surfaces, apply stickers smoothly, choose materials, and store sheets.
Compare metallic paper, markers, paint, foil accents, and ribbon for a glitter-free sparkle effect. Choose by surface, shine, cleanup, and who will use the craft.
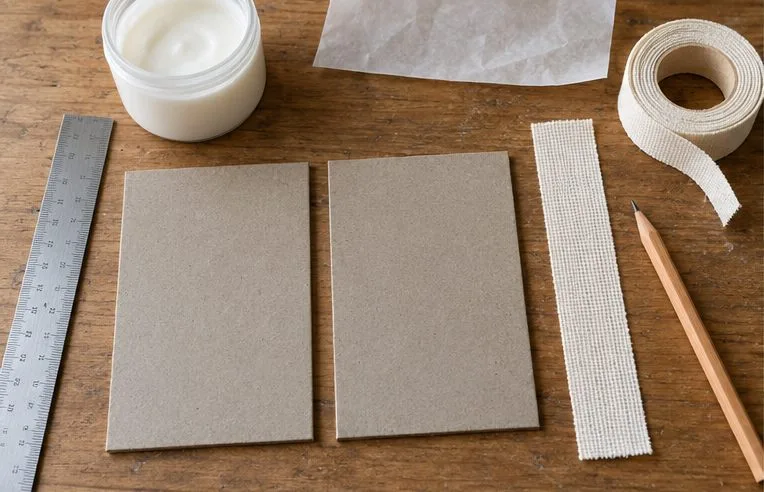
Build a longer-lasting cardboard hinge with rigid panels, a measured gap, and a flexible cloth bridge. Learn how to assemble, test, and troubleshoot it.
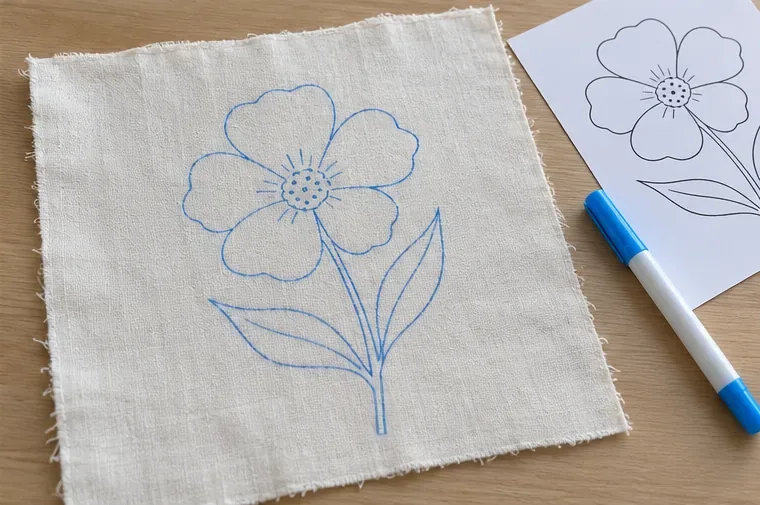
For a simple design on light fabric, tracing with a removable fabric marker is usually the easiest transfer method. Learn the steps, alternatives, and mistakes to avoid.
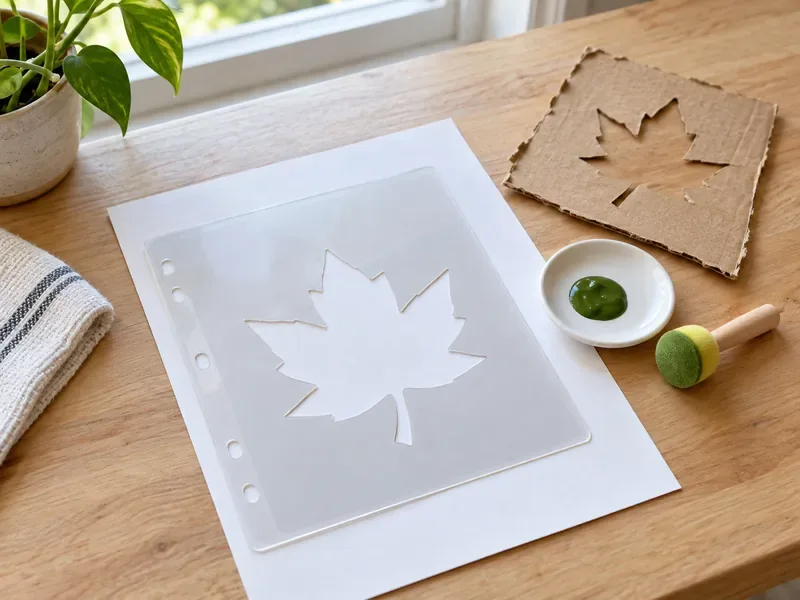
Compare clear plastic dividers, laminated card, and cardboard for reusable craft stencils. Learn what to avoid and how to choose safer paints and cutting tools.