How to Photograph Small Crafts Clearly With Window Light
Photograph small crafts with soft window light, a simple white reflector, and precise focus. Learn how to reduce blur, harsh shadows, and color shifts.
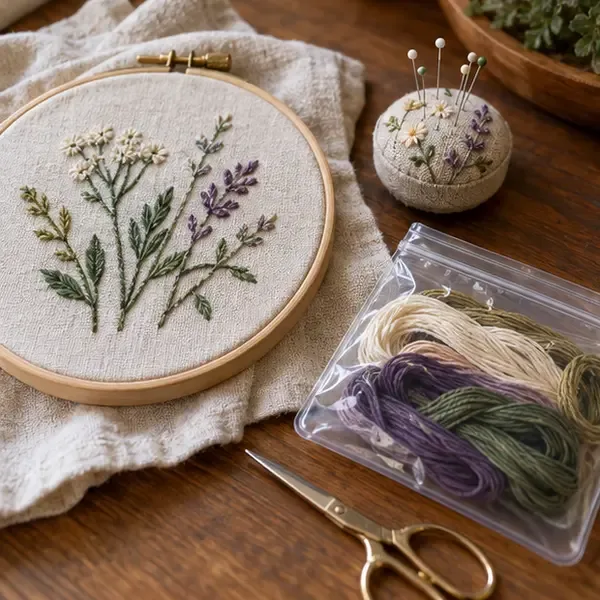
Use soft light from a nearby window, place a white card opposite it to lift deep shadows, and keep the craft and camera still while you focus on the most important detail. For a flat piece such as an embroidered patch, keep its face parallel to the camera sensor; for a three-dimensional item, turn it until its key details face the light. This simple setup works with a phone or camera when daylight is bright enough for a clean exposure. It is less dependable when clouds change quickly, the room is very dim, or the craft has shiny surfaces that reflect the window.
Small crafts are unforgiving in close-up: slight camera movement, a focus point on the background, or a very shallow focus plane can soften stitches, beads, lettering, or edges. The following setup helps you find out which problem you have and correct it before taking a full set of photos.
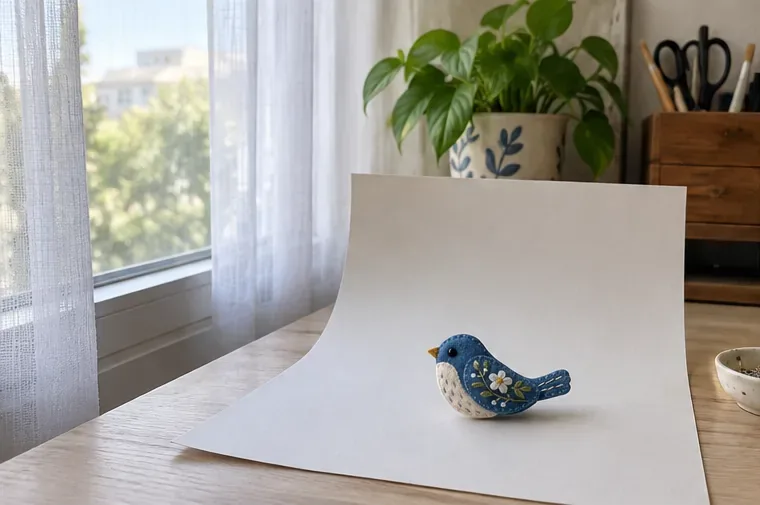
Set the craft on a table near a window, with the window to one side rather than directly behind the camera. Side light reveals texture in yarn, paper, clay, wood, and stitching. Start with indirect daylight: a north-facing window, an overcast day, or a translucent curtain can soften direct sun. Diffusion reduces hard-edged shadows and bright hot spots; a sheer curtain can serve as a simple diffuser. Adobe explains the same principle in its guide to diffused light photography.
If a sharp band of sun crosses the craft, pull the curtain across the window or move the table farther from the beam. If the image turns flat, remove some diffusion or angle the craft so the light skims across its surface. The right choice depends on the material: a felt bird may benefit from soft side light, while a glossy glazed pendant may need a larger diffused source and a small change in angle to avoid a reflected white patch.
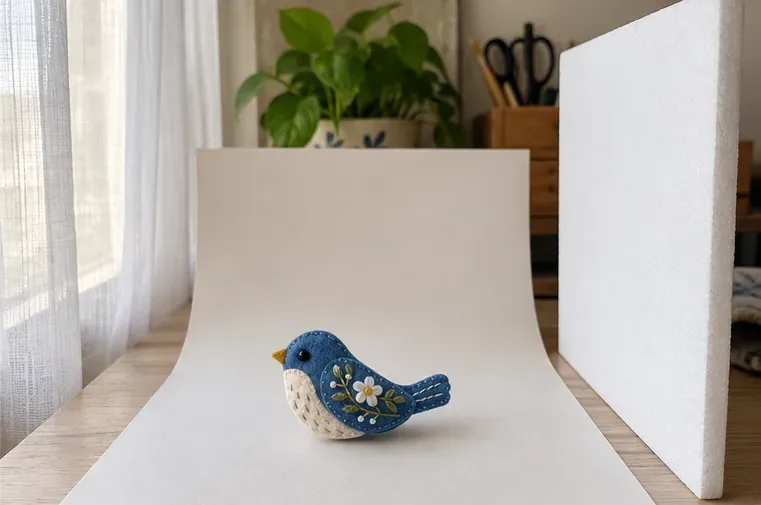
Place a piece of white foam board, white mat board, or even a sheet of white paper on the side opposite the window. Move it closer to brighten the shadow side; move it away if you want more depth and contrast. The card is not another light source. It redirects some window light onto the craft, a basic reflector function described in Adobe’s reflector guide.
Look at the darkest area on your phone or camera screen. If stitches or sculpted details disappear into black, bring the card closer. If the object starts to look unnaturally flat, pull it back. A white card usually keeps colors more neutral than a shiny gold surface. Colored walls, clothing, and nearby objects can cast a color tint, so use a plain background and keep bright colors out of the immediate setup when accurate craft colors matter.
Use a sheet of neutral paper, plain fabric, or an uncluttered tabletop. For a seamless look, curve the paper gently from the table up behind the object rather than making a sharp corner. Leave enough empty space around the craft to crop later. Before shooting, remove loose fibers and dust, straighten threads, and turn the best-made side toward the camera. A quick cleanup in the setup often preserves more real detail than aggressive editing.
For a flat craft, align the camera squarely above it and keep the whole piece parallel to the camera. This helps the near and far edges stay at a similar distance from the lens. For a small three-dimensional object, do not force every surface into view at once. Choose the angle that communicates its shape, then make a second view for a feature hidden from that angle. Product-photo guidance also recommends simple backgrounds and a tripod when consistency matters; see Adobe’s product photography guide.
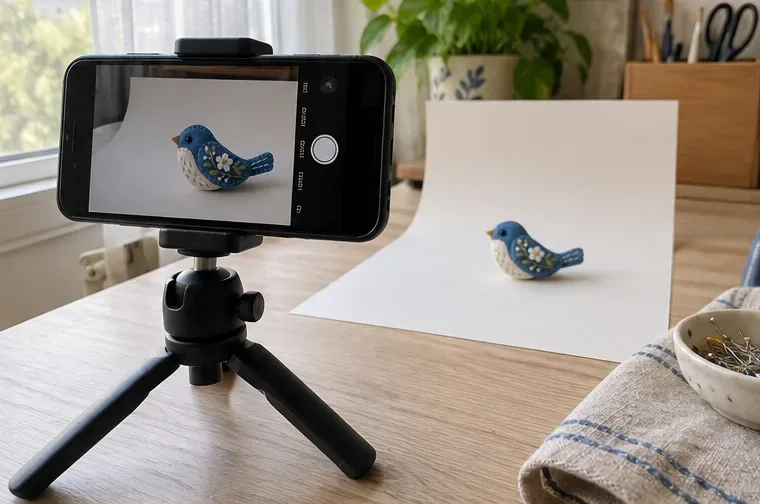
Set the phone or camera on a small tripod, a stable stand, or a stack of books. If you are handholding, brace your elbows on the table and take several frames. On a phone, tap the most important feature—such as the embroidered flower or a maker’s mark—then check that the focus indicator or preview confirms focus. Some phones let you lock focus and exposure; the control and behavior vary by model, so use the camera help for your device rather than assuming every phone has the same gesture.
On a camera, use single-point autofocus or manual focus on the detail you need sharp. Avoid moving closer than the lens’s minimum focusing distance: if the camera cannot focus, step back slightly and crop the image afterward. Nikon’s close-up guidance likewise notes that a lens has a closest focusing limit and recommends support such as a tripod for a sharper result. When a camera is mounted on a tripod, use a self-timer or remote release if pressing the shutter visibly shakes it.
Close focusing makes depth of field—the front-to-back zone that appears sharp—very shallow. If the front edge is crisp but a rear bead is soft, first rotate or reposition the object so the important details lie in a more similar plane. With a camera that offers aperture control, try a smaller aperture such as f/5.6 or f/8 and check the result; these are starting points, not guarantees, because close distance, lens, sensor, and available light all affect sharpness. A smaller aperture may require a slower shutter, so stabilize the camera. On a phone, back away a little and use optical framing rather than digital zoom when possible; heavy cropping cannot restore focus that was never captured.
Window light changes as clouds move, so take a test frame and inspect both the bright and dark areas. If the white paper looks blank with no visible texture, reduce exposure slightly or move the craft out of direct sun. If dark felt looks muddy, bring the white card closer before raising brightness. On a phone, exposure compensation may appear after you tap to focus, but names and controls vary. On a camera, a stationary subject can tolerate a slower shutter on a tripod, though a shutter that is too slow can still overexpose a bright scene.
Keep other room lights off if they make the craft look yellow or create mixed shadows. If color accuracy is important, photograph in one lighting condition and avoid moving the setup between shots. Auto white balance can shift from one frame to the next as the camera sees more white background; for a product series, use a fixed white-balance setting if your device offers one and you know how to set it. Otherwise, include a neutral reference in a test frame and compare the craft with the real object under the same daylight.
Zoom in on the saved photo—not just the live preview—and check three things: the key detail is crisp, the craft’s color still looks plausible, and highlights have not erased texture. Also inspect the full frame for a crooked horizon, distracting objects, or a shadow that merges with the subject. If only one part is soft, correct focus or object angle. If everything is soft, stabilize the camera or use a timer. If the picture is sharp but dull, adjust the reflector or light angle rather than applying strong sharpening.
This approach is a good fit for one-off listings, craft records, social posts, and small batches when the daylight is stable and a natural look is acceptable. It costs little and reveals material texture. It is a weaker fit for a large catalog that needs identical color and brightness across many sessions, work after dark, or highly reflective metal and glass. Daylight shifts with clouds and time, which makes matching separate sessions harder; Adobe notes this variability in its product photography discussion. For repeatable catalog work, mark the table and camera positions, shoot at a consistent time, and keep a reference image. If those steps still do not give consistent results, controlled continuous lighting may be more practical.
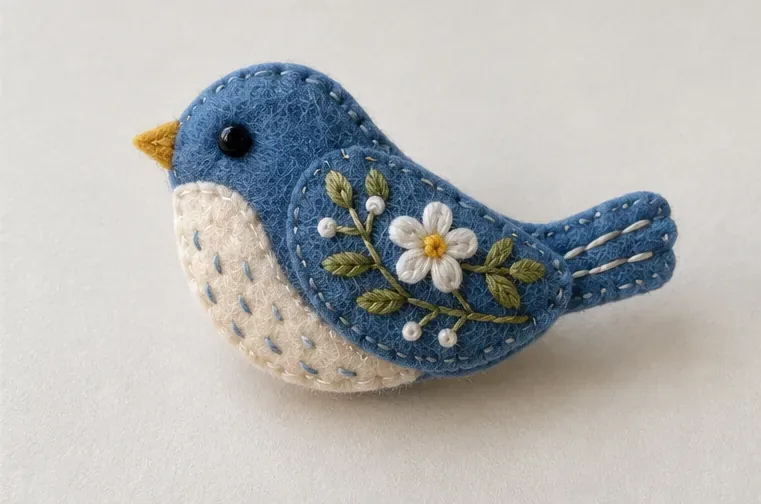
For a quick example, imagine photographing a hand-stitched felt bird brooch. Put it about an arm’s length or less from a bright window with a sheer curtain, place white board opposite the window, and use a plain paper sweep. Mount the phone, tap the embroidered flower, take a test frame, then check the eye, outline, and flower at full size. If the eye is sharp but the tail is not, turn the brooch slightly or take a separate detail view. If both are soft, steady the phone and refocus. The goal is not maximum brightness or blur: it is a readable photograph that shows the details a buyer or viewer needs to judge.
Photograph small crafts with soft window light, a simple white reflector, and precise focus. Learn how to reduce blur, harsh shadows, and color shifts.
Homemade stickers peel when adhesive, surface, and conditions do not match. Learn how to prep surfaces, apply stickers smoothly, choose materials, and store sheets.
Compare metallic paper, markers, paint, foil accents, and ribbon for a glitter-free sparkle effect. Choose by surface, shine, cleanup, and who will use the craft.
Build a longer-lasting cardboard hinge with rigid panels, a measured gap, and a flexible cloth bridge. Learn how to assemble, test, and troubleshoot it.
For a simple design on light fabric, tracing with a removable fabric marker is usually the easiest transfer method. Learn the steps, alternatives, and mistakes to avoid.
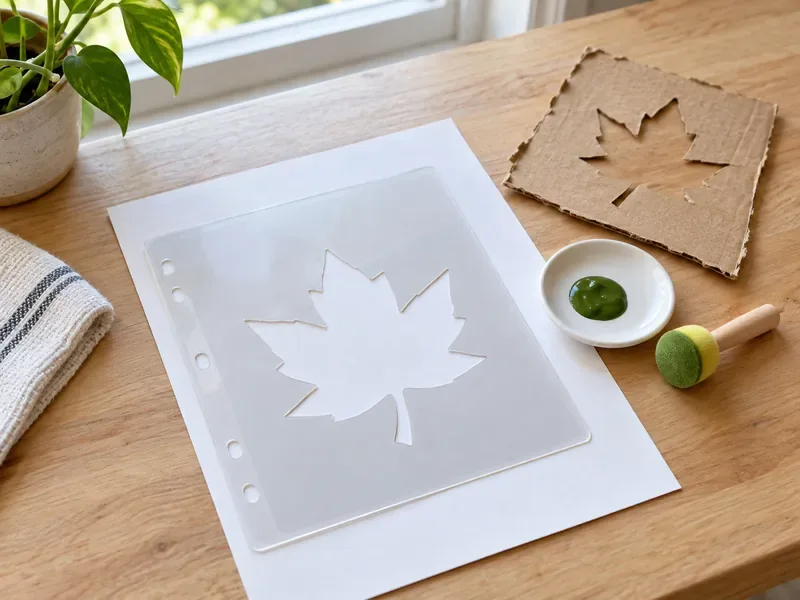
Compare clear plastic dividers, laminated card, and cardboard for reusable craft stencils. Learn what to avoid and how to choose safer paints and cutting tools.
Prevent curled paper crafts with the right adhesive, a thin even coat, and flat drying under gentle pressure. Learn how to flatten a curl safely.
Keep unfinished crafts easy to resume with a simple storage routine for small parts, paper, fabric, tools, and a clear next-step note.
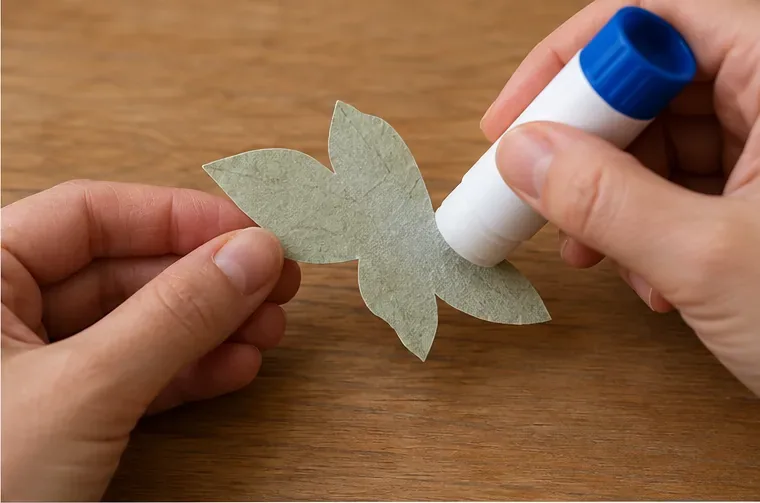
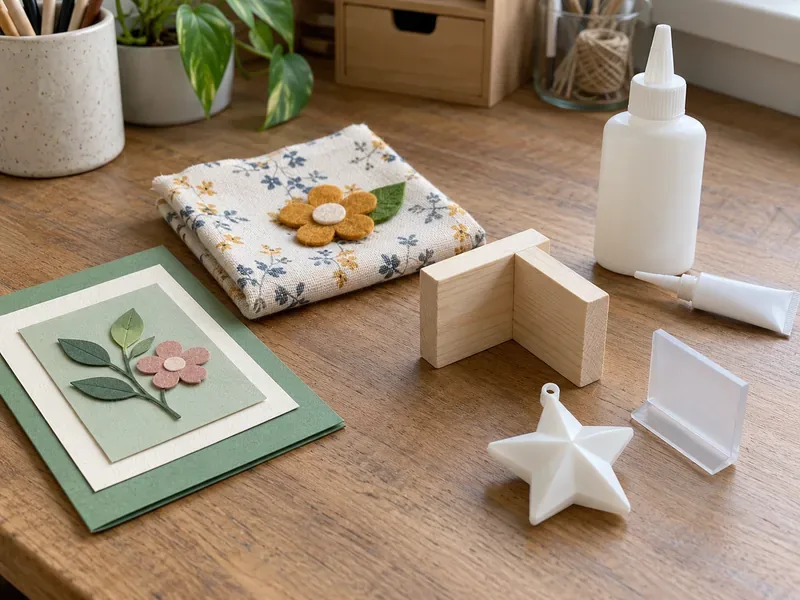
Choose the right craft glue for paper, fabric, wood, and plastic. Compare glue sticks, fabric glue, wood glue, and plastic-specific adhesives.
Protect salt-dough ornaments from humidity by drying them fully, sealing every surface, allowing the finish to cure, and storing them dry. Compare brush-on and spray sealers.