Home
» Crafts
»
How to Build a Cardboard Hinge That Holds Up to Repeated Opening
How to Build a Cardboard Hinge That Holds Up to Repeated Opening
Use a flexible bridge, not a bare crease, for a cardboard hinge that must open repeatedly. Keep the two cardboard panels rigid and join them with a strip of woven book cloth or another flexible hinge fabric bonded to both panels. Leave a narrow gap between the panel edges so the cloth can bend without being pinched. A scored fold in the cardboard can work for a light-duty flap, but each opening flexes and weakens the same paper fibers; no simple cardboard hinge has a guaranteed cycle life. Material, load, opening angle, moisture, and adhesive all affect how long it lasts.
The practical design below suits a box lid, portfolio, display, model, or craft cover. It is a prototype method, not a certified structural joint. For a heavy panel, a child-safety application, or anything that could injure someone if it fails, use a rated mechanical hinge and appropriate fasteners.
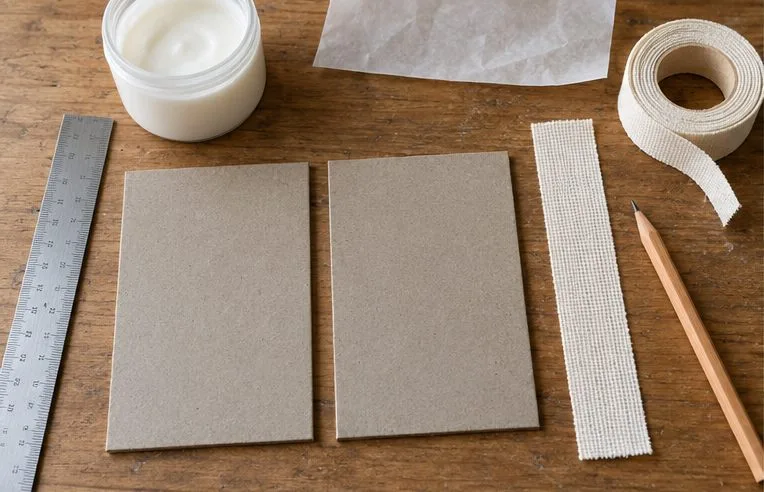
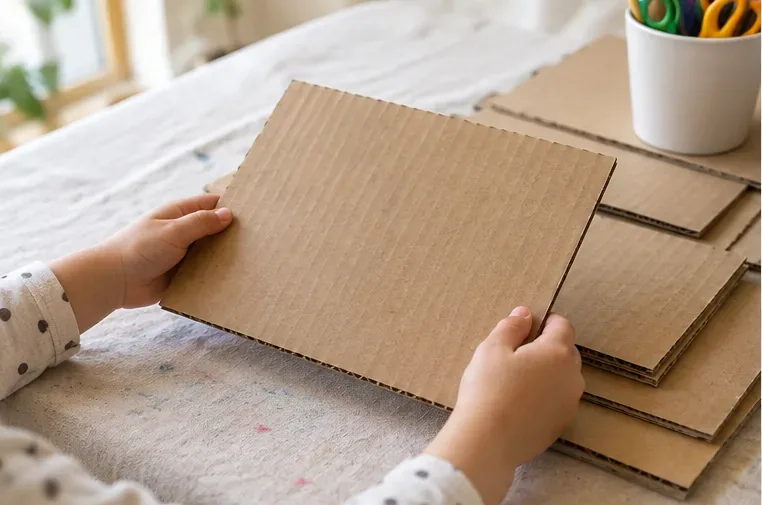
Gather two flat cardboard panels, a flexible cloth strip, adhesive, and measuring tools before laying out the hinge.
Choose the hinge style and materials
A fabric hinge works like a small flexible web: each half is anchored to one panel, while the section spanning the gap bends. The cardboard should carry the panel loads; the fabric should take the repeated flexing. For a simple project, use flat bookboard or similarly dense cardboard for the panels and lightweight woven book cloth, cotton tape, or a purpose-made paper hinge material for the bridge. Choose an adhesive labeled for paper or bookbinding and flexible after drying. Follow its product directions and allow the full stated cure time.
Design choice
Useful when
Trade-off
Cloth bridge across a gap
A box, book-style cover, or panel that will open often
Needs careful alignment and sound bonding on both sides
Scored cardboard fold
A lightweight flap with occasional opening
The crease can crack or delaminate with repeated flexing
Corrugated cardboard with cloth bridge
A larger prototype made from shipping-box material
Edges are uneven; orient and score carefully, and spread attachment over a broad area
For a hinge meant to open in one direction, place the fabric on the face that lets the panels fold naturally in that direction. If the hinge must swing both ways, test the layout before gluing; a single flat strip may become taut or crease sharply when reversed. A stop strap or a small mechanical hinge may be more reliable for frequent two-way movement.
Make the hinge in four steps
1. Cut and inspect the panels
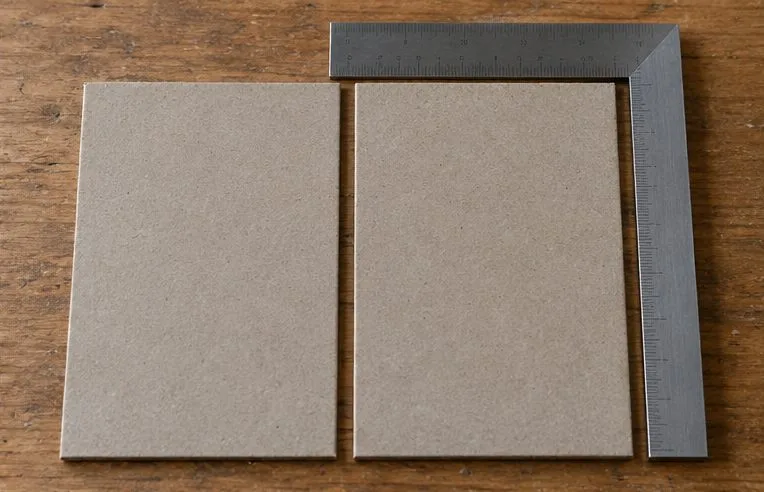
Cut two panels with straight, square edges. Remove loose paper and dust where the hinge will attach. Avoid attaching fabric to a crushed or delaminating edge; trim back to sound board. If using corrugated cardboard, inspect the cut edge to see the flutes, or wavy inner layer. Fold direction affects how the board behaves: manufacturing guidance notes that scored folds across the flutes can be rougher and may crack the liner more readily than folds parallel to them. Since this method uses a fabric bridge, the cloth carries the bend, but flute direction still matters if you add a crease or the panel edge is weak. See the corrugated-board scoring guidance.
Square the panel edges and set a consistent gap; the cloth needs room to fold between the rigid boards.
2. Set the gap and mark the hinge line
Place the panels on a flat surface with their inner faces in the position they should have when closed. Keep a narrow, even gap between the edges. The correct gap depends on board thickness and the shape the joint must make when it opens; one case-binding method starts with a 4-millimeter channel for 2-millimeter boards, but that is not a universal dimension. See the French-groove case-binding instructions for that specific construction. Dry-fit the panels through the full intended opening range. If the edges collide, increase the gap slightly. If the cloth sags into a deep valley or the lid shifts, reduce the gap or adjust the cover geometry. Mark the positions lightly, then return the panels to those marks after applying adhesive.
3. Bond a flexible strip across the joint
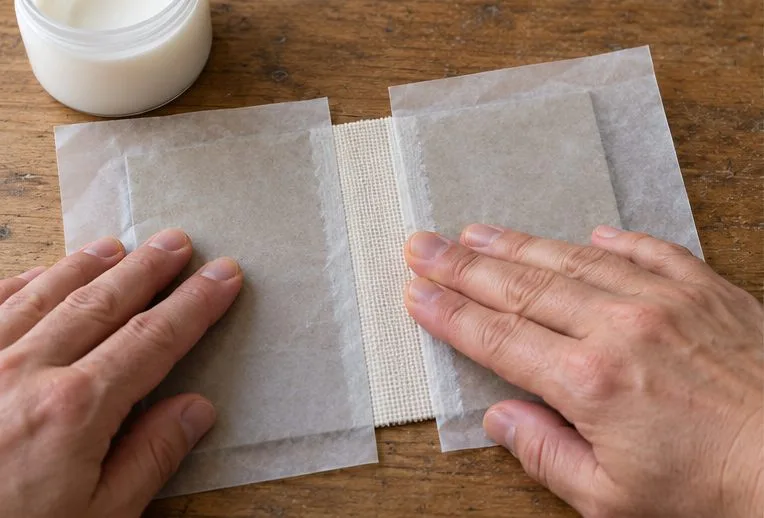
Cut a straight strip of cloth wide enough to leave a generous bonding area on each panel. Center it along the full hinge edge, with equal coverage on both boards. Brush or spread a thin, even layer of flexible adhesive onto the cloth landing areas or the board, following the adhesive label. Keep the middle section that spans the gap free of a thick glue bead so it can flex. Press the cloth down without pulling it tight. A narrow strip of waxed or release paper in the gap can help prevent stray adhesive from locking the hinge.
Use a clean bone folder, smooth card, or roller to press from the center outward and remove trapped air. Do not stretch the cloth, wrinkle it, or force it down into the gap. The University of Maine's conservation instructions for a paper book hinge likewise attach one half of a strip first and bond the free half to the cover, emphasizing a flexible bridge between the parts; see the University of Maine paper-hinge procedure. The material differs, but the bridging principle is useful here.
Center the cloth over the gap and smooth each bonded half onto its panel while keeping the flexible bridge clear.
4. Let it cure, then test the full motion
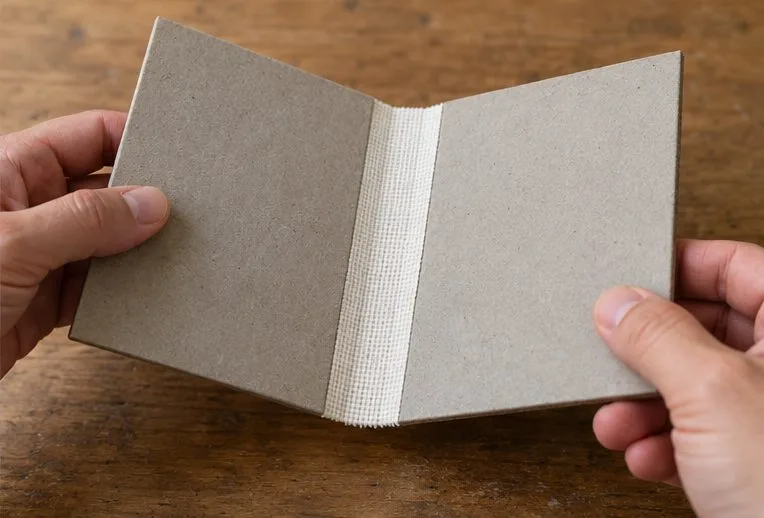
Keep the panels flat and supported while the adhesive cures for the time on its label. Do not flex the joint while the bond is still wet or tacky. When cured, open and close it slowly through the range it will actually use. Check that the fabric folds smoothly, the panel edges do not collide, and the bonded areas stay flat. Repeat the movement several times as a basic inspection, then check again under the ordinary load the hinge will carry. This is a practical prototype check, not a standardized fatigue test or a promise of a certain number of openings.
Move the cured hinge gently through its intended range and inspect the cloth bridge and bonded edges for lifting or damage.
Troubleshoot early signs of wear
What you see
Likely design issue
Adjustment to try
Cloth lifts at a panel edge
Dust, glossy coating, insufficient contact, adhesive mismatch, or flexing before cure
Clean or lightly scuff only if appropriate for the surface; use a compatible adhesive and a wider landing area
Cloth tears at the center
The strip is too stiff, too narrow, or forced into a sharp fold
Use a more flexible woven material, increase the free bend area, or reduce the opening angle with a stop
Cardboard layers peel away
The panel itself is weaker than the hinge bond
Use denser board or add a broad reinforcement patch to the panel away from the flexing center
The fold cracks along a scored line
The cardboard fibers, liner, or corrugated structure are taking the repeated bend
Move the bend into the cloth bridge; use scoring only to guide an occasional fold, not as the main repeated-flex element
The panels bind when closing
The gap is too narrow or the fabric has been glued into the pivot area
Widen the gap slightly, clear adhesive from the center, and dry-fit before rebonding
For heavier covers, spread the hinge across most of the edge rather than relying on a short tab, and reinforce the board where the fabric lands. Avoid a thick stack of tape at the pivot: extra layers can make a stiff ridge that concentrates the bend. A commercially produced cardboard hinge can use shaped grooves and compressed board; the patent describing a cardboard hinge-forming process illustrates why hinge geometry and material stress matter. A hand-built fabric bridge is simpler, but it should still be tested in the actual project.
Quick checklist
The cardboard is flat, sound, and strong enough to support the panels.
The hinge line is straight and the gap stays even from end to end.
The cloth strip reaches well onto both panels, with its center free to bend.
The adhesive is compatible with the board and fully cured before flexing.
The joint opens to its intended angle without pinching, pulling, or peeling.
You have checked the actual load and will inspect the hinge again after regular use.
The dependable starting point is simple: rigid panels, a small deliberate gap, and a flexible fabric bridge bonded flat to both sides. If the hinge begins to lift, fray, or crack, stop using it under load and revise the materials or geometry. Cardboard and cloth vary, so durability is determined by a prototype test in the conditions the finished object will face. Information reviewed September 30, 2026.