How to Cut Felt Cleanly Without Frayed or Ragged Edges
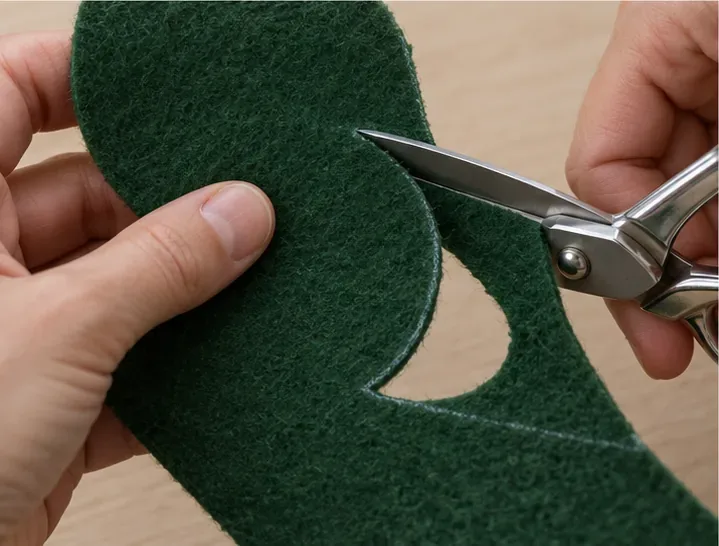
Get clean felt edges with the right scissors, a steady pattern, and smooth cutting strokes. Learn when a rotary cutter or utility knife makes more sense.
Hypothetical example: Alex is making felt leaves and circles for a classroom display. This is an illustration, not a report of a real project or a test. The same method works for many small felt crafts: choose a tool that suits the material, keep the sheet flat, and cut along a clear line with as few corrections as practical.
Felt is different from woven cloth. In many pressed or craft felts, fibers form a nonwoven sheet rather than rows of threads that can unravel. A clean raw edge usually does not need a hem or seal. What people call “fraying” is often a fuzzy surface, loose fibers, or a jagged cut. Felt type, thickness, backing, and blade condition all affect how neat the edge looks, so no single tool is best for every sheet.
For ordinary thin craft felt and small shapes like Alex’s leaves, start with sharp fabric scissors. Fabric shears have longer blades for broad cuts; small detail or embroidery scissors are easier to steer around tight corners. Keep fabric scissors for fabric so their edges stay sharp. A dull blade may push or drag the felt instead of slicing it, leaving bumps that look fuzzy even though the material is not unraveling.
Thicker design felt is a different job. Felt manufacturers recommend a sharp utility knife with a straightedge or ruler for thicker panels; multiple controlled passes may be needed. Use a cutting mat underneath, hold the ruler firmly, and keep the blade moving away from your supporting hand. Do not try to force a craft scissor through a dense sheet if it buckles or requires excessive pressure.
| Material or cut | Useful starting tool | What to watch |
|---|---|---|
| Thin craft felt, broad curves | Sharp fabric shears | Let the full blade do the work. |
| Small details or tight curves | Small sharp detail scissors | Use controlled strokes without making a ragged series of tiny bites. |
| Thick, firm felt or a long straight edge | Utility knife, ruler, and cutting mat | Use several light passes if needed; do not force a single deep cut. |
| Repeated identical shapes | A tested die or compatible cutting machine | Check the tool maker’s guidance for the exact felt type and thickness. |
Machine settings are material-specific. Cricut, for example, lists different tools or settings for standard, stiff, bonded, and wool felt. Treat those as machine-specific starting points, not universal settings for every felt brand.
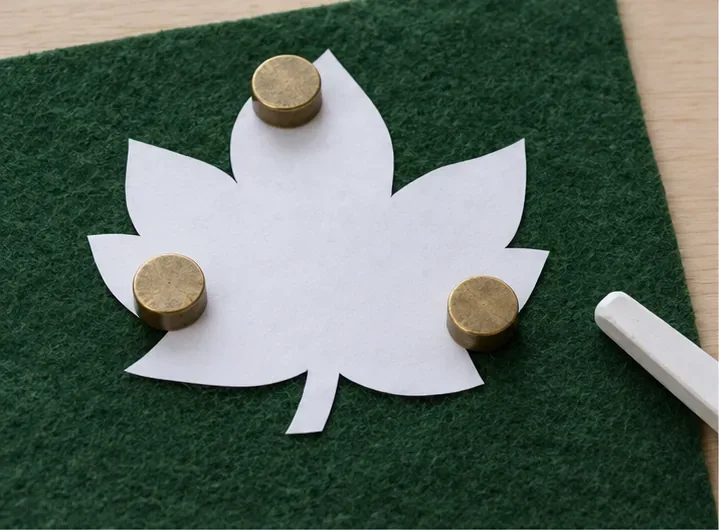
Alex lays the felt on a clean, flat work surface and places a paper leaf template on top. Small pattern weights can hold it in place without stretching the sheet. If you use pins, place them in seam allowance or outside the final edge so they do not distort a visible point. Trace with tailor’s chalk or a marker intended for fabric, first testing it on an offcut to make sure it brushes away and does not show through.
Mark the line you intend to cut, not a vague area around the shape. For a pair of matching pieces, place the felt layers flat and clip or pin them together only if the stack stays stable. If the felt shifts or compresses, cut one layer at a time. Stacking may save time but can make curves drift, especially with thick or stretchy felt.
Before cutting, smooth the felt with your hands rather than pulling it taut. Stretching can distort a soft sheet, and the finished pieces may not match the template when the material relaxes. If Alex is cutting several leaves, checking one traced outline against the paper pattern first can prevent repeating the same marking error.
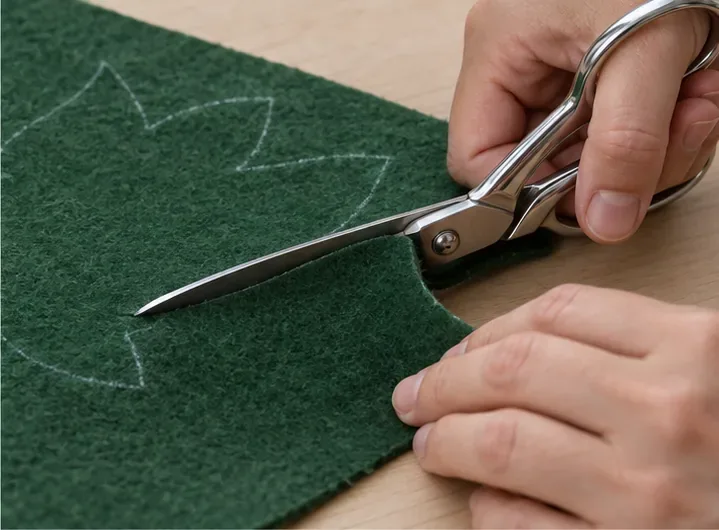
For the outside of Alex’s leaf, begin at a straight or gently curved section. Open the shears wide enough to use a useful length of blade, then close them in one smooth stroke. Keep the lower blade close to the table to support the felt as you cut. Avoid repeatedly lifting the felt or making many tiny snips along a long edge; both can create a stepped outline.
For an inward notch or a rounded edge, shorten the stroke and turn the felt with your free hand as the blade advances. Let the scissors follow the curve. Do not twist the scissors sharply while they are closed in the material, because the cut can veer or stretch. At a sharp tip, cut steadily up to the point, pause, reposition, and continue from the other side rather than trying to rotate the whole sheet in one abrupt move.
If the scissor blades stop cutting cleanly near their tips, use small detail scissors for that section. Do not compensate by pulling the partly cut felt apart. Pulling can leave a rough edge or deform a narrow part of the shape. If the material is too thick for scissors, switch to the knife-and-ruler method on a cutting mat.
Set the shape down flat and compare it with the template. Alex checks whether each curve is smooth, the leaf tip is defined, and the edge has no obvious steps. A few loose surface fibers can be trimmed with small sharp scissors. Remove only the wisps; repeated trimming all the way around can gradually make a good shape smaller and less even.
Felt generally does not need its raw edge folded, stitched, or sealed just to stop woven-thread fraying. A blanket stitch or decorative border may be added for appearance, strength, or a design requirement, but it is not automatically necessary for a clean cut. Avoid sealing felt with a flame or hot tool as a default: craft felt can be wool, synthetic, blended, backed, or treated, and heat can scorch or melt some materials. Follow the product label if the felt has a special coating or adhesive backing.
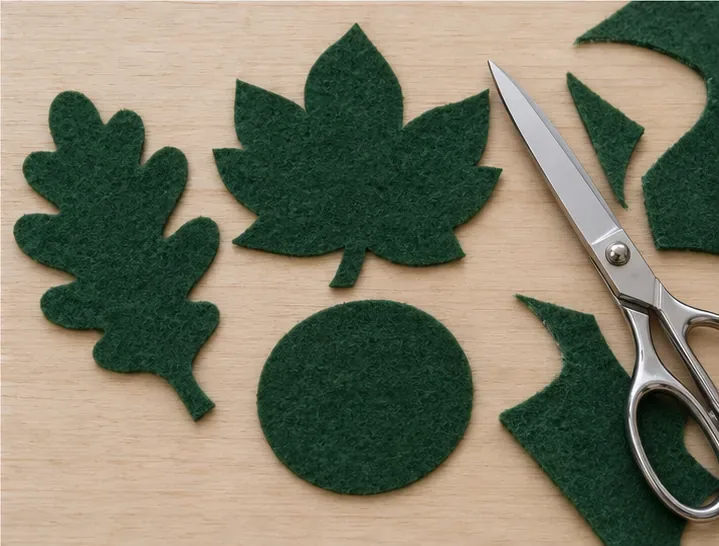
For Alex’s display, the leaf should lie flat, its outline should look continuous from a short distance, and neighboring shapes should be similar in size. The edge may still show the felt’s natural texture under close inspection. That is different from woven threads unraveling. Evaluate the result by the shape and consistency of the cut, not by expecting every felt surface to look polished like plastic.
First check the blade, not the felt. Try a fresh or sharper pair of fabric scissors on a scrap from the same sheet. If the edge improves, the original tool was likely dull or unsuitable. If both cuts look fuzzy, inspect the felt itself: a loose, low-density, adhesive-backed, or heavily textured sheet may show surface fibers more readily. Choose a denser material for a crisp raw-edge appliqué, or use a tested machine setting if the shape is intricate and repeated.
If a long straight edge is rough, mark and cut it with a ruler and sharp utility knife on a cutting mat. If small curves are uneven, use detail scissors and rotate the felt slowly. Change only one variable at a time—tool, pattern stability, or stroke length—so you can see what actually improves the next piece.
These methods reduce ragged-looking cuts; they cannot make every felt blend behave identically. The manufacturer’s care and cutting instructions take priority for specialty felt, stiffened sheets, adhesive-backed products, or architectural panels.
Get clean felt edges with the right scissors, a steady pattern, and smooth cutting strokes. Learn when a rotary cutter or utility knife makes more sense.
Learn a gentle, surface-aware way to remove cooled hot glue strings from crafts, with practical steps for wood, paper, fabric, plastic, and more.
Help kids paint cardboard without warping it. Learn which paint to use, how much to apply, how to dry each coat, and what mistakes to avoid.
Photograph small crafts with soft window light, a simple white reflector, and precise focus. Learn how to reduce blur, harsh shadows, and color shifts.
Homemade stickers peel when adhesive, surface, and conditions do not match. Learn how to prep surfaces, apply stickers smoothly, choose materials, and store sheets.
Compare metallic paper, markers, paint, foil accents, and ribbon for a glitter-free sparkle effect. Choose by surface, shine, cleanup, and who will use the craft.
Build a longer-lasting cardboard hinge with rigid panels, a measured gap, and a flexible cloth bridge. Learn how to assemble, test, and troubleshoot it.
For a simple design on light fabric, tracing with a removable fabric marker is usually the easiest transfer method. Learn the steps, alternatives, and mistakes to avoid.
Compare clear plastic dividers, laminated card, and cardboard for reusable craft stencils. Learn what to avoid and how to choose safer paints and cutting tools.
Prevent curled paper crafts with the right adhesive, a thin even coat, and flat drying under gentle pressure. Learn how to flatten a curl safely.