How to Paint Cardboard Without Making It Soggy: A Kid-Friendly Guide
Help kids paint cardboard without warping it. Learn which paint to use, how much to apply, how to dry each coat, and what mistakes to avoid.
Cardboard can turn soft or wavy when paint puts more water into the paper fibers than they can handle at once. The fix is simple: start with dry, sturdy cardboard, use a small amount of thick kids’ paint, spread it in a thin layer, and let the piece dry flat before adding more. Children can paint successfully without soaking the board, and a little natural texture or waviness is normal for paper-based material.
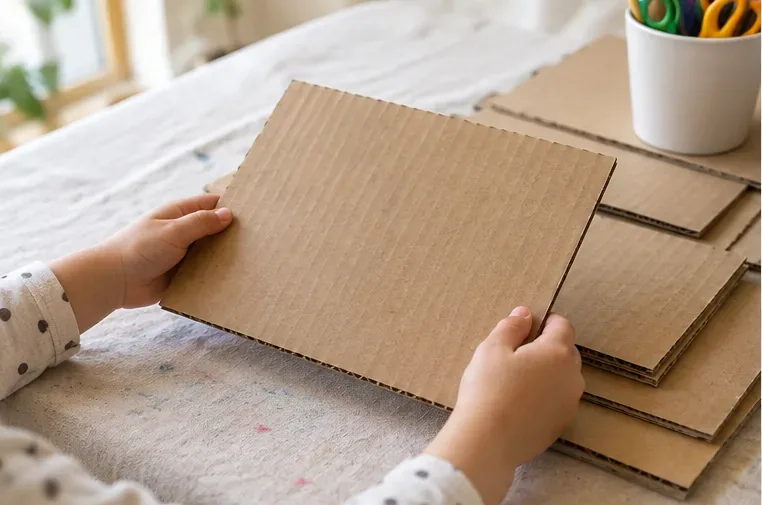
Cardboard is made from paper layers; corrugated cardboard has a wavy inner layer between two flat sheets. That structure is light and useful for crafts, but it absorbs water. A very wet brush, watery paint, or repeated scrubbing can soften the outer sheet and make the panel bend. This is why using less liquid matters more than trying to press the cardboard perfectly flat afterward.
For a first project, choose clean, dry corrugated cardboard or a sturdy box panel. Washable tempera is a practical option for children because some products are labeled for cardboard and list age guidance on the package. For example, Crayola’s Artista II tempera product information identifies cardboard as a suitable surface and recommends the product for ages 3 and up. Check the label on the exact paint you own; formulas and age guidance can differ.
“Gesso” means a primer used to prepare a surface for paint. It is optional for a child’s quick craft, not a requirement. A thin coat can help create a more even painting surface, but it also adds moisture and an extra drying step. If you choose to use it, an adult should apply it according to the manufacturer’s directions and allow it to dry fully. Liquitex describes gesso as a way to prepare a surface and adjust absorbency; the product page’s directions are for its particular gesso, so follow the label rather than assuming all primers behave alike.
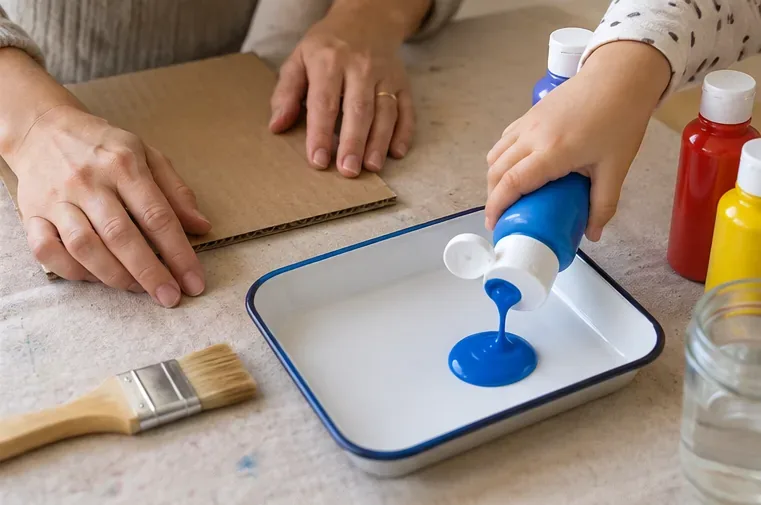
Use a panel rather than a whole box if the project allows it. A smaller flat piece is easier to support evenly. Put only a little paint on the palette to begin; the child can ask for more. Keep water for rinsing the brush, not for thinning every paint color. An adult should handle box cutters, scissors if the board is thick, and any primer or sealer. Choose art materials with clear age and safety labeling, supervise young children, and keep paint out of mouths and eyes.
Feel both sides and the cut edges. Set aside anything damp, greasy, crushed, or already peeling. If you are reusing a shipping box, remove tape and labels where practical, then cut the panel before painting. Place the cardboard flat on a protected surface. A tray, scrap board, or a few folded paper towels under the corners can keep it steady; avoid propping the center so high that the panel flexes while a child paints.
Squeeze a small dab of paint onto the palette. Dip only the lower part of the brush bristles, then wipe one side of the brush lightly against the palette edge. The bristles should look coated, not dripping. If the paint is thick, use it as supplied unless its label says otherwise. Rinse the brush between colors and blot it on a towel so rinse water does not run onto the cardboard.
Use gentle strokes in one direction, covering a small area at a time. Avoid scrubbing back and forth: friction can lift the paper’s surface, and extra passes add more moisture. If the first coat looks streaky, that is fine. One thin coat may let the cardboard show through; wait for it to dry before deciding whether another coat is needed. Leave a narrow unpainted edge if the panel starts to curl or soften, then let it rest.
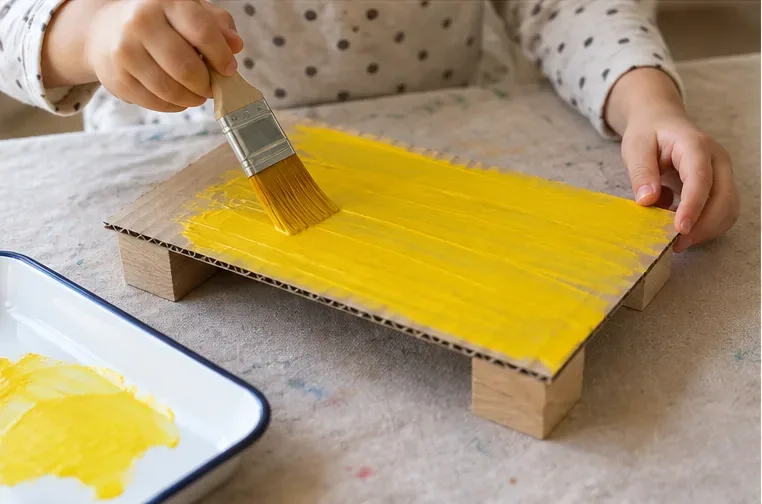
Move the piece only when it can be lifted without bending. Set it flat on a clean, dry surface or on a rack that supports it evenly, with air able to move around it. Do not stack wet pieces or put them near a heater. Drying time depends on how much paint was used, the cardboard, and room conditions, so use touch and appearance rather than a promised number of minutes: wait until the surface is no longer wet or tacky before turning it over or adding details. Add another light coat only if the first one is dry and the board still feels firm.
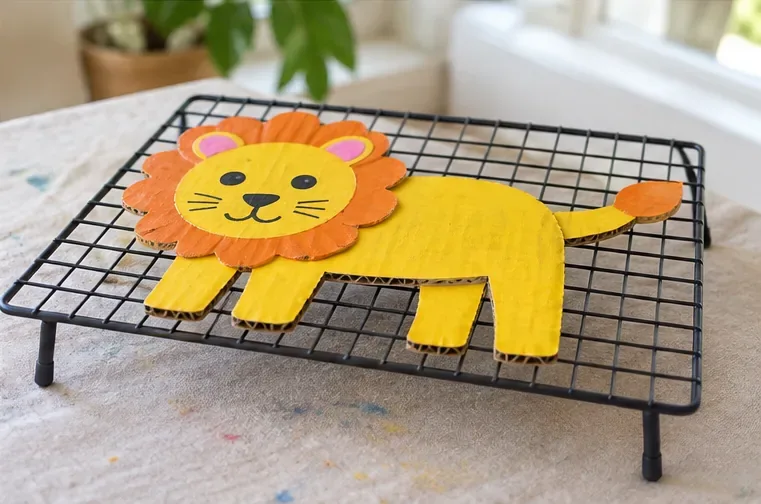
After the paint dries, look across the cardboard from the side. The panel should feel firm, the paint should not transfer to a clean fingertip, and the surface should not feel cool-wet or tacky. A slight curve can happen because cardboard responds to moisture; it does not automatically mean the craft is ruined. Place a gently curved piece under a clean, flat board after it is fully dry, with light weight on top. Do not press or flatten it while damp, because that can leave dents or damage the paper.
If the cardboard feels soft, stop painting and let it dry undisturbed. For a future try, use a sturdier panel, a smaller amount of paint, and fewer brush passes. For a three-dimensional box or sculpture, paint separate flat panels first when possible, let them dry, and assemble them afterward. That keeps children’s painting enjoyable while helping the cardboard keep its shape.
Help kids paint cardboard without warping it. Learn which paint to use, how much to apply, how to dry each coat, and what mistakes to avoid.
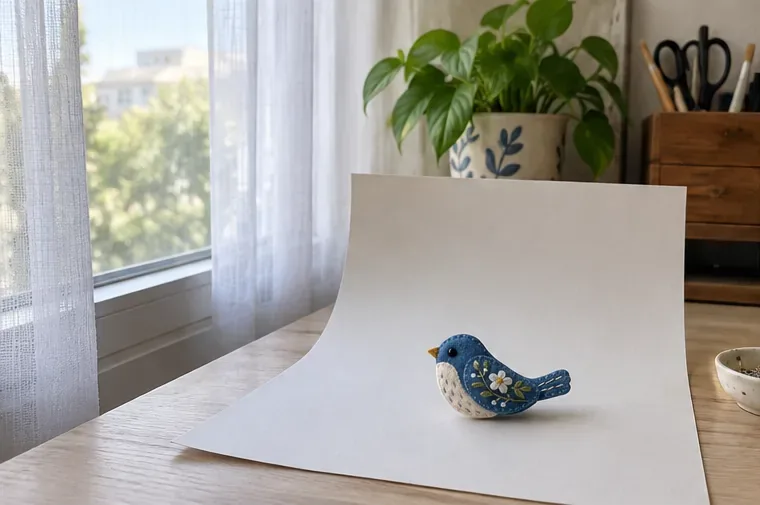
Photograph small crafts with soft window light, a simple white reflector, and precise focus. Learn how to reduce blur, harsh shadows, and color shifts.
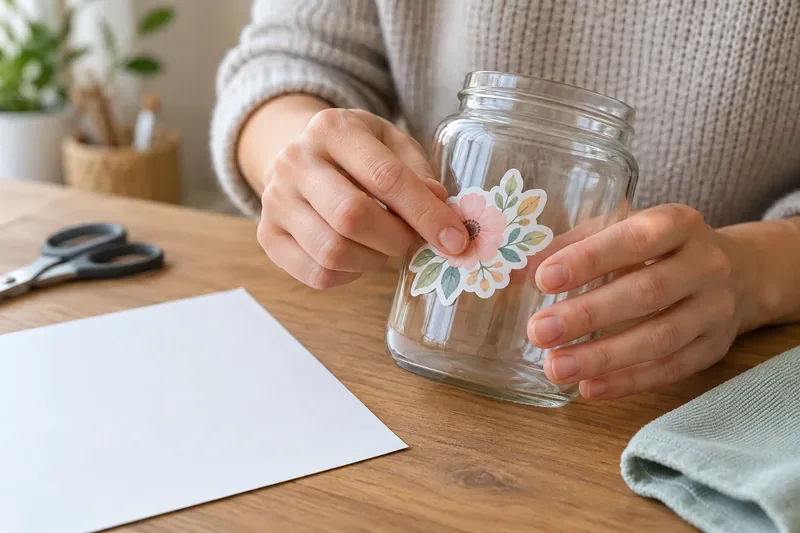
Homemade stickers peel when adhesive, surface, and conditions do not match. Learn how to prep surfaces, apply stickers smoothly, choose materials, and store sheets.
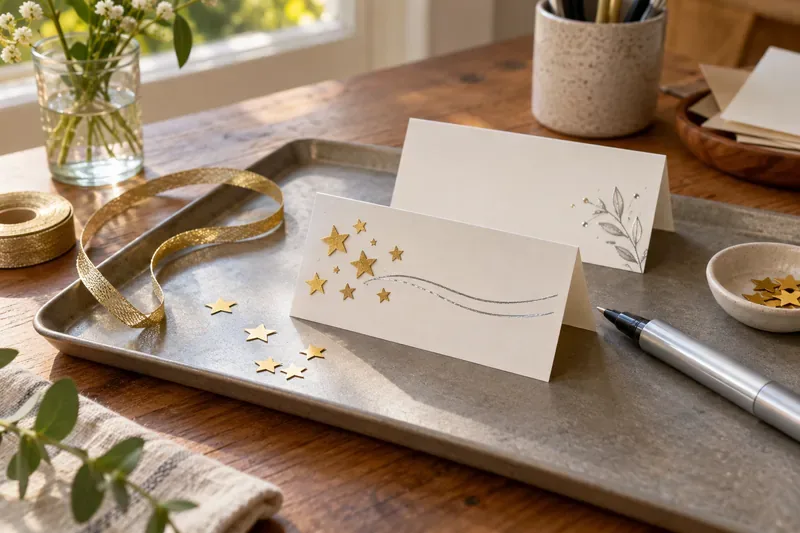
Compare metallic paper, markers, paint, foil accents, and ribbon for a glitter-free sparkle effect. Choose by surface, shine, cleanup, and who will use the craft.
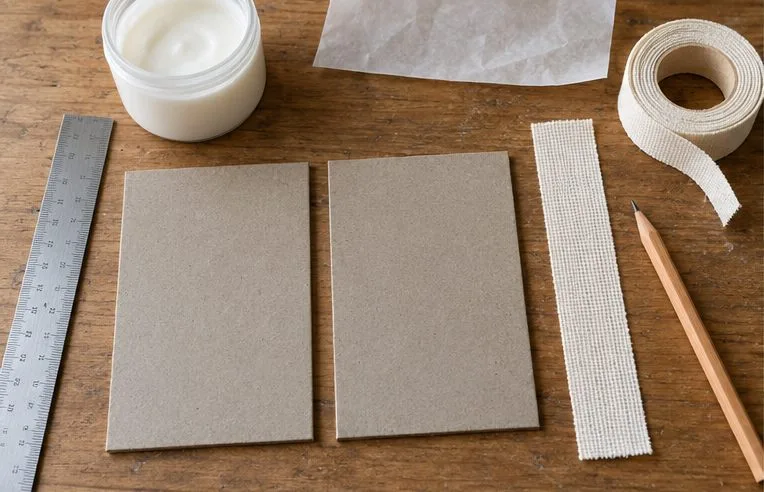
Build a longer-lasting cardboard hinge with rigid panels, a measured gap, and a flexible cloth bridge. Learn how to assemble, test, and troubleshoot it.
For a simple design on light fabric, tracing with a removable fabric marker is usually the easiest transfer method. Learn the steps, alternatives, and mistakes to avoid.
Compare clear plastic dividers, laminated card, and cardboard for reusable craft stencils. Learn what to avoid and how to choose safer paints and cutting tools.
Prevent curled paper crafts with the right adhesive, a thin even coat, and flat drying under gentle pressure. Learn how to flatten a curl safely.
Keep unfinished crafts easy to resume with a simple storage routine for small parts, paper, fabric, tools, and a clear next-step note.
Choose the right craft glue for paper, fabric, wood, and plastic. Compare glue sticks, fabric glue, wood glue, and plastic-specific adhesives.