Home
» Crafts
»
How to Store Unfinished Crafts So Every Piece Stays Together
How to Store Unfinished Crafts So Every Piece Stays Together
Unfinished crafts are easiest to resume when every piece has one clear home. Before you stop, gather the project, put loose parts in a small closed container, protect work that can bend or smear, and leave a note naming the next action. A single project box or pouch can hold the work, its supplies, and a short restart cue without turning your whole craft area into a permanent setup.
No newly verified product or rule change alters this basic advice. The useful principles are durable: keep materials together, protect the most fragile part, and store the bundle somewhere dry and easy to find. The right container depends on whether the project is paper, fabric, beads, clay, or wet media.
1. Gather the project before putting anything away
Start with a quick “project sweep.” Bring together the unfinished piece, every loose component already chosen for it, the pattern or instructions, and tools that are specific to that job. Check nearby surfaces and the floor for pieces that may have rolled or fallen. Put unrelated supplies back in their usual places so they do not get mixed into the project bundle.
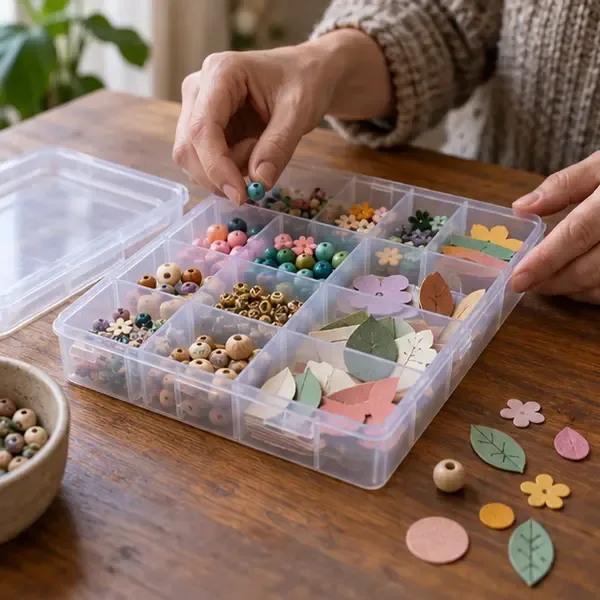
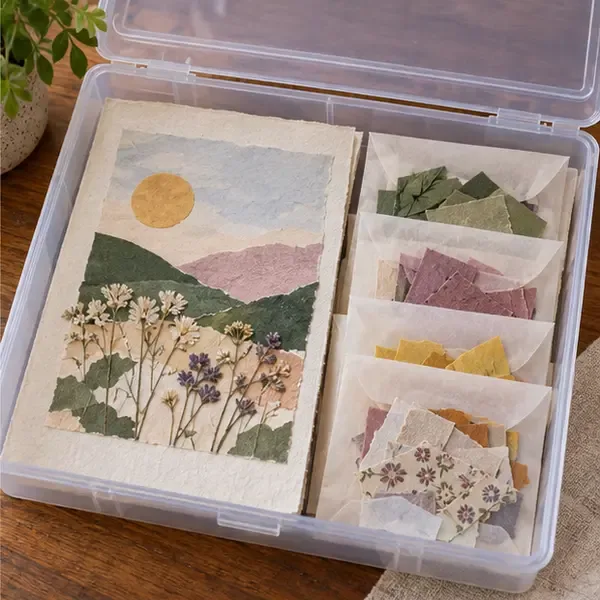
For tiny parts such as beads, buttons, sequins, small cutouts, or miniature hardware, use a divided organizer, a small screw-top jar, or a zip pouch placed inside a larger project bag. Choose a container that closes securely and is not so large that the pieces slide around freely. If using envelopes, close the flap and put them in a labeled, lidded box. A loose envelope can tear or spill when the project is moved.
Sort loose pieces into separate compartments so a spill cannot scatter the whole project.
Keep different colors, sizes, or project stages in separate compartments when mixing them would make the next session slower. If a part is easy to confuse with another, add a plain-language label such as “blue glass beads” or “left sleeve buttons.” A short label is more useful than relying on memory weeks later.
2. Match the container to the unfinished piece
The container should prevent the particular kind of damage most likely to happen. A shallow box keeps paper flat; a pouch keeps embroidery thread from tangling; a rigid container protects delicate shapes from being crushed. You do not need a specialized organizer for every hobby. Clean food-storage containers, document wallets, zip pouches, and small boxes can work if they are clean, close securely, and fit the project without bending it.
Project type
Practical storage
Watch for
Paper collage, cards, patterns
Flat folder or shallow box; scraps in a separate envelope
Bent corners, damp paper, smearing, or adhesive sticking to another surface
Beading, jewelry, miniatures
Divided box with a secure lid, nested inside the project container
Open compartments, loose lids, or small pieces accessible to young children or pets
Embroidery, knitting, sewing
Project pouch or fabric bag; thread or yarn loosely contained
Tangled strands, snagging, and exposed needles or pins
Clay, paint, glue, other wet media
Keep materials in their original packaging when practical; protect the work on a tray or washable surface
Drying, leaking, transfer, and storage conditions that conflict with the product label
For paper-based keepsakes, keep them clean, flat, and away from damp or extreme temperature changes. The Library of Congress recommends a cool, relatively dry, stable environment for works on paper and cautions against high-risk places such as attics and basements. That is preservation guidance for collections, so an ordinary craft does not require museum storage; the practical takeaway is to avoid a hot attic, a damp basement, direct sun, and locations near leaks or heating vents. Read its works-on-paper care guidance if you are storing a valuable or sentimental paper piece.
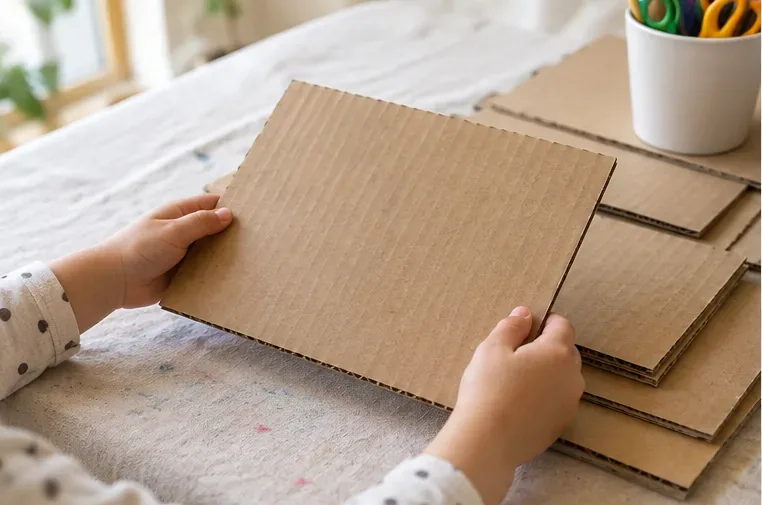
Keep a flat paper project level and place its matching scraps in separate envelopes alongside it.
3. Protect unfinished work without trapping a problem
Before closing the container, look at the work itself. Let wet paint, glue, ink, clay, or other materials reach the stage recommended on their packaging before stacking or enclosing the piece. If it is still tacky or damp, place it on a protected, level surface where it can finish drying safely, and keep it away from dust, pets, and curious hands. Do not assume an airtight box is appropriate for every material; follow the manufacturer’s directions for curing, ventilation, and cleanup.
For paper, use a clean sheet or a rigid backing board to keep the work from flexing. Avoid putting a finished surface directly against another surface if it could transfer, stick, or smudge. For fabric crafts, cover the work loosely or put it in a clean bag once it is dry, and keep the thread with it. Place sharp tools in a sheath, capped case, or secured pincushion rather than loose in the pouch. Do not leave scissors, needles, or craft knives where someone could reach them unexpectedly.
Take extra care if children are in the home. Store small craft parts in closed containers out of reach of young children, and keep them separate from play materials. The U.S. Consumer Product Safety Commission explains that certain small parts can create choking, aspiration, or ingestion hazards for children under three. Its rule is written for children’s products, but the everyday household lesson is simple: loose beads and similar pieces should not be left accessible to a toddler. See the CPSC small-parts guidance, and consider pets that may chew or swallow small objects as well.
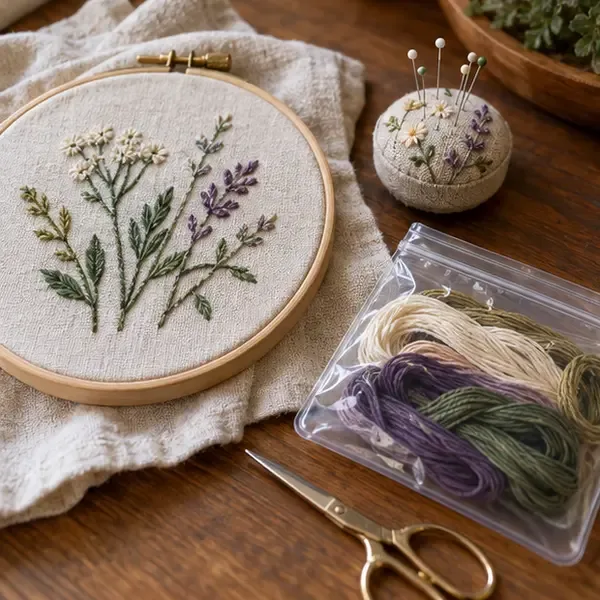
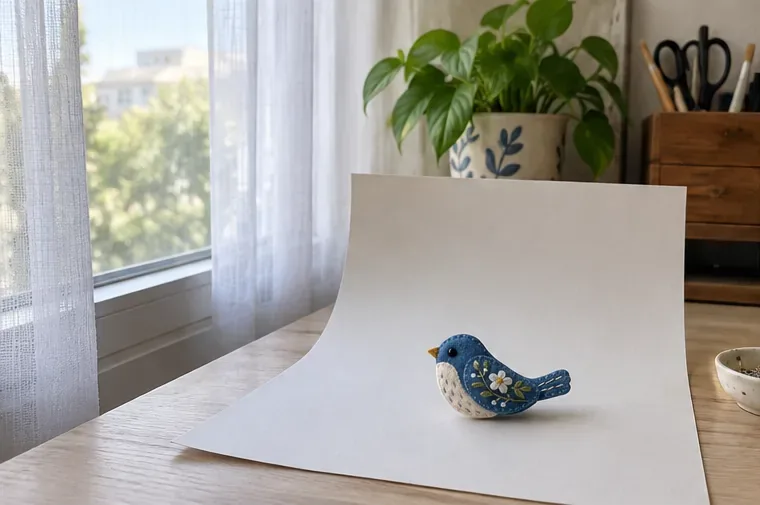
Store the embroidery hoop with its thread in a pouch, and secure needles in a pincushion or capped case.
4. Add a restart note, then store the bundle where you will look
A tidy box can still become a mystery box if you do not remember why the pieces are together. Add a note card, sticky label on the outside, or project log with three details: the project name, what is finished, and the next physical action. “Finish the craft” is vague. “Cut two more green leaves, then glue them along the bottom edge” tells you where to begin. You can also list a missing supply or the name of the pattern page.
Put the note where it will stay with the craft. If the label is on a removable lid, include a second slip inside the box. Take a quick reference photo before packing if the arrangement matters, such as the order of quilt blocks or the layout of a collage. A photo helps reconstruct placement, but it does not replace keeping the pieces together.
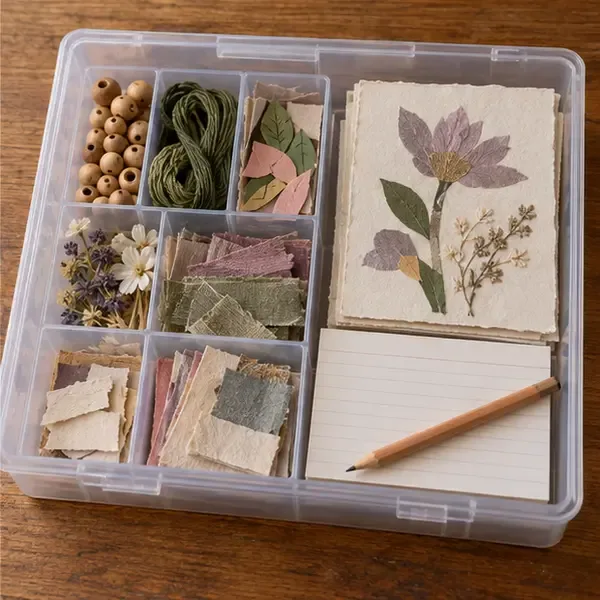
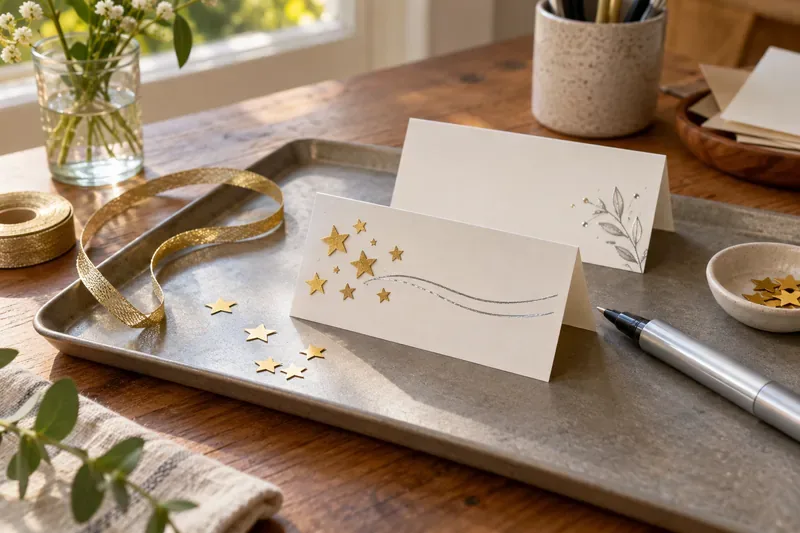
Leave a note with the unfinished piece so the next action is easy to remember.
Choose one predictable home for in-progress projects: a shelf, drawer, basket, or cabinet. Store the project at a comfortable height where it will not be crushed by heavier supplies. Avoid placing it near food, water, radiators, sunny windows, or floor areas where it can be kicked or vacuumed up. If several projects share a bin, use individual pouches or boxes inside it rather than combining loose pieces.
A five-minute closing routine
Stop at a natural point and collect the work, instructions, tools, and loose pieces.
Sort small items into compartments, envelopes, or a pouch that closes.
Protect the piece according to its material; let damp work dry as directed before enclosing it.
Write the project name and exact next step on a note that stays with the supplies.
Return the bundle to its regular storage spot and check that small parts and sharp tools are secured.
Common storage mistakes to avoid
Using one big open tote: small parts migrate to the bottom, where they can disappear under unrelated supplies. Put components in smaller containers first.
Putting everything in a bag while wet: damp or uncured materials may smear, stick, or fail to dry as intended. Follow the package directions and protect the work while it dries.
Leaving the pattern behind: the work may be physically intact but difficult to resume. Keep the pattern page, reference image, or written measurements with the project.
Choosing a container that is too tight: squeezing a shaped or dimensional piece can flatten it or bend delicate parts. Give the most fragile element enough clearance.
Trusting memory: a brief restart note prevents you from repeating setup or undoing work to figure out what comes next.
If a craft will be paused for months, do a quick check before putting it away: make sure containers are closed, the work is dry when appropriate, labels are readable, and nothing is stored somewhere damp, hot, or exposed to direct sunlight. When you return, compare the project with the note, inspect the materials, and replace anything that has dried out, leaked, or become damaged before continuing.
The most reliable unfinished-craft storage system is simple enough to use every time: one project, one contained bundle, one clear next step. That small habit keeps pieces from wandering and makes it much easier to restart while the idea is still fresh.