Home
» Crafts
»
How to Seal Salt-Dough Ornaments Against Humidity Without Trapping Moisture
How to Seal Salt-Dough Ornaments Against Humidity Without Trapping Moisture
The most important step is not the sealer—it is making sure the salt-dough ornament is completely dry before you seal it. A clear finish can slow moisture exchange, but it cannot reliably rescue an ornament that still holds moisture inside. For the best chance of keeping salt-dough ornaments firm through humid seasons, dry them thoroughly, decorate them, coat every exposed surface and edge with a compatible clear finish, let that finish cure for the time stated on its label, and store the ornaments in a dry container when they are not on display.
That sequence matters because “dry to the touch,” “moisture-resistant,” and “waterproof” are not interchangeable claims. For example, Krylon describes its Crystal Clear Acrylic Coating as moisture-resistant, while Plaid states that Mod Podge is not waterproof and that some formulas are only water-resistant after curing. Plaid also says its Mod Podge products may take about 28 days to fully cure even though they can feel dry much sooner. See Krylon Crystal Clear Acrylic Coating product guidance and Plaid's current Mod Podge drying and curing guidance.
Do salt-dough ornaments need to be bone-dry before sealing?
Yes. Treat complete drying as the foundation of the project. Extension guidance for salt-dough crafts consistently puts drying or baking before decorating and sealing. Florida A&M University Cooperative Extension, for example, instructs makers to bake salt-dough ornaments until dry and hard, cool them, decorate them, and then optionally apply a clear sealant or varnish. Washington State University Extension likewise describes baking until completely dry before finishing the ornament.
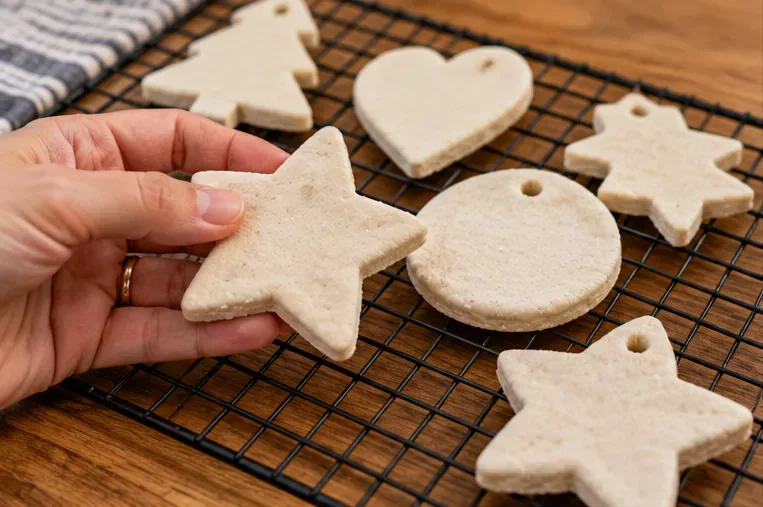
Let salt-dough ornaments dry completely before paint or sealer goes on. A hard, cool, dry piece gives the finish a better surface and avoids trapping residual moisture.
If you have just baked an ornament, let it cool fully before judging it. Thick pieces, deep handprints, and ornaments with uneven thickness need more drying time than thin, uniform cutouts. If a piece feels cool or damp in the center, flexes, or has a darker-looking interior at an edge or hanging hole, give it more time rather than sealing it immediately.
Action: wait until the ornament is hard and fully cooled, then inspect the back, edges, and hanging hole—not just the decorated front.
Which type of sealer is best for humidity?
For indoor ornaments, a clear acrylic spray or a compatible brush-on craft sealer are both practical choices. The better option depends on the finish you want and how much control you need around painted details.
Sealer type
Useful when
Trade-off
Clear acrylic spray
You want thin, even coats over detailed or textured ornaments
Needs careful ventilation and overspray control
Brush-on water-resistant craft sealer
You want precise coverage and prefer not to spray
Brush marks and pooling are possible; full cure can take much longer than touch-dry time
Clear varnish compatible with crafts
You want a harder decorative topcoat
Compatibility and cure instructions vary widely by product
Krylon's Crystal Clear Acrylic Coating is labeled moisture-resistant and lists paper, plaster, ceramic, wood, and papier-mâché among its compatible surfaces. Salt dough is not specifically named on that product page, so it is sensible to test any spray on a spare ornament first. Plaid's own guidance similarly emphasizes that its sealers vary in water resistance and are not universally waterproof. That is why the label on the exact product you buy matters more than a generic recommendation to “use Mod Podge” or “use acrylic spray.”
Action: choose a clear finish whose manufacturer describes it as suitable for porous craft surfaces, and test it on a scrap or spare ornament before coating a keepsake.
Should you seal only the painted front?
No. For humidity control, cover the whole object: front, back, outer edge, recessed details, and the inside of the hanging hole. Leaving the back or raw edges exposed gives humid air a larger unsealed path into the porous ornament.
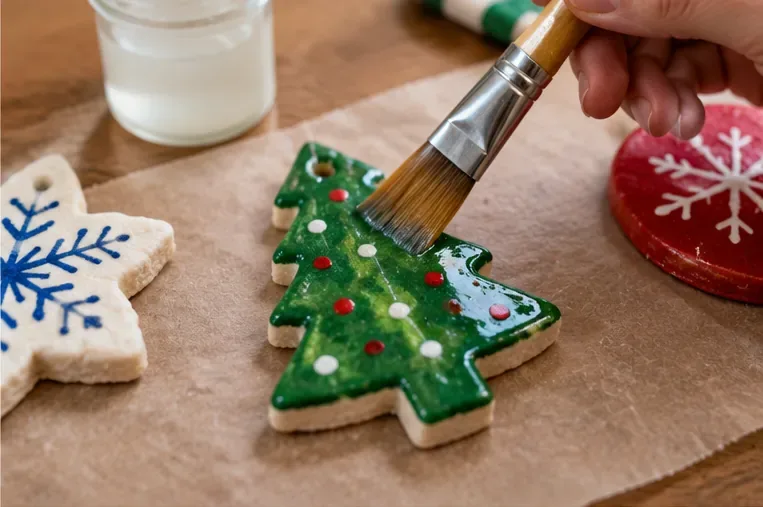
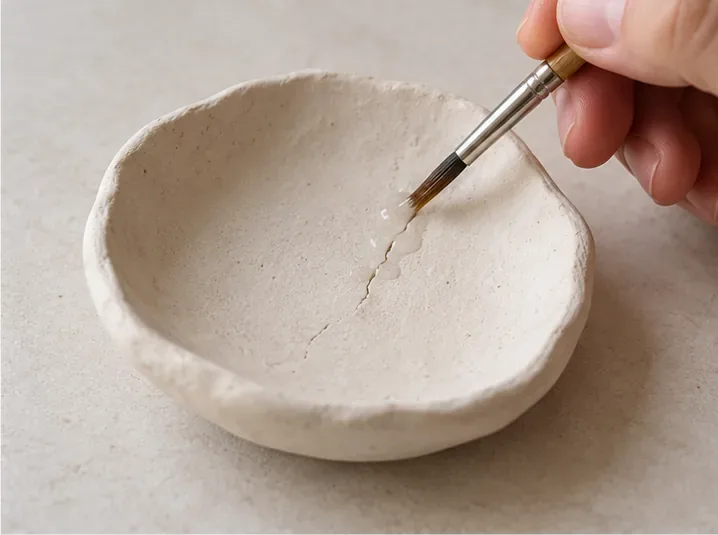
A brush-on finish makes it easier to work sealer into edges and small details. Use thin coats instead of leaving heavy pools in recessed areas.
With a brush-on finish, use a thin coat and watch for puddles around stamped letters, handprints, grooves, and glitter. Let the first side dry enough to handle according to the product instructions before turning the piece over. Then coat the reverse and perimeter. If the manufacturer calls for multiple coats, follow its recoat directions rather than applying one heavy layer.
Action: make a mental checklist—front, back, edge, hole—before you call the ornament sealed.
Is a spray sealer better at keeping humidity out?
Not automatically. A spray can produce a very even film, which is helpful on textured ornaments, but performance still depends on surface preparation, coat thickness, cure time, and the specific coating. A spray labeled moisture-resistant is not the same as a waterproof encapsulation.
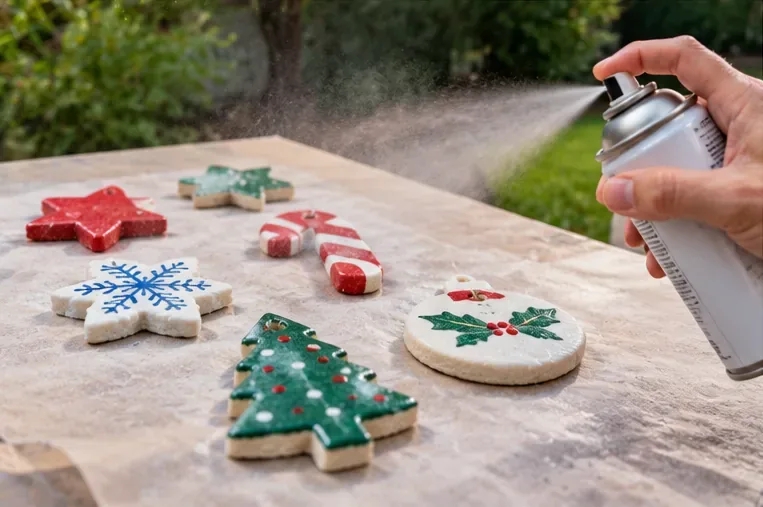
Spray clear coats in a well-ventilated area and build protection with light, even passes rather than soaking the ornament with one heavy coat.
For aerosol products, follow the label exactly. Krylon recommends spray painting outdoors when possible and advises good ventilation for indoor spraying. Its safety guidance says vapors can be harmful and recommends fresh-air ventilation during application and drying. The company also notes that finish quality can be affected by temperature and humidity; for some clear coatings it specifies best results around 55–75°F and below 60% relative humidity. See Krylon's spray-paint safety guidance and Krylon UV-Resistant Clear Coating application conditions.
Action: if the day is very damp, postpone spraying or move to conditions permitted by the product label rather than trying to force a clear coat to dry in high humidity.
How long should a sealed ornament cure before storage?
Longer than “until it feels dry” if the product specifies a full cure period. This is one of the most important distinctions for humidity resistance. Plaid's June 2026 guidance says Mod Podge may dry to the touch in roughly 15–20 minutes depending on conditions, while full cure can take about 28 days. During that period, Plaid advises limiting heavy handling and avoiding water exposure.
A spray coating may have much shorter handling times, but you should still use the timing printed on the exact can. Krylon's Crystal Clear Acrylic Coating, for example, lists a 10-minute touch-dry time and a 2-hour handle time; those numbers describe handling stages, not permission to ignore any additional label instructions for recoating or final use.
Action: write the application date on a note and keep ornaments in a clean, dry place until the manufacturer's full cure instructions are satisfied.
Does sealing make salt dough waterproof?
No reliable general claim can be made that a homemade salt-dough ornament becomes waterproof simply because it has a clear coat. Some coatings are moisture-resistant, some are water-resistant, and some craft formulas specifically say they are not waterproof. Salt dough is also a porous, salt-containing material, so prolonged dampness is a poor storage environment even after sealing.
This is why bathroom display, damp basements, unconditioned garages, outdoor wreaths, and covered-but-humid porches are riskier locations than a climate-controlled indoor room. A sealed ornament may tolerate normal seasonal indoor humidity better than an unsealed one, but sealing should be treated as protection—not permission to expose the piece to rain, condensation, or standing water.
Action: keep finished salt-dough ornaments indoors and away from direct water, condensation, and persistently damp areas unless the specific coating manufacturer explicitly supports that exposure.
How should you store ornaments between seasons?
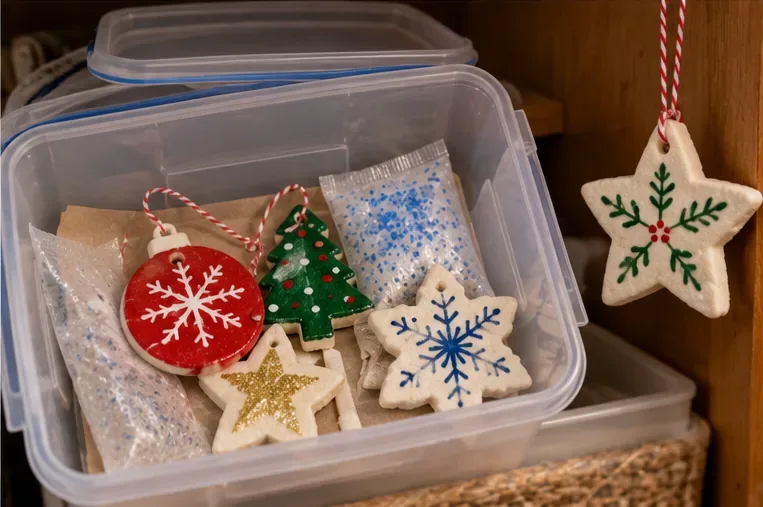
Once the finish has fully cured, wrap ornaments loosely in clean tissue or place them in individual compartments so painted surfaces do not scrape against one another. Use a clean, dry lidded container and store it in a conditioned closet or similar dry indoor location rather than an attic, shed, basement, or garage with large humidity swings.
After the finish has fully cured, dry indoor storage in a closed container helps reduce repeated exposure to humid air between holiday seasons.
Desiccant packets can be a useful extra measure in a storage box, but they are not a substitute for fully drying and sealing the ornament. Use intact commercial packets as directed, keep them away from children and pets, and replace or regenerate them only according to their manufacturer's instructions.
Action: choose a storage location based on dryness and temperature stability, not simply on available space.
What if an old ornament already feels soft or tacky?
Do not immediately trap it under another coat. First move it to a dry indoor location with normal room airflow and let it stabilize. If the existing finish has turned cloudy, sticky, or soft, applying a second incompatible coating can make the problem harder to correct. Plaid specifically notes that prolonged moisture exposure can cloud some water-resistant formulas and that the effect may become permanent.
If the ornament has visible mold, crumbling areas, deep cracks, or a strong musty odor, preservation may not be practical. For a sentimental piece, photographing it and making a new copy may be safer than aggressive cleaning or repeated recoating.
Action: dry first, then decide whether the surface is stable enough for a compatible repair coat. Do not add sealer while the ornament still feels damp or unusually soft.
A simple sealing sequence that works for most indoor ornaments
Dry or bake the salt dough until it is hard, then cool it completely. Florida A&M University Cooperative Extension's salt-dough instructions are a useful reference: FAMU salt-dough ornament activity.
Decorate with a finish compatible with your chosen clear coat and let the decoration dry fully.
Test the clear sealer on a spare piece, especially over markers, metallic paint, glitter, or ink.
Apply thin coats to the front, back, edges, and hanging hole, following the product's ventilation, recoat, temperature, and humidity instructions.
Allow the coating to reach its stated full cure before packing the ornaments away.
Store them dry, indoors, and protected from condensation and large humidity swings.
How can you tell whether the job is finished?
A well-prepared ornament should feel hard and dry before coating; after curing, the finish should be even rather than tacky, cloudy, or pooled. All raw edges should be covered, and the ornament should be stored only after the manufacturer's curing window has passed. If you can still find exposed salt-dough surface around the back edge or hanging hole, the sealing job is incomplete.
The goal is not to create an indestructible waterproof object. It is to reduce moisture exposure enough that an indoor decorative ornament has a better chance of staying firm and intact from season to season. Thorough drying, complete coverage, patient curing, and dry storage do more for that goal than simply applying the thickest possible coat.