Home
» Crafts
»
How to Keep Paper Crafts From Curling After Glue Dries
How to Keep Paper Crafts From Curling After Glue Dries
The most reliable way to keep paper crafts flat after glue dries is to limit how much moisture reaches the paper, spread adhesive evenly, and hold the piece flat between clean protective sheets while it dries. Thin paper, large glued areas, and watery glue are more likely to curl because the paper expands and contracts unevenly. For small, flat pieces, a glue stick or double-sided adhesive can reduce moisture; for liquid glue, use a thin, even coat and follow the product label.
Why does paper curl when glue dries?
Paper fibers react to moisture. When one side of a sheet gets wetter than the other, or one area receives more glue, those areas can expand and then shrink as they dry at a different rate. The result may be a curled edge, a wavy surface, or small ripples called cockling. Thin copy paper and tissue usually show this more readily than sturdy cardstock, but heavy paper can still warp if it is saturated or glued unevenly.
Conservation research on paper drying describes how uneven drying can produce distortions and why holding a sheet in a flat shape while moisture leaves can help control its surface. That research concerns paper conservation, not a test of every craft glue or paper combination, so treat the practical steps below as sensible craft methods rather than a guarantee for every material.
Which glue is least likely to make paper curl?
For a small paper-to-paper detail, a glue stick or double-sided adhesive is often a good first choice because it adds little liquid moisture. A thin, even layer of liquid glue can work too, especially on heavier cardstock, but a puddle or thick stripe can soak and distort lightweight paper. Match the adhesive to both surfaces: a bond that works for cardstock may not suit coated paper, photographs, vellum, or a glossy print.
Read the adhesive label before mixing, thinning, or substituting materials. For example, Elmer’s own decoupage instructions use a specified glue-and-water mixture and note that paper may stretch or bubble initially, with minor wrinkling shrinking as it dries. That guidance is for that recipe and project type; it does not mean adding water to any glue is a curl-prevention method. If you are uncertain, test the glue on a scrap from the same paper pack.
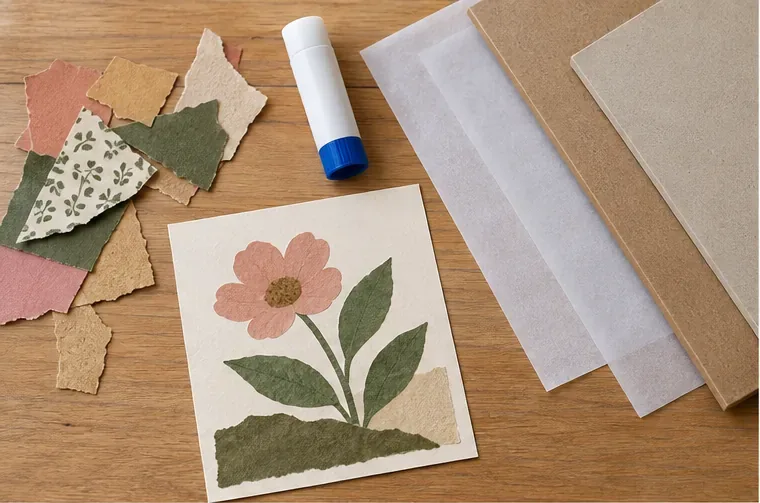
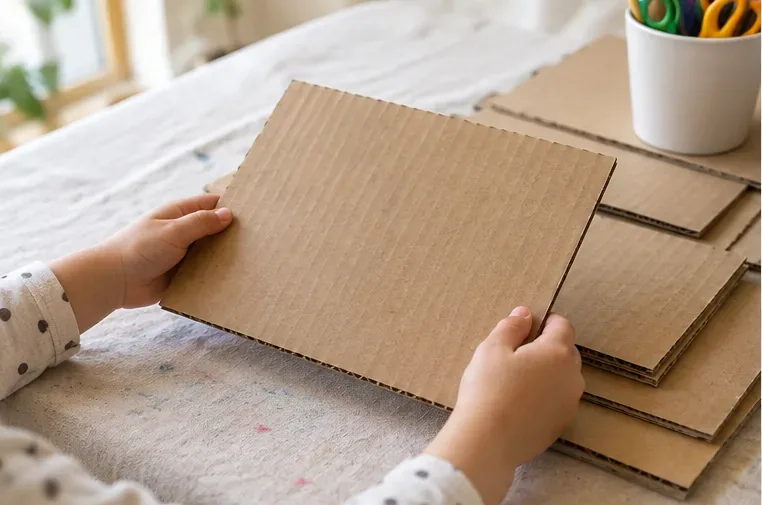
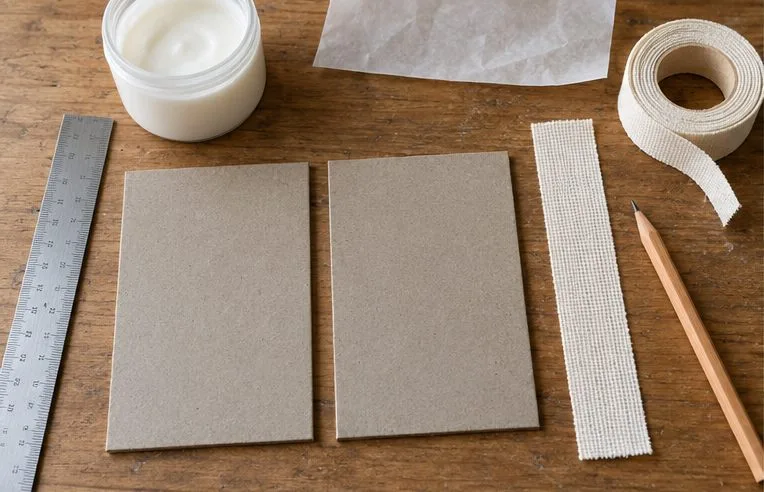
Gather the adhesive, protective sheets, and flat boards before starting so the glued paper can be pressed without delay.
How should you apply glue to avoid curling?
Prepare a flat work surface. Use a clean, dry table and cut your paper pieces first. Keep release sheets and flat boards nearby. If the base is thin, place it on a piece of sturdy cardstock while working.
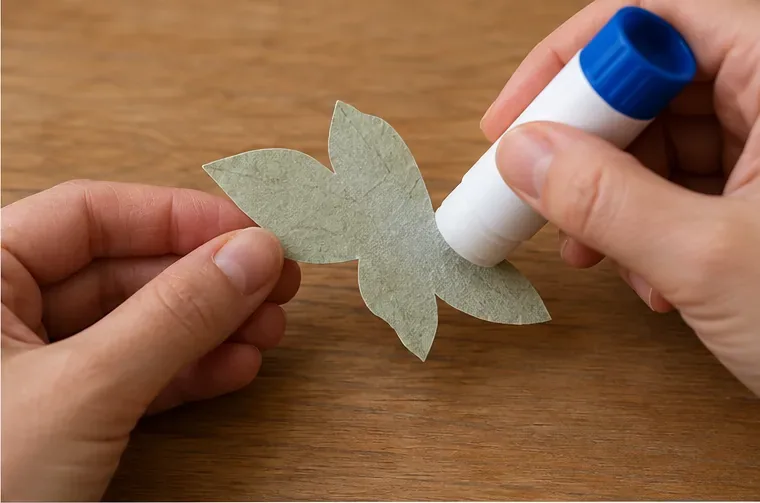
Use less adhesive and distribute it evenly. With a glue stick, make smooth overlapping passes rather than pressing hard in one spot. With liquid glue, use a small amount and spread it into a thin coat with a brush or spreader. Apply to the piece being attached when practical, instead of soaking both layers.
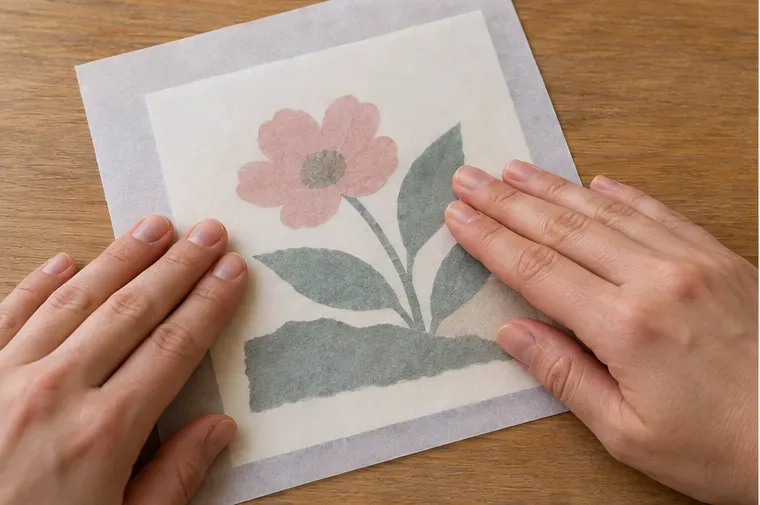
Assemble while the adhesive is workable. Position the piece once, then smooth gently from the center toward the edges to push out trapped air. Use a clean release sheet between your hand or tool and the paper to avoid scuffs, fingerprints, or glue transfer.
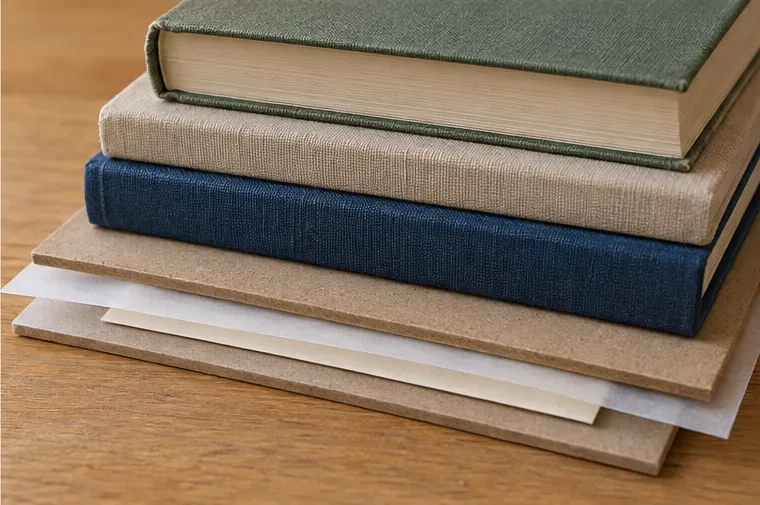
Dry it under even, gentle pressure. Sandwich the craft between clean protective sheets and rigid flat boards. Add evenly distributed books or other light, stable weight. Keep the stack on a level surface and leave it undisturbed until the adhesive is fully dry according to its label.
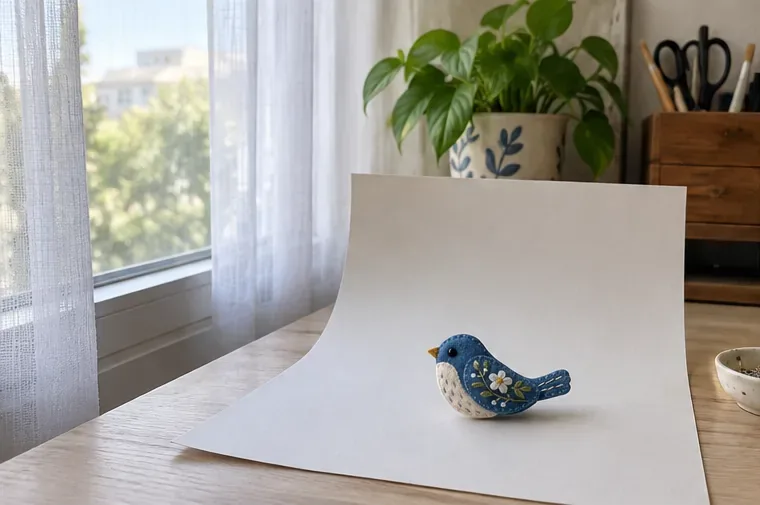
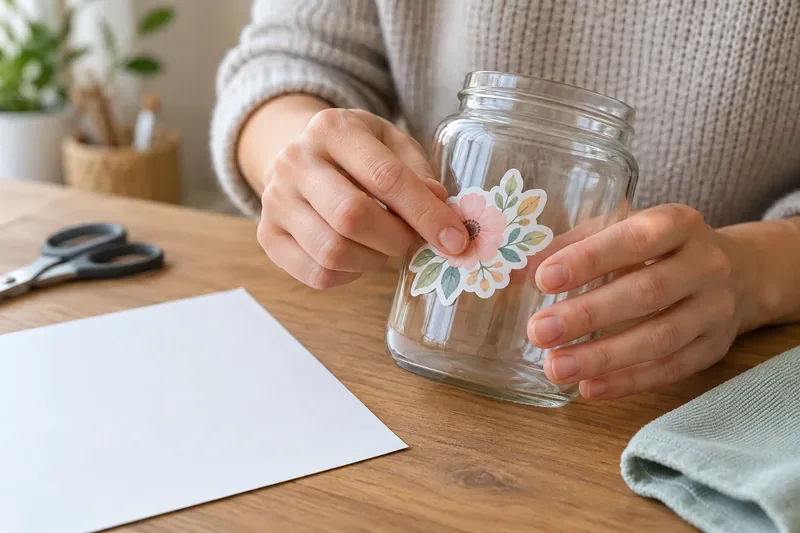
Spread glue in a light, consistent layer; thick spots and wet patches can pull paper unevenly as they dry.After positioning the paper, smooth from the center outward through a protective sheet to press out bubbles without stretching the surface.A flat board above and below the craft distributes gentle pressure while the adhesive dries.
How much weight and drying time should you use?
Use enough weight to keep the boards in contact with the paper, not so much that the stack bends, crushes raised details, or squeezes wet glue out of the edges. For a small card, a few books may be sufficient; for a larger piece, a rigid board helps distribute the weight. There is no universal drying time: adhesive formula, paper thickness, glue amount, humidity, and project size all matter. Follow the container’s directions and wait until the piece feels dry before removing the weight. If the glue is still damp, lifting it early can let the paper curl again.
Choose protective sheets that will not stick to or mark the adhesive. Silicone-coated release paper is designed to release from many adhesives, but check compatibility with your glue. Plain clean scrap paper can be used as a separator for some projects, though it may adhere if glue squeezes through. Replace any sheet that becomes damp or tacky, and do not place a wet project directly between the pages of a valued book.
What if a finished craft is already curled?
For an ordinary, fully dry cardstock craft with no raised decorations, place it between clean, dry protective sheets and flat boards, then add light, even weight. Leave it in place for several hours or overnight and check it. Repeat if needed rather than adding water or heat. Pressure can flatten the sheet, but it cannot always reverse a strong crease or distortion.
Avoid spraying the piece with water, steaming it, ironing it, or blasting it with a hair dryer. Extra moisture can make the paper swell again, while concentrated heat can damage coatings, ink, adhesive, or embellishments. Do not press a dimensional card so hard that beads, foam, or folded layers are crushed. For a print, photograph, watercolor, inkjet image, antique paper, or anything valuable, do not experiment with moisture or pressure: inks and coatings may transfer, stain, or delaminate.
When should you switch materials or methods?
If the same paper keeps curling despite a thin coat and flat drying, try a heavier backing, a glue stick, or double-sided adhesive on a fresh test piece. Adhesive runners and tape are useful for small, flat shapes because they avoid wetting the sheet; they may not hold heavy or textured materials. Spray adhesives can cover broad surfaces, but they require careful handling and ventilation. Follow the product’s label, use only where permitted, and protect nearby surfaces. A spray adhesive’s repositioning window and bond vary by product.
For wet collage or decoupage, some initial rippling may happen. Apply the medium as directed, smooth bubbles gently, and allow the surface to dry completely before deciding whether it needs further flattening. Adding more wet glue to a curl after it has begun can make the problem worse. The useful test is the fully dry result: edges stay down, the surface is acceptably smooth for the project, and no ink, color, or coating has transferred to the separator.
How is a craft project different from flattening valuable paper?
Do-it-yourself craft flattening should stay dry and simple. The National Park Service describes controlled humidification and flattening for paper collections as a specialized process, and it warns that photographs, coated papers, tracing papers, fragile media, and other materials require additional expertise. That is not a reason to humidify a glued craft at home. If a treasured artwork or document has curled, consult a qualified paper conservator rather than testing a household fix.
Quick curl-prevention checklist
Test the adhesive on a scrap of the same paper.
Use a glue stick or double-sided adhesive for small, flat paper pieces when suitable.
Spread liquid glue thinly and evenly; avoid soaking the paper.
Smooth gently from the center outward through a clean protective sheet.
Dry between flat boards with light, even weight until the glue is fully dry.
Keep water and heat away from finished crafts, prints, and valuable paper.