How to Crochet a Reverse Single Crochet Stitch

The reverse single crochet stitch (abbreviated reverse sc) is sometimes called the crab stitch. The actual mechanics of a reverse single crochet stitch are the same as for a regular single crochet — except in reverse.

Instead of working from right to left, you work from left to right. It creates a somewhat twisted, rounded edge that’s good for making a simple finished edge for your work. You usually don’t work stitches into the tops of the reverse single crochet, so you won’t find this stitch in the middle of a project.


How to Crochet a Reverse Single Crochet Stitch

1Insert the hook, from front to back, in the next stitch to the right.

Be sure to have the right side of your work facing you.


How to Crochet a Reverse Single Crochet Stitch

2Yarn over (yo) and draw the yarn through the stitch.

This step is similar to how you work a regular single crochet — only backwards.


How to Crochet a Reverse Single Crochet Stitch

3Yarn over and draw the yarn through the 2 loops on the hook.

One reverse single crochet is complete.


How to Crochet a Reverse Single Crochet Stitch

4Repeat the preceding steps in each stitch across the row.

This image shows several completed reverse single crochet stitches.


How to Crochet a Reverse Single Crochet Stitch

5Take a look at the reverse single crochet stitch symbol.

Many people who crochet prefer to read crochet stitch diagrams instead of written instructions. This symbol for reverse single crochet stitch would appear in a stitch diagram.

Leave a Comment

How to Make Washable Paint Less Watery for Stamping

How to Make Washable Paint Less Watery for Stamping

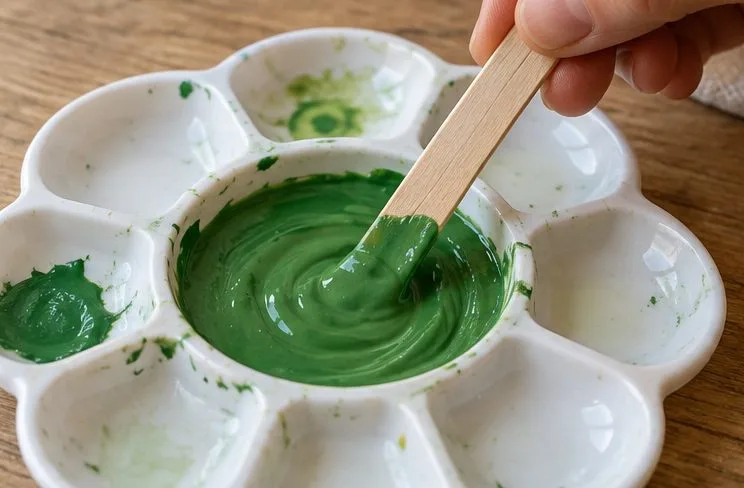
Make washable paint stamp cleanly: stir first, load stamps lightly, and compare compatible thick paint or paint-specific mediums without risking the whole bottle.

Why Air-Dry Clay Cracks—and How to Repair It

Why Air-Dry Clay Cracks—and How to Repair It

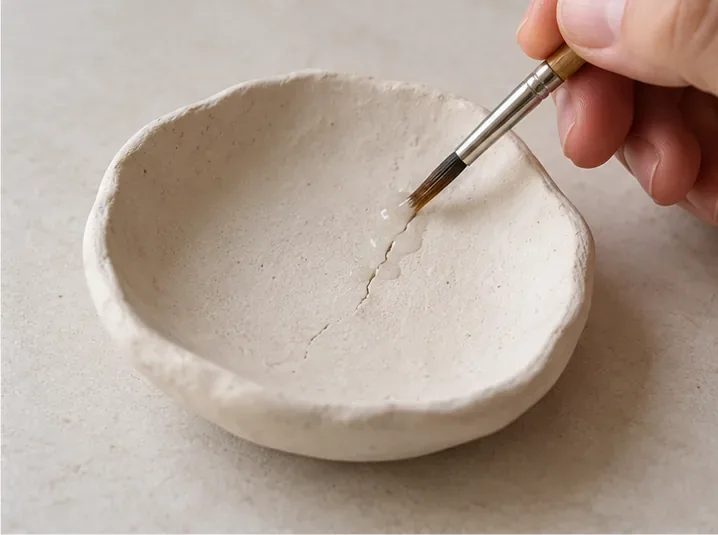
Learn why air-dry clay cracks as it dries, how to patch small cracks with water or fresh clay, and how to dry repairs evenly to reduce repeat damage.

How to Cut Felt Cleanly Without Frayed or Ragged Edges

How to Cut Felt Cleanly Without Frayed or Ragged Edges

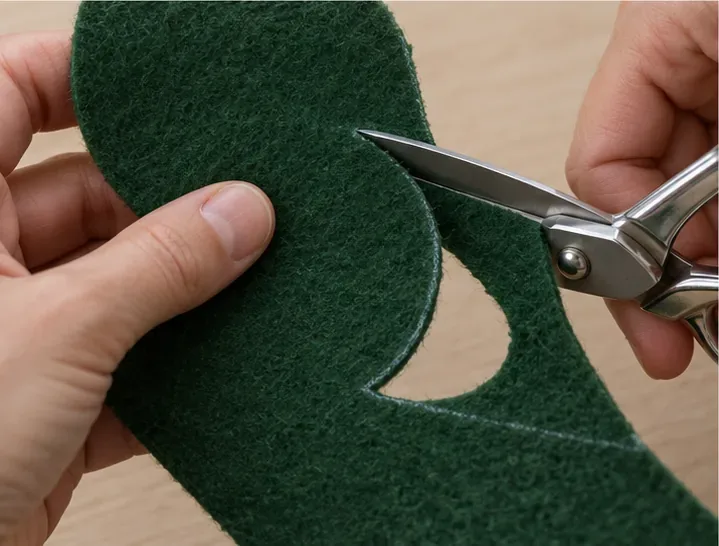
Get clean felt edges with the right scissors, a steady pattern, and smooth cutting strokes. Learn when a rotary cutter or utility knife makes more sense.

How to Remove Hot Glue Strings Without Damaging Your Project

How to Remove Hot Glue Strings Without Damaging Your Project

Learn a gentle, surface-aware way to remove cooled hot glue strings from crafts, with practical steps for wood, paper, fabric, plastic, and more.

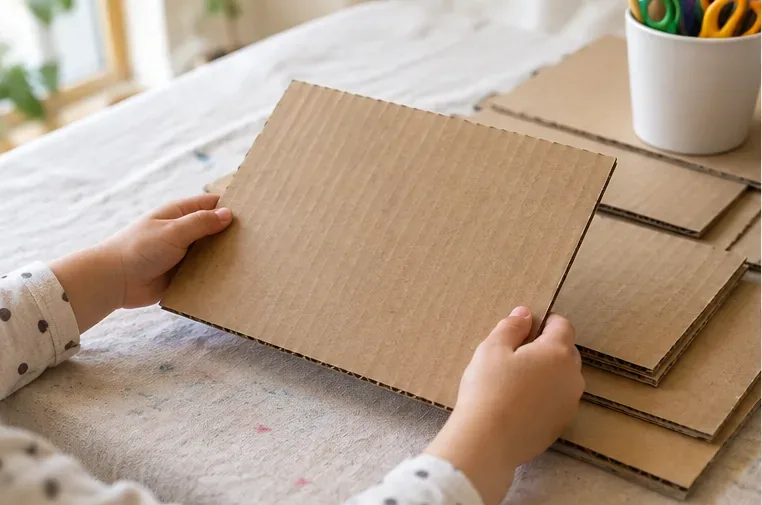
How to Paint Cardboard Without Making It Soggy: A Kid-Friendly Guide

How to Paint Cardboard Without Making It Soggy: A Kid-Friendly Guide

Help kids paint cardboard without warping it. Learn which paint to use, how much to apply, how to dry each coat, and what mistakes to avoid.

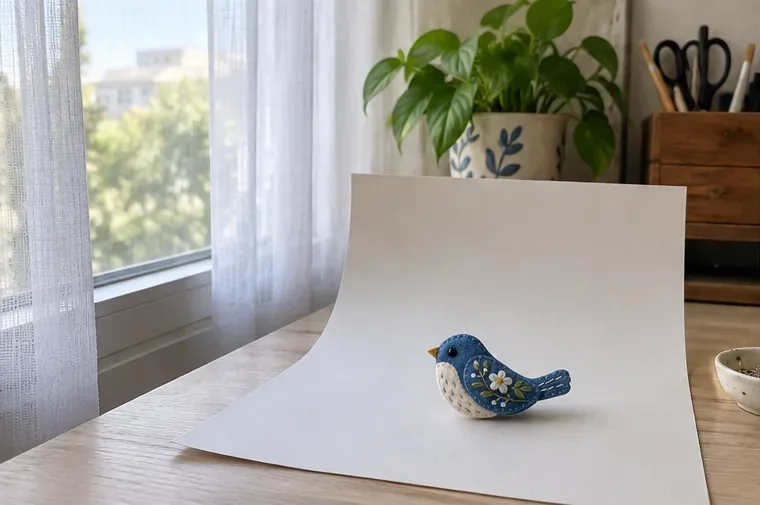
How to Photograph Small Crafts Clearly With Window Light

How to Photograph Small Crafts Clearly With Window Light

Photograph small crafts with soft window light, a simple white reflector, and precise focus. Learn how to reduce blur, harsh shadows, and color shifts.

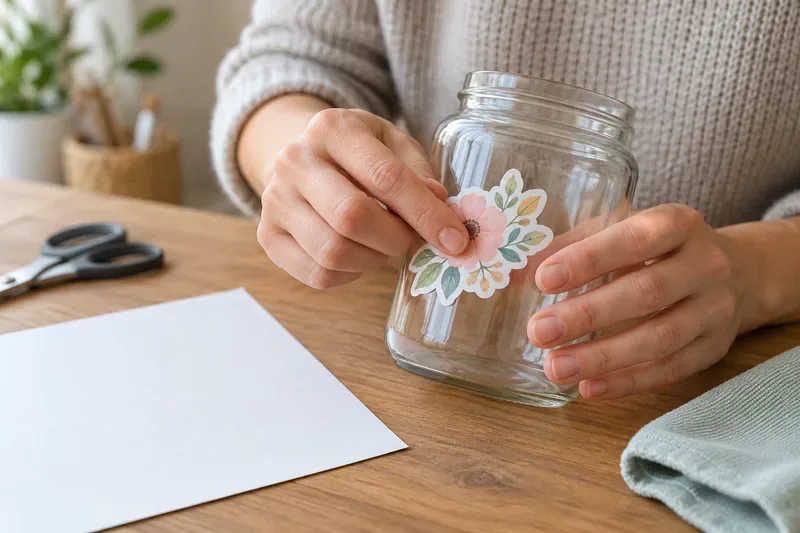
Why Homemade Stickers Lose Adhesion—and How to Make Them Last Longer

Why Homemade Stickers Lose Adhesion—and How to Make Them Last Longer

Homemade stickers peel when adhesive, surface, and conditions do not match. Learn how to prep surfaces, apply stickers smoothly, choose materials, and store sheets.

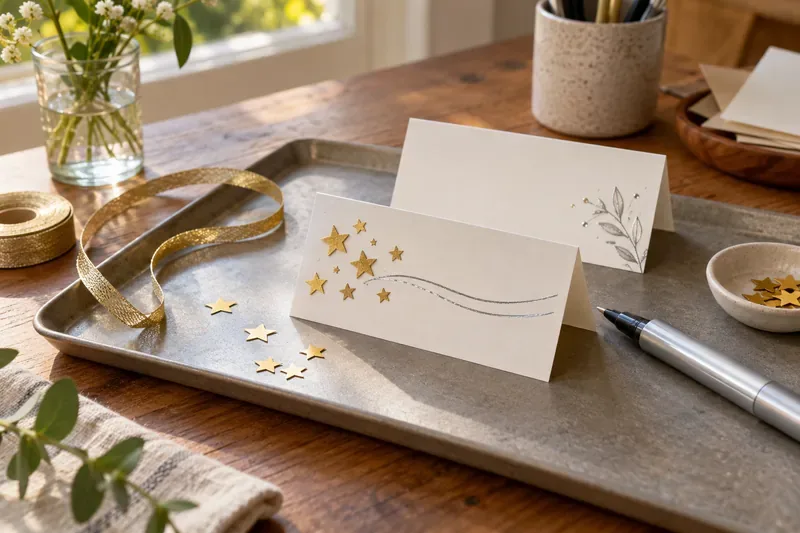
What Can You Use Instead of Glitter for a Lower-Mess Sparkle?

What Can You Use Instead of Glitter for a Lower-Mess Sparkle?

Compare metallic paper, markers, paint, foil accents, and ribbon for a glitter-free sparkle effect. Choose by surface, shine, cleanup, and who will use the craft.

How to Build a Cardboard Hinge That Holds Up to Repeated Opening

How to Build a Cardboard Hinge That Holds Up to Repeated Opening

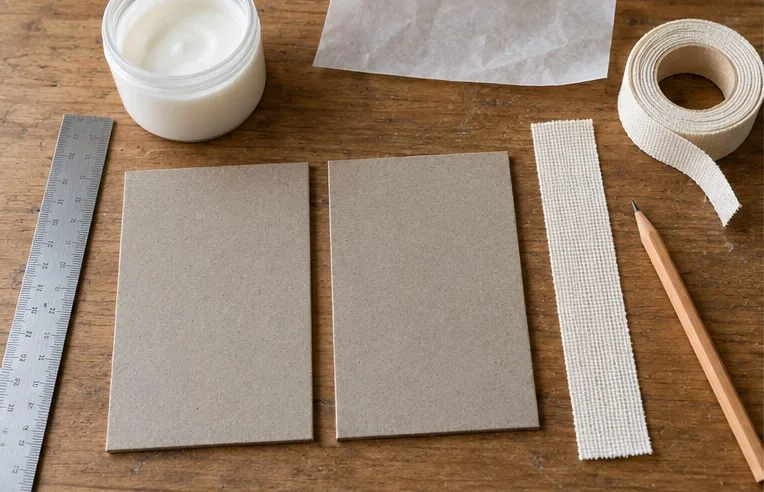
Build a longer-lasting cardboard hinge with rigid panels, a measured gap, and a flexible cloth bridge. Learn how to assemble, test, and troubleshoot it.

The Easiest Way to Transfer a Simple Pattern Onto Fabric

The Easiest Way to Transfer a Simple Pattern Onto Fabric

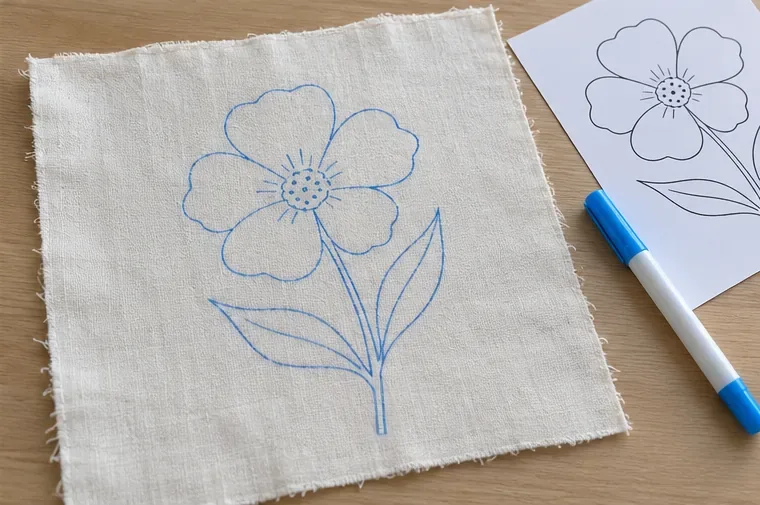
For a simple design on light fabric, tracing with a removable fabric marker is usually the easiest transfer method. Learn the steps, alternatives, and mistakes to avoid.