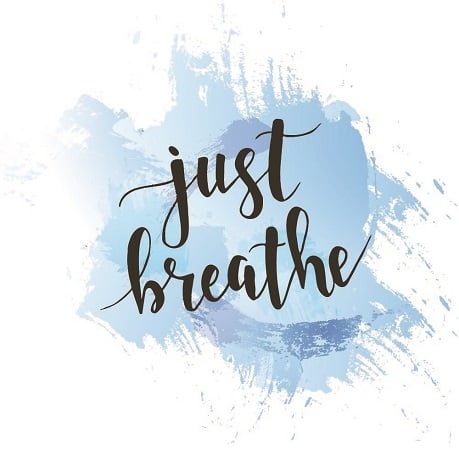
Brush lettering is a style of writing similar to calligraphy. With each letter, heavy pressure is applied on the downward stroke and light pressure is applied with every upward stroke. Because of the use of pressure and the appearance of the letters, brush lettering is commonly known as modern calligraphy.

In order to be successful at brush lettering, you must have three things:
- Brush pens or markers for modern calligraphy: Brush pens and markers have nylon tips. These writing utensils can come in different colors, sizes, and brush types.
- Ground: The ground is the background surface to which you apply the brush lettering. This surface can be paper, canvas, gesso board, or any other surface used for ink lettering.
- Subject matter: This involves the lettering, word, phrase, or group of sentences you wish to write.
Keep in mind, practice makes perfect! Because brush lettering is done with ink, there are no do-overs. Check here for free downloadable practice sheets.
Avoid rushing into your brush lettering project. Grounds can sometimes be expensive. It is recommended that you practice on a piece of unwanted paper first. Once you have mastered the alphabet, you can move to working with your ground.
Getting started with brush lettering
Before you jump in on a brush lettering project, you need to know the different types of brush strokes. There are eight basic strokes that comprise brush lettering:
- Down stroke: Heavy pressure is applied in a downward motion.
- Up stroke: Light pressure is applied in an upward motion.
- Under stroke: Heavy pressure is applied in a downward motion, then curving up while lightening the pressure of the brush pen. This looks like the letter U.
- Over stroke: Light pressure is applied in an upward motion, followed by a downward curve while applying heavier pressure. An over stroke appears like the lowercase letter n.
- Over-under stroke: Light pressure is applied upward, followed by a downward curve with heavy pressure, finishing with an upward curve applied with light pressure. This stroke looks like the capital letter N.
- Loop stroke: With a basic loop stroke, you start at the one o’clock position, moving counterclockwise into an upward curve, looping back down and around. For loop stroke, you adjust heavy pressure when moving down and apply light pressure when looping back up. A loop stroke appears like the letter O.
- Over-loop stroke: An over-loop stroke starts with light pressure and upward motion that loops over into a heavier downward motion. This stroke looks like the cursive lowercase l.
- Under-loop stroke: This stroke is the opposite of the over-loop stroke. The under-loop stroke starts with a heavy downward motion that curves around and back upward with lighter pressure. This stroke appears like the cursive letter J.
Take a look below to see each of these brush strokes in action.
![What is Brush Lettering?]()
Brush lettering is all about getting the angles right. You can make a guide like the one above to help you master the pressure and angles. Making a guide will help you visualize each stroke and each letter. Practicing the letters consistently will help you develop muscle memory and will make writing in the brush lettering style more natural.
All down stokes are the thick parts of the lettering as a result of the application of heavier pressure, and all upstrokes are the thin parts of the lettering, due to the lighter pressure of the pen or marker.
In brush lettering, the curves require a transition from heavy to light pressure, and vice versa. Often, practitioners pay particular attention to the curves to get them to look natural and smooth. With time and effort, mastering brush lettering is as easy as writing your name.
Keep in mind there are many calligraphy styles. You can use any of these styles for your brush lettering project.
Once you have mastered brush lettering, try adding some bounce to your letter with bounce lettering.