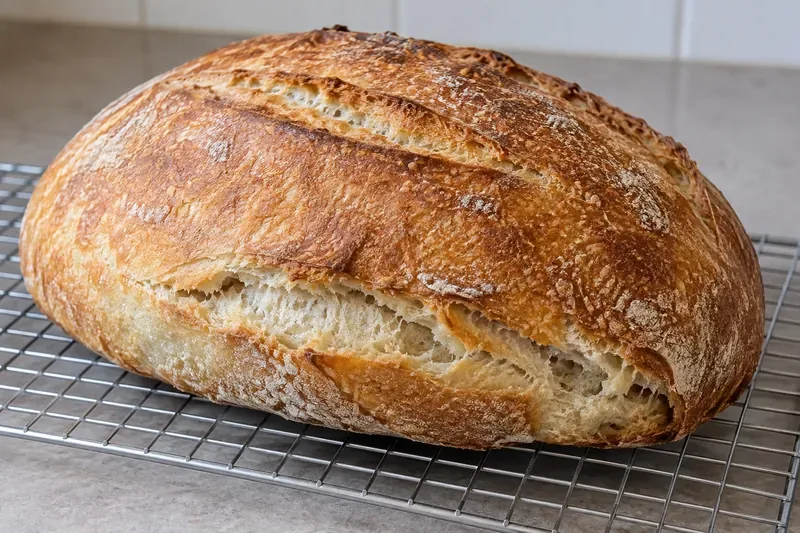
Bread making is making a comeback, and you’re not alone if you’re ready to try your hand at making your very own loaf at home! It helps if you know how to form a round roll. And if you’re considering sourdough, discovering the benefits of sourdough bread may be enough to push you over the edge. Finally, a key aspect of bread making is timing — setting a schedule is key to success!

© OneStockPhoto / Shutterstock.com
How to Form a Round Roll
If you slice into a loaf of bread too soon, you can be stuck with a gummy interior, which is no fun. You have to let bread fully cool before slicing into it, which can take anywhere from 1 to 12 hours for a loaf. If you love the idea of eating fresh baked bread, right out of the oven, bake rolls instead! That way, you can par-bake (partially bake) a batch, freeze it, and then do a quick 3- to 5-minute bake anytime you crave a hot, fresh-baked roll. Here’s how to roll a bread roll like a pro:
Cut the dough into equal portions. It’s best to use a scale and measure out a roll. Most rolls are around 40 to 65 grams in size. First, measure the weight of your dough; then divide by the number of rolls you need. Then weigh out the rolls before you begin forming them.
Use your hands, either wet or lightly dusted with flour, to form a round shape.
Stretch to create tension. Pull one edge of the dough and bring it to the center. Slightly rotate it, and repeat this same motion, working your way around until the roll begins to form a circular shape with a tight skin.
Place onto a baking sheet. Whether you prefer the rolls touching or individually shaped is up to you. A round cast-iron pan, lined with parchment paper, is great!
Cover and let the rolls rise (as needed) before baking. Then sneak a bite of one while you let the rest cool completely.
The Benefits of Sourdough Bread
There’s more to sourdough than a great-tasting bread. Sourdoughs are fermented breads. They’re the oldest form of leavened breads — commercial yeast has only been available since 1859. The wild, fermented yeasts have long been cherished for their baking properties, but here are some additional benefits of sourdough bread:
- Probiotics: The probiotics found in sourdough don’t exist in a baked loaf, but their work is done during the fermentation process. Wheat breads contain phytic acid, which can impair mineral absorption. The long fermentation process of sourdough bread making decreases the phytic acid content in wheat, thanks to these probiotics.
- Prebiotics: Probiotics can’t withstand high heat baking, but prebiotics can. Prebiotics are the fibers that feed the healthy bacteria in the gut. In order for the bacteria in the intestines to stay healthy, they need to feed on prebiotics. When you bake a loaf of whole-grain sourdough (like spelt, emmer, einkorn, or whole wheat), the prebiotics in the bread will keep your gut bacteria happy and well fed.
- Glycemic response: Interestingly, whole-wheat breads aren’t much different from white bread when it comes to blood sugar response. On the other hand, a slower spike in blood sugar is seen when people consume sourdough breads. The greatest health benefit was found in whole-grain, fermented, and sprouted breads. This topic is continually being researched and has been shown to vary among individuals and wild yeasts. When in doubt, choose whole-grain, sprouted sourdough bread, and eat in moderation.
- Lactic acid: The wild yeasts in sourdough release a byproduct, lactic acid. Lactic acid hinders mold formation in bread, acting as a natural preservative. If your sourdough bread begins to stale, you can choose to upcycle the bread into bread pudding, Panzanella (Italian bread salad), or French toast knowing that there’s no hidden mold lurking in your stale bread.
- Cost: Growing your own batch of wild yeast in a sourdough starter can save you money from trips to grocery store and rising prices.
When you decide to embark on your sourdough baking adventures, consider choosing whole grains and sprouted grains to reap the maximum benefits of sourdough breads. Savor the flavors along with all the health benefits, too!
Bread Baker’s Schedule
You’re craving sourdough bread, but the timing is all off and it’s just too late to pull off a loaf for dinner. Sound familiar? Here’s a quick schedule to help you pull off your favorite loaf just in time for a weekend dinner.
Thursday
Take your sourdough out of the refrigerator. Let it rise for 1 to 2 hours and then feed your sourdough (50 grams starter, 50 grams water, and 50 grams flour) and let it rise overnight.
Friday
6 a.m.: Make your loaf of sourdough bread. Then replenish your starter and return it to the refrigerator (unless you want to make more loaves over the weekend).
7 a.m.: Stretch and fold your loaf.
8 a.m.: Stretch and fold your loaf.
4–6 p.m.: Check your loaf to see if it has doubled in size. If so, you have two options:
- Shape the dough, let it rise 1 to 2 hours, and bake.
- Shape the dough, place it into a banneton, and place it in the refrigerator for a cold ferment overnight or up to 48 hours before baking.
Saturday
Preheat the oven to 450 degrees for 1 hour.
Remove the banneton from the refrigerator, place it into a Dutch oven lined with parchment paper, score the dough, and bake for 30 minutes with a lid and 30 minutes without a lid.
The key to a successful loaf is a well-fed and bubbly starter. If your starter has been neglected, focus on revitalizing the starter first; then begin your bread-making journey.
Prep for two loaves. Bake one as scheduled here. Shape the other into rolls and partially bake, cool for 3 hours, and then freeze! Now you can pull them out any night of the week, heat the oven to 400 degrees, and bake for 5 to 10 minutes or until heated on the inside and ready to serve!