Home
» Video
»
Why Phone Video Changes Brightness While Recording—and How to Stop It
Why Phone Video Changes Brightness While Recording—and How to Stop It
If the picture brightens or darkens while you record, first check whether the change follows the scene or happens in a steady room. When it follows a person, window, or camera movement, the phone is probably adjusting automatic exposure. Lock focus and exposure, set brightness before recording, and keep the framing consistent. If the picture pulses under indoor lights, the likely cause is light flicker; change the lighting or use the camera’s anti-flicker controls if your phone provides them. These are different problems, so one setting may not solve both.
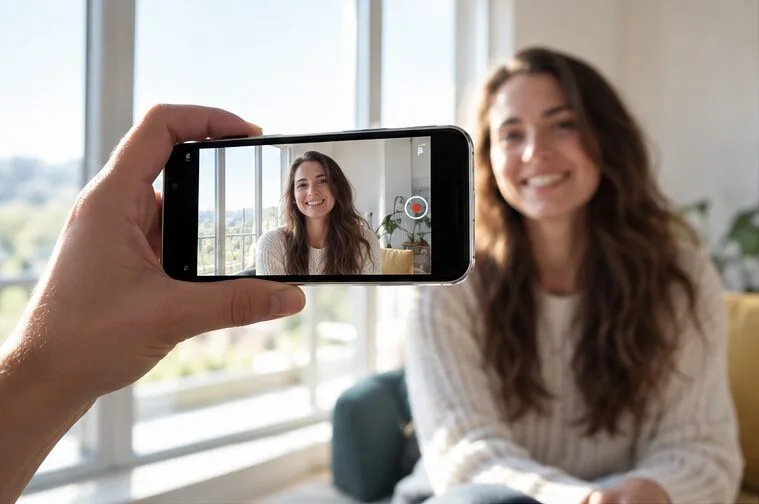
A bright window and a darker indoor subject can prompt the camera to rebalance exposure as the framing changes.
Why does brightness shift during a phone video?
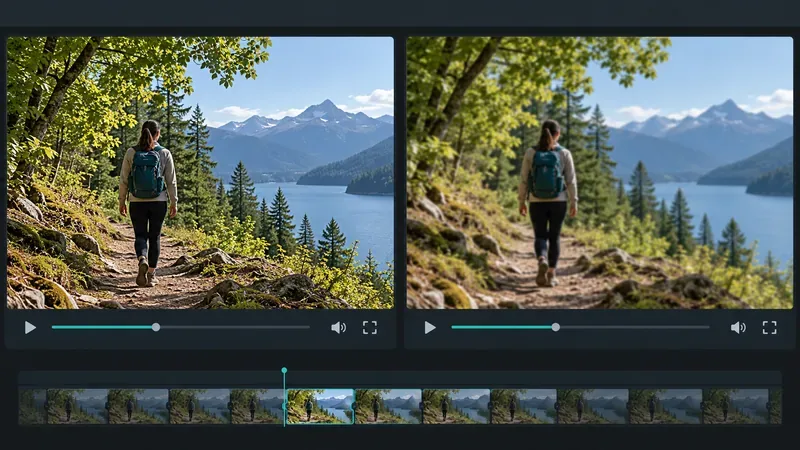
In automatic mode, the camera measures light in the frame and adjusts exposure as the scene changes. If you pan from a shaded room toward a bright window, the phone may darken the whole image. Point it back at the person, and the image may brighten again. A face entering the frame, a bright screen, headlights, or a large patch of sky can also change the camera’s exposure decision. That behavior helps preserve detail in changing conditions, but it can look like a brightness jump when you want a steady shot.
Phones also adjust focus, white balance, image processing, and sometimes the active camera lens while recording. A visible brightness or color change that coincides with zooming or a lens switch may be caused by differences between camera modules. On supported iPhones, Apple’s Lock Camera setting prevents switching between cameras during a recording. Avoid pinching to zoom mid-take if a lens change causes a noticeable jump.
Some changes are in the recorded video; others are only in the preview. Auto-brightness or display behavior can make the phone screen itself dim or brighten without changing the saved clip. Play the recording back, ideally on another display, before changing camera settings.
Quick diagnosis: exposure drift or light flicker?
What you see
Likely cause
First thing to try
The whole frame shifts after you pan, reframe, or a bright object enters
Automatic exposure responding to the scene
Lock exposure, then keep framing steady
Regular pulsing, rolling dark bands, or stripes under indoor lamps
Light output fluctuating or interacting with the camera’s capture timing
Turn off or replace the suspect light; test another room
A sudden change exactly when zooming or switching views
Lens switching or a change in processing
Use one lens and avoid changing zoom during the take
The preview changes, but the saved clip looks steady
Display brightness or preview behavior
Check playback before altering exposure controls
LED and fluorescent lighting can vary in output over time. The U.S. Department of Energy describes this as temporal light modulation; some variation can be visible to cameras even when it is not obvious to people in the room. Camera frame rate and lighting frequency may not line up, creating apparent pulsing or bands. DOE’s flicker research overview explains why the effect depends on the light source and capture conditions.
How to keep automatic exposure from changing the shot
Set your frame first. Put the subject where you want them, choose the lens and zoom, and avoid a bright window dominating the background unless that is intentional. If possible, place the subject in even light.
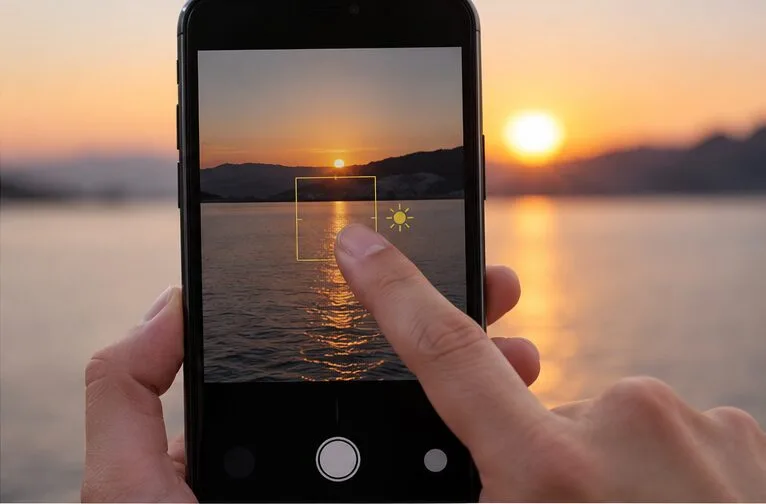
Tap the subject. This tells the camera which part of the scene matters for focus and exposure. On iPhone, touching and holding the focus area can show AE/AF Lock; Apple’s camera guidance describes adjusting exposure and locking focus and exposure. Exact behavior varies by mode and model.
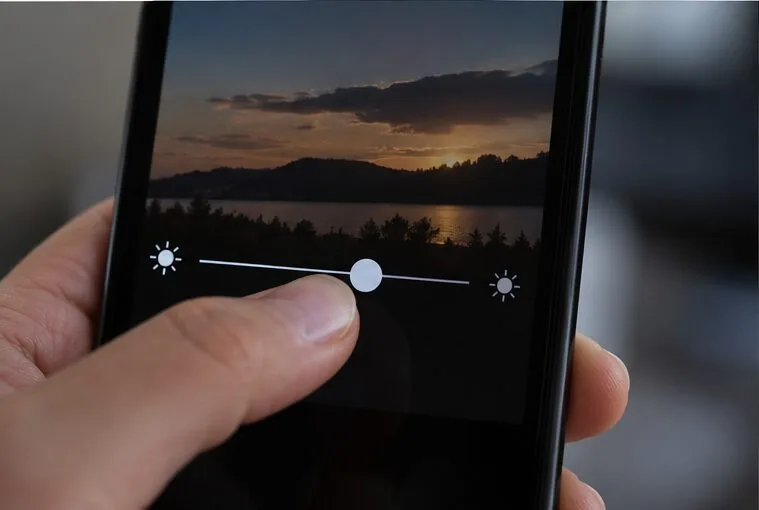
Set the brightness before recording. Use the exposure control or brightness slider, if shown, to make the subject look right. Avoid pushing it so high that bright areas lose detail or so low that the subject becomes muddy.
Start recording and check the result. Some camera apps retain a lock during video; others may release it, limit the controls, or use different gestures. Make a short test clip while the subject or phone moves slightly. If brightness still pumps, stop and look for a separate exposure lock or manual video mode in your camera app.
On phones that support it, press and hold the important subject in the preview to lock focus and exposure before recording.Set exposure for the subject before the take; small adjustments are easier to maintain than correcting clipped highlights afterward.
What to change on iPhone or Android
iPhone
Tap the subject in the frame, then touch and hold the focus area until AE/AF Lock appears when that control is available. Adjust exposure before starting. Apple notes that camera tools and options depend on the model and mode. For settings under Settings > Camera > Record Video, supported models may also offer Lock Camera to keep the selected camera from changing, and Lock White Balance to keep color temperature steadier. These controls address different issues: Lock Camera prevents lens switching, while Lock White Balance stabilizes color rather than exposure. See Apple’s video recording settings for availability and current menu details.
Android
Android menus vary by manufacturer, model, and camera app. Look for an exposure or brightness slider, an exposure/focus lock, or a Pro/Manual Video mode. On supported Galaxy phones, Samsung says Pro Video provides manual ISO, exposure value, and white balance controls while recording; available modes differ across devices. Samsung’s camera modes guide lists these controls. On Pixel and other phones, use only the lock or exposure controls actually shown in your current camera app; do not assume every model supports the same long-press gesture.
How to troubleshoot pulsing under indoor lights
Record a short test using daylight or a different room. If the pulsing stops, the original lights are the likely trigger.
Turn off one lamp at a time, including dimmable bulbs, decorative LEDs, and screens, to identify the source. If you control the lighting, use a stable video light or raise the light output rather than dimming a troublesome lamp.
Check the camera app for an anti-flicker, anti-banding, or mains-frequency option. If it offers 50 Hz or 60 Hz, choose the setting that matches the location where you are filming, then test. The right option and effectiveness depend on both the light and the phone; it cannot eliminate every LED artifact.
If your phone has manual video controls, changing shutter speed can reduce flicker or banding, but it also changes motion blur and may not fix every source. A camera maker’s guide for dedicated cameras describes this relationship; phone controls are not identical. When the native app offers no useful adjustment, replacing the light or moving to daylight is often the simplest practical test.
If you see stripes or bands rather than a smooth whole-frame shift, prioritize the light source. Locking exposure may steady auto-exposure changes, but it cannot stop a lamp from varying in brightness.
Quick checklist before an important take
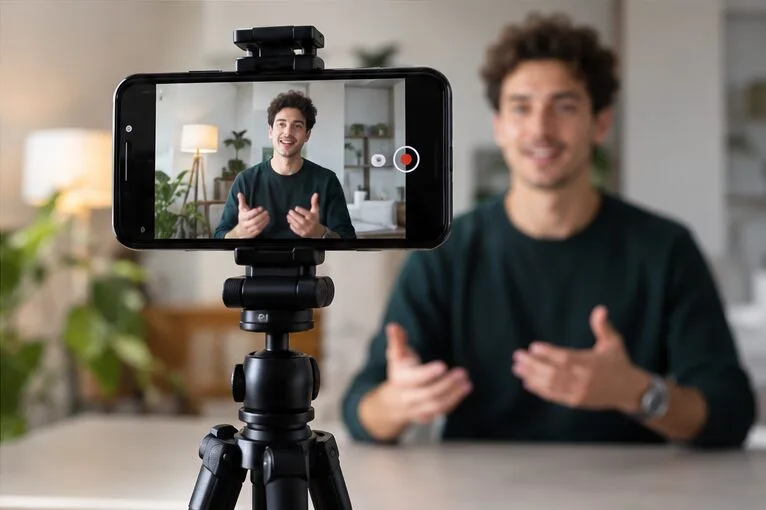
A steady phone and evenly lit subject make it easier to tell whether the exposure stays consistent through a test clip.
Clean the lens and choose the final camera lens and zoom before recording.
Frame the subject with no unexpected bright light source entering the shot.
Tap and lock focus/exposure if your phone supports it; set brightness before the take.
Keep lighting consistent and test for LED or fluorescent pulsing.
Record a 10-second sample, move the subject or camera as planned, then review the saved clip.
The fix is working if the subject stays at a consistent brightness through the movement you expect, highlights retain detail, and indoor lights do not pulse or form bands. If brightness still changes in a static scene under stable light across several camera apps, restart the phone, install available camera or system updates, and test again. Persistent changes across apps may need the phone maker’s support team to check the camera.
Sources and model limits
Camera features and menu names vary with phone model, operating system, and camera app. Check your manufacturer’s current instructions before relying on a specific control.