Hypothetical example: Jordan is filming a short cooking video in a U.S. living room. The room looks evenly lit to the eye, but the footage shows dark horizontal bands across the cabinets and a subtle pulsing brightness. Jordan has not run a test or found a single guaranteed setting; this example shows a practical troubleshooting sequence you can apply to your own camera and lights.
Start with the recording frame rate and shutter speed, then make a short test clip. In a 60 Hz region such as the United States, 30 frames per second (fps) at 1/60 second or 60 fps at 1/120 second is a useful starting point under many household lights. In 50 Hz regions, 25 fps at 1/50 or 50 fps at 1/100 may be a better starting point. These are starting points, not a promise: LED drivers and dimmers can produce flicker at other rates. If the bands remain, try your camera’s flicker-reduction or variable-shutter control, change the light source, or use daylight.
This guide was checked against manufacturer support materials available October 1, 2026. Camera menus and controls vary by model, lens, region, and firmware; consult your own camera’s manual for the exact menu path.
Why household lights can flicker on camera
Light that appears steady to the eye may change brightness rapidly. Many lights connected to alternating-current power have output fluctuations tied to the electrical cycle. Some fluorescent lights and LEDs use electronic drivers, and LED dimmers can introduce additional modulation. The camera records light in discrete frames and exposes different sensor rows over time, so its sampling can intersect with the light’s changing output. The result may look like brightness pulsing, bands, or color changes.
Two patterns are useful to distinguish. If most of the whole image brightens and darkens together, the light output may be fluctuating over time. If dark and bright horizontal bands cross the image, a rolling-shutter sensor may be capturing different parts of the frame at different points in the light cycle. A camera display preview can also show a pattern that is not as strong in the saved clip, so judge the recorded footage on playback.
Flicker can also be confused with automatic exposure or automatic white balance shifting while the camera reframes. During Jordan’s example, the cabinets brighten as the camera tilts toward a window. Jordan should first lock exposure and white balance for a controlled test. That separates camera automation changes from a light-and-shutter interaction.
Use this order to troubleshoot
1. Keep the scene and settings consistent
Jordan places the camera on a stable surface, points it at a plain wall or cabinet under the suspect lamp, and records a few seconds. The camera stays still, and Jordan keeps the same frame rate, exposure, and white balance between tests. A static wall makes brightness pulsing or moving bands easier to notice than a busy scene. If the footage only changes when the camera pans, exposure automation or rolling-shutter banding may be part of the issue.
For a phone, look for manual or “Pro” video controls only if that model provides them. Menu names and the ability to set shutter speed vary by phone. Do not assume a third-party app can override every camera pipeline or device restriction.
2. Match a sensible shutter speed to the local power frequency
In the United States, start with 30 fps and 1/60 second for ordinary motion, or 60 fps and 1/120 second if you need a smoother or slower-motion option. These exposure times can average over recurring light cycles associated with 60 Hz power. In many 50 Hz regions, try 25 fps at 1/50 or 50 fps at 1/100. Use the rates your camera actually supports.
| Power region | Useful test pair | What to remember |
|---|
| 60 Hz, including the United States | 30 fps at 1/60; 60 fps at 1/120 | These are starting points for common mains-related flicker. They may not eliminate flicker from every LED or dimmer. |
| 50 Hz | 25 fps at 1/50; 50 fps at 1/100 | Use region-appropriate settings where available, then verify the recorded clip. |
Jordan tries 30 fps at 1/60 first. If the bands disappear, the combination is workable for that light and shot. If not, keep the frame rate and move to fine adjustment. A faster shutter can make motion look sharper or more staccato, while a slower shutter adds blur; choose a compromise that keeps the movement natural as well as reducing flicker.
3. Use the camera’s flicker controls if available
Some cameras have a flicker-reduction feature that times still photos to the light cycle. That feature may not apply to video. Other models offer a variable shutter or fine shutter scan that lets you adjust shutter timing while watching the image. Read the model-specific manual: Sony’s guide for the FX30 describes a variable-shutter feature for reducing band-like light and dark shading in stills and movies, while its explanation of anti-flicker shooting distinguishes functions that apply to still images only.
Jordan checks the camera manual and turns on the feature intended for movie recording, if available. With the camera aimed at the lamp-lit wall, Jordan makes small shutter adjustments and records a new short clip after each change. The monitor preview is a guide, not final proof. Sony cautions users to check the recorded image because the preview and captured result can differ.
4. Test the light at its actual brightness
If a lamp is on a dimmer, test it at the level you intend to use. Some LED lamps flicker more at certain dimmer settings, and one lamp may behave differently from another even when both look equally bright. Jordan raises the dimmer level or tries the light at full output, then records another comparison clip. If the flicker changes, the dimmer-and-bulb combination is likely part of the problem.
Do not assume a phone’s slow-motion view or a camera’s live preview gives a complete measurement of the lamp’s flicker frequency. A dedicated flicker meter or an oscilloscope can characterize lighting more directly, but most casual filming does not require specialized equipment.
5. Change the source if settings are not enough
Jordan switches off the problem lamp and tests a different fixture, a different LED bulb, or daylight from a window. A continuous light made for video may provide more consistent output, but quality varies, so test it at the brightness and color setting you plan to use. If the scene has multiple lamps, turn them on one at a time to find which source creates the bands. Mixing daylight with a pulsing lamp can also create uneven color or brightness, so simplify the lighting while diagnosing.
Panasonic’s support guidance likewise recommends fixing the shutter speed or using a camera’s flicker-decrease setting when fluorescent or LED lighting creates flicker or striping during movie recording. The available choices differ by product, so use the source as a troubleshooting principle rather than assuming every Panasonic or other camera offers the same menu.
Check the actual clip before filming the full scene
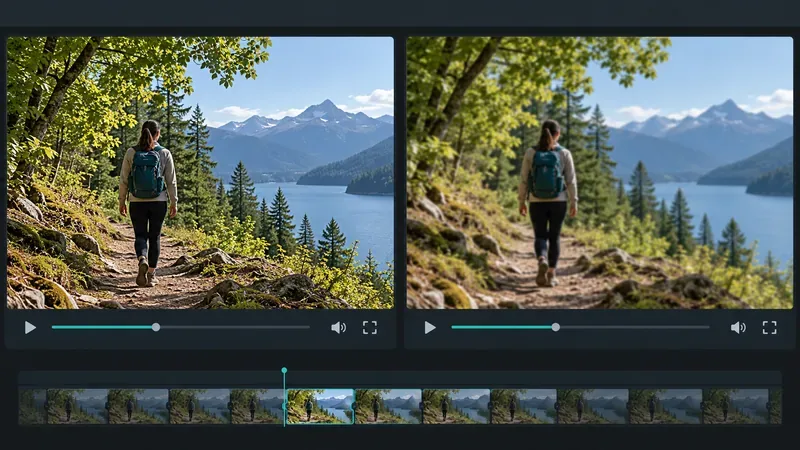
Replay each short test at normal speed and inspect both the whole frame and flat areas such as a wall, countertop, or cabinet door. Look for repeated brightness changes, horizontal bars, or color shifts. If the recording will be compressed or uploaded, check the exported file too; a preview can conceal subtle problems. Once a combination works, keep the frame rate, shutter speed, light level, and exposure fixed during the take.
For Jordan, the useful result is not “the flicker is fixed” after one adjustment. It is a repeatable setup that produces a clean test clip in the intended room, at the intended brightness, with acceptable motion blur. If no shutter setting works well, changing the bulb or using daylight may be more dependable than sacrificing the desired frame rate.
Quick checklist
- Record a brief test with the camera still and the light at its intended brightness.
- Lock exposure and white balance so automatic changes do not imitate flicker.
- Try a frame-rate and shutter-speed pair suited to 50 Hz or 60 Hz power.
- Check whether your camera’s anti-flicker control applies to video; use variable shutter or fine scan if the manual describes it.
- Change dimmer level, bulb, fixture, or light source if bands remain.
- Judge the saved clip, not only the preview.
For model-specific instructions, see Sony’s ILME-FX30 anti-flicker guide, Sony’s explanation of anti-flicker and variable-shutter differences, and Panasonic’s troubleshooting steps for flicker and striping. These sources describe features on specific products and should not be read as a guarantee that every model has the same settings.