How to Choose Music for a Home Video Without Copyright Problems
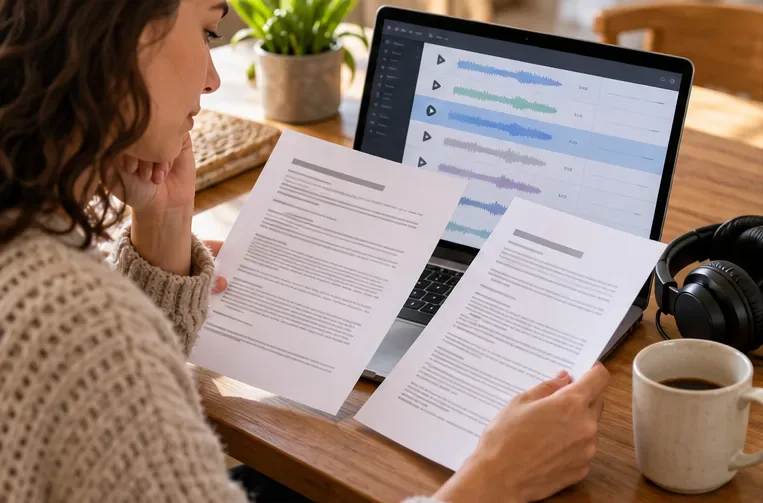
Choose music for a home video by matching its license to your platforms, checking attribution and reuse terms, and saving proof before you post.
There is no single camera height that works for every craft. For a tabletop demonstration, raise the camera until the whole active work area and both hands stay in frame, then bring it close enough that viewers can see the action. As a practical first test, place the lens roughly 2 to 3 feet above the table for a compact project, but treat that as a starting estimate, not a camera standard. The best height depends on project size, phone or lens field of view, and how widely your hands move.
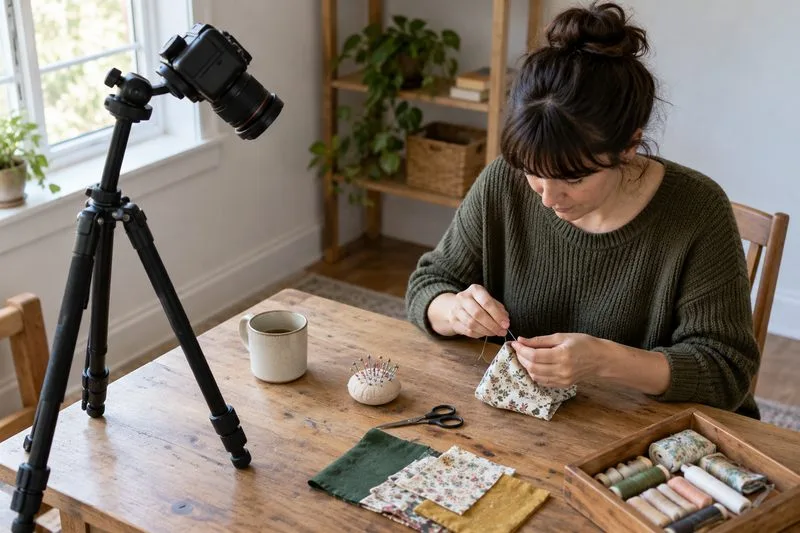
Then choose the viewing direction. A straight-down view is easiest for flat work such as drawing, paper crafts, beading, or cutting pattern pieces. A diagonal view, with the lens aimed down across the table, is often easier for work that has height or depth, such as shaping clay, folding fabric, or assembling a small object. The right setup lets viewers see not just the finished piece, but what the hands are doing.
Choose overhead when the important information lies flat on the table. In this view, the work surface becomes a simple background, and the viewer can follow where pieces, tools, and marks sit in relation to one another. Nikon’s food-photography guidance describes overhead as a useful way to show a tabletop surface; that same framing can help with a flat craft project. Keep the lens centered above the work zone and aim it perpendicular to the table so edges do not appear to slope across the frame.
Choose a diagonal view when the process depends on depth, thickness, folds, or how a tool approaches the material. A moderate angle from above—roughly 30 to 45 degrees above the tabletop as a practical starting point—can show both the surface and the side of a three-dimensional object. This is a rule of thumb, not a manufacturer specification. Raise or lower the camera until the active area is clear and the hands do not hide the detail.
Some crafts benefit from two views. You might use overhead for laying out a pattern, switch to a diagonal view for stitching or shaping, then return overhead to show the finished arrangement. If you can record only one angle, pick the moment where viewers most need to understand hand placement and tool contact. A clear, steady view of the hard-to-follow action matters more than showing the maker’s face.
Start with the active work zone, not the camera’s maximum height. If your project is about the size of a notebook or smaller, a lens roughly 2 to 3 feet above the table is a reasonable first test for an overhead phone or compact-camera view. Larger projects may need more height. A closer diagonal view may need less height, provided the hands and the full tool path remain in frame. These distances are practical estimates; they are not fixed technical standards.
Camera height and framing are related but not identical. A higher camera sees more of the table, but makes small stitches, marks, or bead placement look smaller. A lower camera makes the action larger, but can crop a hand when it reaches across the surface. The camera’s lens also affects how much fits in the frame. If you use a phone’s wide setting from very close to the project, the nearest hand may look disproportionately large. Moving the camera farther back and adjusting the framing can make the work look more natural.
Set a scrap version of the material on the table and rehearse the widest hand movement: reaching for scissors, turning the piece, pulling thread, or lifting a tool. Check the video, not just the live preview. If a hand clips the edge or blocks the action, adjust the camera or re-center the work before recording the real demonstration.
| Demonstration | Best first view | What to look for |
|---|---|---|
| Drawing, lettering, paper cutting | Directly overhead | Both hands and the whole sheet stay visible; pen marks are sharp. |
| Knitting, crochet, beadwork | Overhead or a shallow diagonal | Choose the angle that shows finger placement and the loop or bead being worked. |
| Sewing | Overhead for layout; diagonal for needle action | Show the fabric edge, needle path, and hands without hiding the seam. |
| Clay, sculpture, small assembly | Moderate diagonal | Keep the object’s sides visible so viewers can judge shape and depth. |
| Painting on a vertical surface | Near the maker’s working angle, slightly above the brush area | Limit glare and keep the brush tip, surface, and hand in view. |
This table is a selection guide, not a rulebook. If the craft changes direction or moves from flat layout to three-dimensional shaping, the clearest angle may change with it.
Before you record, ask: Is the task mostly flat or three-dimensional? Can viewers see both hands and the point where the tool meets the material? Does the full hand movement stay inside the frame? Is the image close enough to reveal the detail without exaggerating the nearest hand? If the answer to each is yes, the camera height is likely working for that step. If not, change one thing at a time—height, angle, distance, or work position—and test again.
For further reference, see Nikon’s manufacturer-hosted guide to overhead tabletop views and light direction. Recommendations here are general composition guidance; the exact height is a practical choice to test with your own camera, project, and final viewing format.
Choose music for a home video by matching its license to your platforms, checking attribution and reuse terms, and saving proof before you post.
Find a practical camera height for craft demonstrations, compare overhead and angled views, and check framing, focus, and lighting so viewers can follow each step.
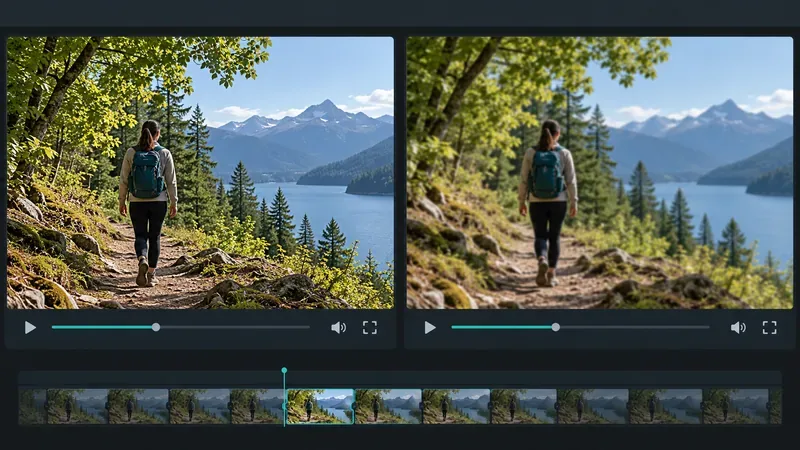
Learn why uploaded videos can look softer, how transcoding and playback quality affect detail, and what to check in processing, export settings, and your source file.
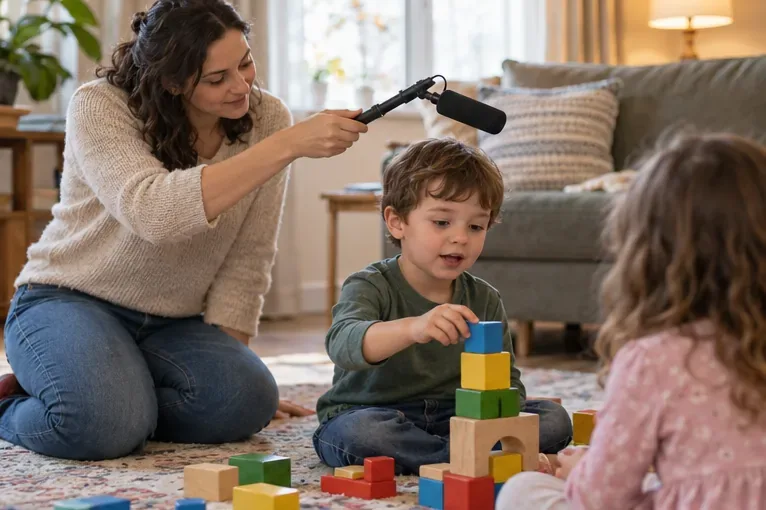
Capture more understandable speech when children move with closer microphone placement, a quieter setup, simple monitoring, and a clear playback check.
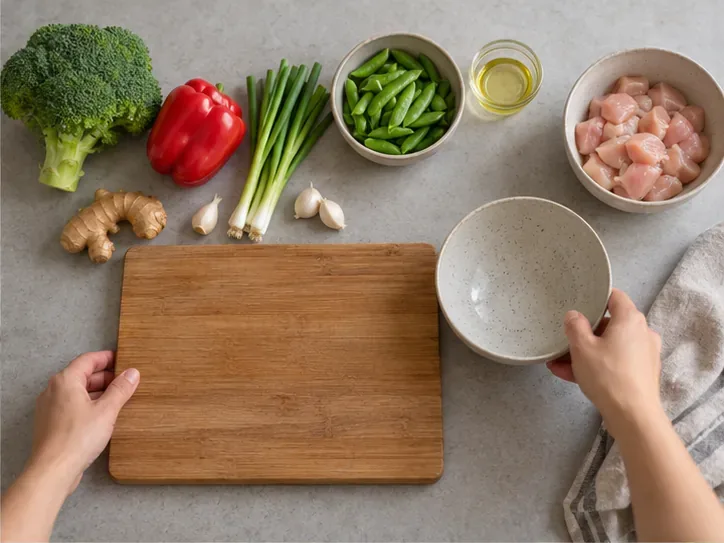
Learn how to film short recipe videos with hands-only framing, a clean background, careful audio, and a final privacy check before posting.
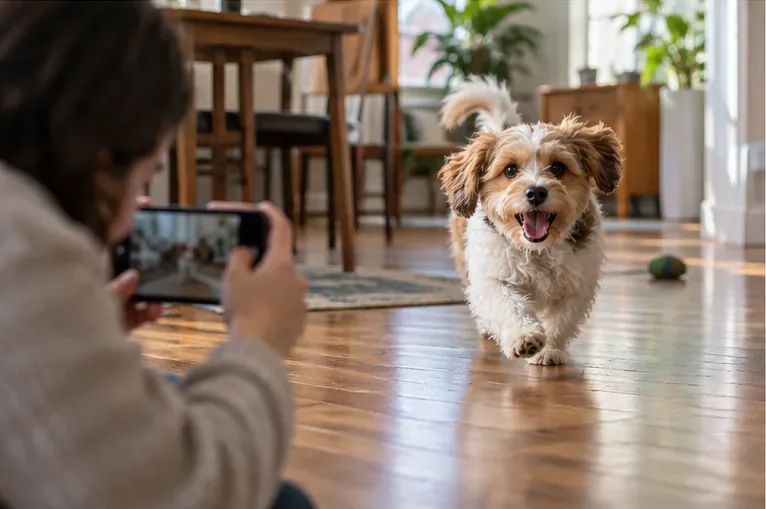
Film cats and dogs without a startling flash: use window light, simple camera settings, steady framing, and your pet’s body language to guide each take.
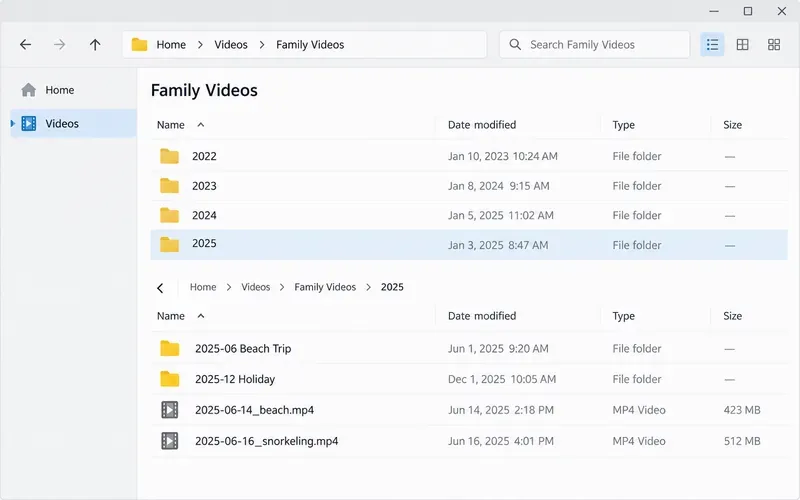
Compare folders, photo libraries, and cloud storage for organizing family videos. Find a simple setup that keeps clips searchable, portable, and backed up.
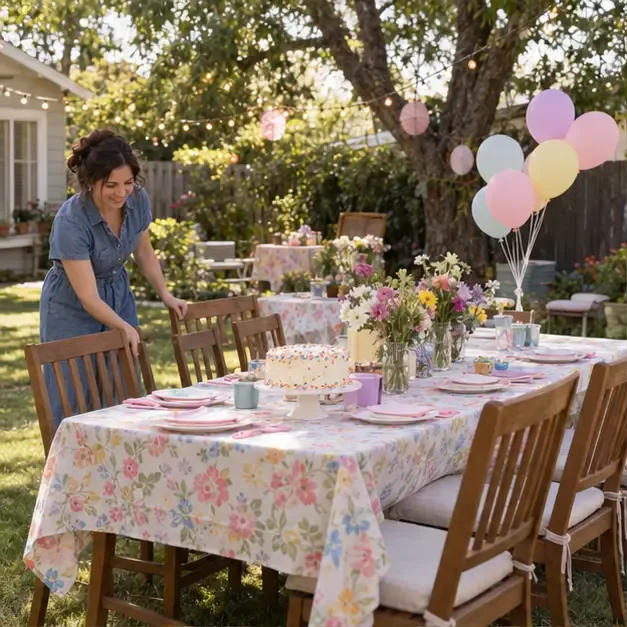
Use this simple birthday video shot list to capture arrivals, activities, the cake, and a group ending—without filming every minute.
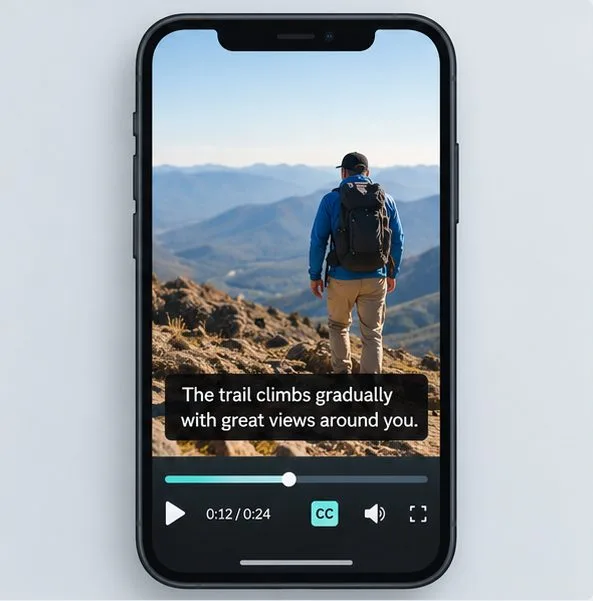
Create accurate, easy-to-read video captions with clear timing, useful sound cues, strong contrast, and a simple muted-phone quality check.
Videos about remote control cars will introduce a variety of vehicle models, from speed racing cars to pickup trucks.