Home
» Video
»
Clear Speech Around Moving Kids: A Practical Recording Guide
Clear Speech Around Moving Kids: A Practical Recording Guide
Clear speech around moving children comes from keeping the microphone close to the person speaking, choosing a room that does not add much echo, and checking a test recording before the important moment. You do not need every child to sit still. Instead, let the activity continue and adapt the microphone to the way the child moves.
The result to aim for is simple: a listener can understand the intended words at an ordinary playback volume, without harsh distortion or competing room noise drowning out the voice. This guide was checked on September 30, 2026. Microphone connections, controls, and noise-processing options differ by device and app, so test the exact setup you plan to use.
What makes speech sound clear?
“Signal-to-noise ratio” means how strong the wanted voice is compared with unwanted sound such as toys, traffic, ventilation, or other conversations. A microphone near the speaker usually captures a stronger voice than a phone several feet away. Room echo also matters: hard floors, bare walls, and high ceilings can make words sound smeared even when the room seems quiet. RØDE’s current recording guidance recommends controlling the environment, bringing the microphone near the talker, and testing levels; its guidance also notes that hard surfaces and room echo can undermine a recording.
Clear does not mean silent. A child’s voice can still sound natural with a little play noise in the background. The problem is noise that masks consonants, competing voices that overlap, or distortion that makes a loud word crackle. Record a short test under the same conditions as the real activity, then choose a setup that keeps the words understandable without asking children to perform unnaturally.
A four-part setup for moving speakers
1. Find a quieter place without stopping the activity
Pick the calmest practical room or corner, then move away from a television, kitchen fan, dishwasher, busy window, or loud toy. Carpet, curtains, cushions, and upholstered furniture can soften reflections. You do not need studio treatment; a furnished room often works better than an empty room with bare surfaces.
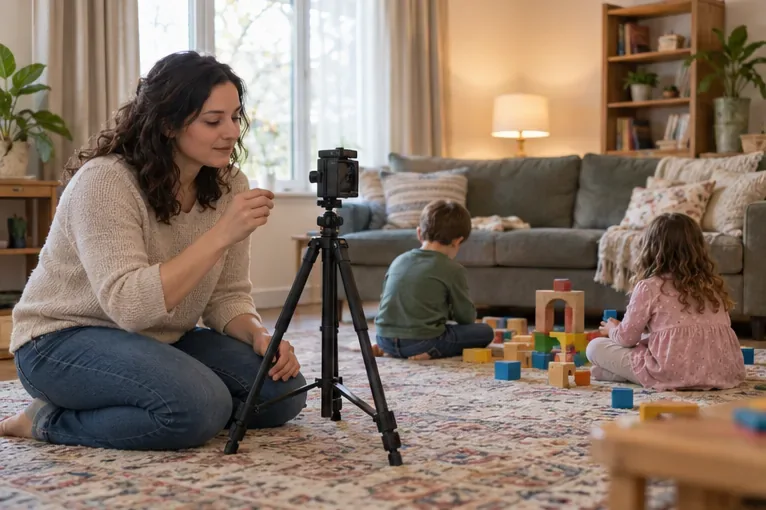
Keep the camera where the action is easy to see, but make a test recording while the children are playing, walking, or turning their heads. Listen for hollow echo, steady hum, or a background sound that covers words. If the room is echoey, move closer to soft furnishings or choose a smaller, more furnished space. If a steady appliance is the main problem, switch it off only if that is practical and safe.
Success sign: In the test clip, the voice sounds distinct from the room, and a listener can follow a short sentence on the first play.
Choose the quietest practical corner and record a short test while the children move as they normally would.
2. Put the microphone near the voice, not just near the camera
A phone’s built-in microphone can be enough when the speaker is close and the room is quiet. When a child moves away from a phone mounted for video, the recorded voice gets more distant while room noise stays in the recording. In that situation, adding a microphone closer to the child is usually a more useful change than buying a camera with a better picture.
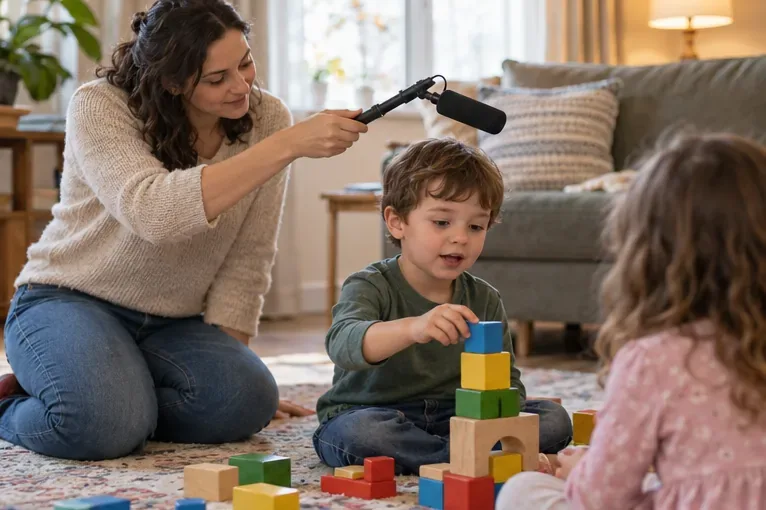
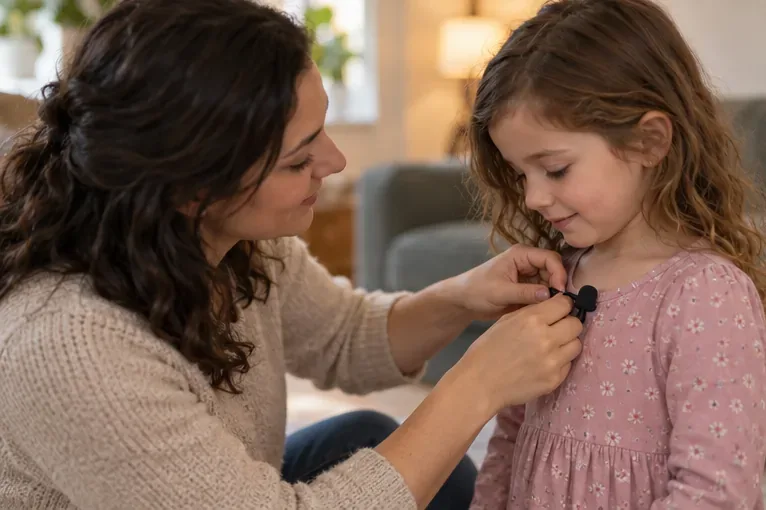
There are two practical approaches. An adult can hold a small directional microphone on a short boom above or just outside the shot and gently follow the speaker, keeping it aimed toward the child’s mouth. This works well when a child moves unpredictably, but it requires a second person to operate the microphone and space to keep it clear of the activity. A wireless lavalier (a small clip-on microphone) can travel with a speaker, which is useful if the child is comfortable wearing it. Check that the capsule is secure, does not rub against fabric, and has no loose cable that could catch during play. If the child dislikes it, remove it and use a boom or bring the recording position closer instead.
Do not assume every wireless microphone works with every phone. RØDE notes that the connector or adapter must match the recording device. Check the microphone and phone instructions, make a short recording in the actual camera app, and confirm that the external microphone—not the phone’s built-in mic—is being recorded.
Success sign: When the child turns or takes a few steps, the voice stays at a fairly consistent level and does not become mostly room sound.
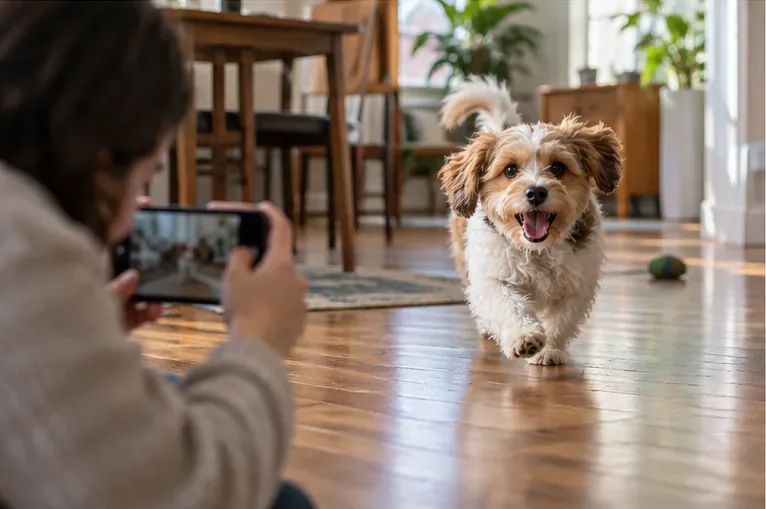
A person operating a boom can keep the microphone close to a moving speaker while the camera stays in place.
3. Record a test at the child’s real speaking volume
Children may shift quickly from quiet speech to a shout. Start the test during the type of activity you plan to record, rather than asking for a careful microphone check in a different voice. If your recorder has an audio meter, watch for peaks hitting the red or clipping. Clipping is distortion caused when the input is too loud for the recorder; lowering the volume later cannot fully restore the missing sound.
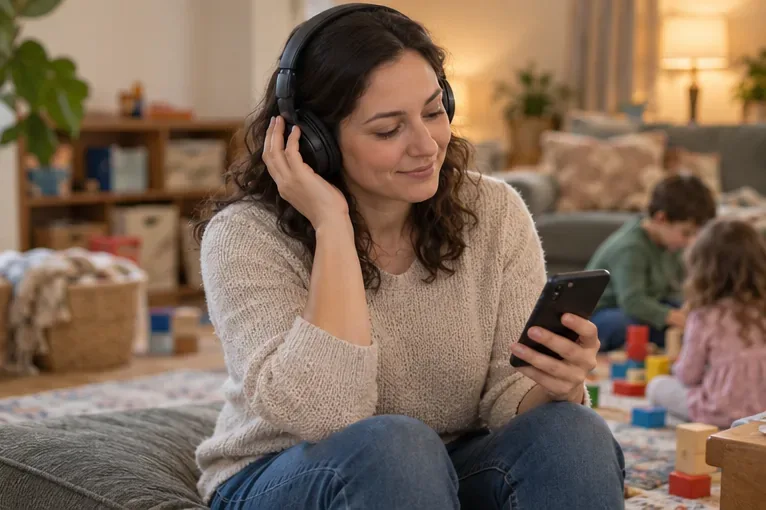
Monitor with headphones if you have them. Listen for fabric rubbing on a clip-on mic, bumps from a handled boom, wind hitting a microphone outdoors, or a sudden drop when the child turns away. If there is no meter or headphone monitoring, record several seconds and play it back before continuing. Keep the mic close enough for the voice to stand out, but not so close that breaths or plosive sounds become distracting.
If there is only one adult available, keep the camera fixed and use a child-worn wireless mic only if it is comfortable and safely secured. Otherwise, film the activity first and record any adult narration separately, or use short bursts when the child comes near the camera. This tradeoff may capture less spontaneous dialogue, but it avoids asking one person to operate two moving devices at once.
Success sign: The loudest expected words remain clean, quiet words are still understandable, and movement does not create rubbing, handling noise, or abrupt level changes.
A wireless clip-on microphone can travel with a willing speaker when it is fitted safely and checked for clothing noise.
4. Review for intelligibility, then change one thing at a time
Listen to the clip on headphones and on an ordinary phone speaker. Headphones reveal small clicks and clothing noise; the phone speaker helps you judge the way many viewers will hear it. The recording is ready when the words that matter are understandable on the first listen at a comfortable volume, without turning the sound all the way up.
If it fails, identify the sound problem before editing. A distant, thin voice usually calls for a closer microphone or a nearer recording position. A hollow voice points to room reflections, so try a smaller or softer room. Scratchy bursts from a lavalier suggest fabric rubbing; reposition the mic or switch to a boom. Crackling on excited words suggests clipping; lower the input level and retest. If toys or several people talk over the child, move the activity away from that sound or record a quieter take when the child is willing.
Noise reduction can sometimes soften steady background sounds, but it is not a reliable way to recover words buried under clatter or overlapping conversation. RØDE’s post-production guidance notes that excessive background noise and clipped audio can limit what editing can repair. Use editing for small corrections, not as a substitute for a usable recording.
Success sign: A person who was not in the room can repeat the important words accurately after one listen. If they cannot, change the mic position, room, or activity setup and make another short test.
Listen back through headphones and a phone speaker to judge whether the words remain easy to understand.
Choose the setup that fits the movement
What is happening
Start with
Change approach when
Child stays near one play area
Phone or camera close by, or a fixed directional mic pointed toward the activity
The voice gets masked when the child turns away; move the mic closer or have an adult operate a boom
Child walks or turns often
Adult-operated boom mic following the speaker, or a comfortable wireless clip-on
The boom falls behind the action or the clip-on rubs, shifts, or bothers the child
Several people speak at once
Record one speaker at a time when practical, or move the activity to a quieter moment
Words overlap so much that a listener cannot separate them
One adult is filming alone
Keep the camera stable and choose a safely fitted wireless mic if the child is comfortable
The child pulls at the mic or moves beyond its usable range; stop and use a nearer, simpler setup
There is no universal microphone distance or input setting that works in every room, with every child, phone, and recording app. Product range, adapter compatibility, automatic gain control, and noise processing differ. Treat the first take as a test, and trust what you hear over a feature label such as “noise cancelling.”
Keep the recording comfortable and respectful
Make the microphone part of the activity without turning it into a demand. Explain what it does in age-appropriate language, let the child decline, and pause if they tug at equipment or become uncomfortable. For a clip-on microphone, an adult should secure and supervise the device; avoid loose cords around active play. A boom microphone should be held by an adult and kept clear of faces, hands, and toys.
If you plan to upload a video featuring a child to YouTube, its guidance asks creators to get permission before uploading someone’s video and says minors’ participation should be voluntary, with parent or legal guardian consent. Rules and platform policies can vary by location and type of content, so check the rules that apply to your situation. Also review the frame and audio for names, school details, private conversations, or other information the child did not mean to share.
Final audio check
Can you understand the key words on a phone speaker at a comfortable volume?
Do the child’s words stay louder and clearer than the room noise?
Are there any clipped shouts, echo, fabric rub, handling thumps, or wind bursts?
Does the mic stay in a safe position when the child moves?
Is the child comfortable, and do you have the appropriate permission for your intended use?
If the answer to any audio question is no, change one factor and retest: move the mic closer, choose a softer room, lower the input, or record when competing sounds ease. Clear speech is a combination of good placement and a realistic review, not a guarantee that one device or filter will make every busy room sound quiet.