Home
» Home & Garden
»
How to Patch a Small Wall Hole So It Disappears After Painting
How to Patch a Small Wall Hole So It Disappears After Painting
For a small, shallow nail or screw hole in sound, painted drywall, the least visible repair comes from keeping the patch small, applying compound in thin coats, waiting until it is fully dry, sanding only the high spots, and sealing the patch before painting. The fill matters, but the finish usually gives away a repair: a dip, raised edge, dusty surface, different wall texture, or unprimed compound can catch light after the paint dries.
This four-stage method is for a pinhole or similarly small hole in interior drywall. If the opening is wide enough to expose a cavity, the drywall is soft or crumbling, the wall is damp, or the hole may have damaged a wire or pipe, stop and assess the cause first. A simple dab of spackle will not fix a larger or active problem.
Choose the right material and know when to stop
For a small, shallow hole, use a ready-to-use spackling or drywall patching compound labeled for that surface, plus a clean putty knife. Keep a fine sanding sponge or fine-grit abrasive, a compatible primer, matching wall paint, and a small brush or mini roller nearby. Read the product label for surface compatibility, coat thickness, drying conditions, sanding, and primer directions; products vary, so a fixed drying time cannot be promised for every room.
A deeper or wider opening may need a mesh patch, joint tape, or a cut-in drywall patch rather than a surface filler. If the wall is plaster, select a repair material intended for plaster. For textured walls, you will also need to reproduce the texture; a smooth skim coat can remain visible even if the paint color is close.
Before sanding or scraping in a U.S. home built before 1978, consider lead-based paint. The EPA warns that repair and painting work that disturbs lead paint can create hazardous dust and recommends lead-safe certified contractors for renovation, repair, and painting projects in pre-1978 homes. The rules and risks depend on the property and who is doing the work. Do not dry-sand old paint casually; review the EPA’s lead-safe renovation guidance for DIYers or hire a qualified lead-safe professional.
Step 1: Clean the hole without making it larger
Move nearby furniture and protect the floor. Look at the opening and the surrounding paint. If you see moisture, mold, loose drywall, a deep cavity, or signs that a fastener has struck a wire or plumbing, do not cover it up. A patch should close a cosmetic hole, not conceal a leak or damaged service.
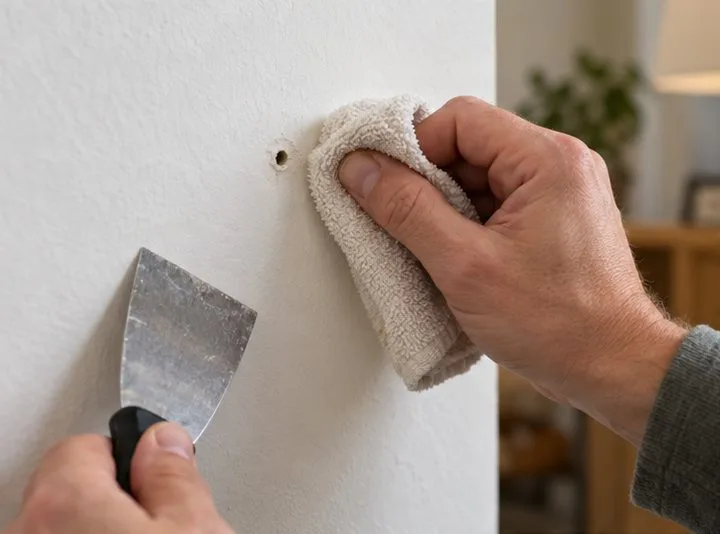
For a sound, dry wall, gently remove loose dust with a clean cloth or a soft brush. If the drywall paper around the hole is torn, remove only the material that is already loose; avoid peeling intact paper or enlarging the opening. The USG Sheetrock repair instructions begin by wiping the area clean before filling a small hole, and recommend removing loose face paper where it has torn. See the manufacturer’s patch-and-repair application tips.
A clean, dry surface helps patching compound bond around a small hole.
Step 2: Press in a thin layer of patching compound
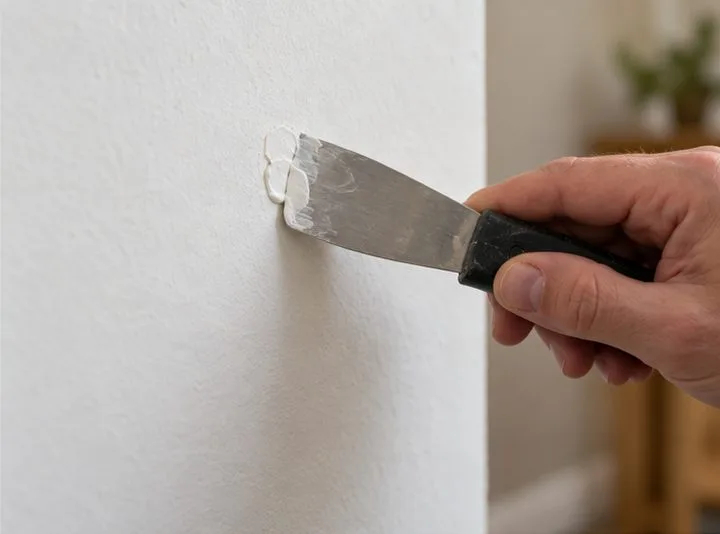
Load a small amount of compound onto the edge of the putty knife. Press it into the hole, then draw the knife across the surface to leave a thin, level layer. Feather the edges outward so there is no sharp ridge around the repair. For a tiny nail hole, the filled area should stay close to the original damage; spreading a broad mound makes it harder to sand and easier to spot later.
Do not try to fill a deep opening with one thick blob. Thick material can shrink, crack, or remain wet beneath a dry-looking surface. Let the first coat dry as the label directs. If it settles below the wall plane, add a second thin coat and let that dry too. Manufacturer instructions for small holes likewise call for filling with a knife, drying, adding another coat if needed, then sanding and priming.
If the hole is too large for the compound to bridge securely, switch to a repair method the product maker approves for that size, such as joint tape or a drywall patch. A patch that flexes or falls into the cavity will not become invisible just because more compound is spread over it.
Use the knife to fill the opening and leave a thin coat that can be feathered into the wall.
Step 3: Wait for full drying, then smooth gently
Wait until the compound is dry through, not merely dry on the surface. Temperature, humidity, coat thickness, and product formulation affect drying. Follow the container rather than sanding by the clock. If the compound still feels soft, looks darker than the surrounding dry material, or clogs the abrasive, give it more time.
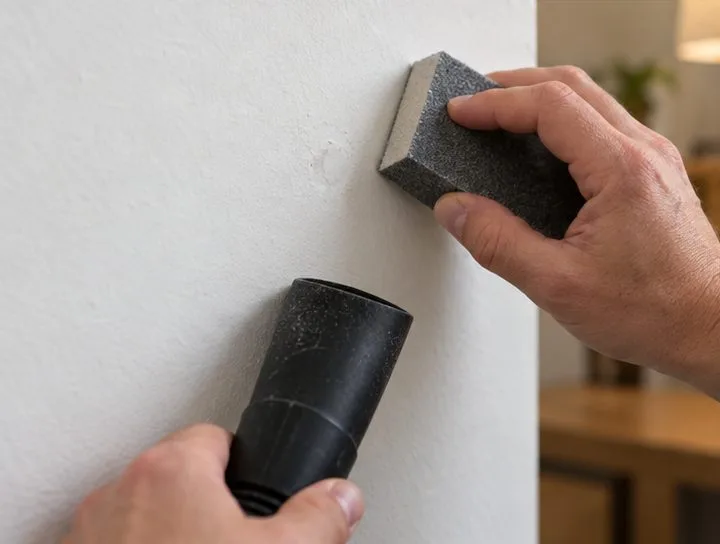
Use a fine sanding sponge or fine-grit paper with light pressure. Smooth the high edge and blend the perimeter; do not keep sanding once the patch is level. Heavy sanding can expose or fuzz the drywall paper, create a shallow dish, and spread dust over the room. Wipe or vacuum dust away before priming. If you are working in an older home where lead may be present, follow lead-safe containment and dust-control guidance instead of this ordinary light-sanding step.
Check the surface by looking across it from the side under ordinary room light. A raised rim creates a shadow; a depression can show as a small hollow. If either remains, add a thin coat and repeat the dry-and-smooth cycle. The goal is a transition that feels flush to a fingertip, not a large polished circle around the hole.
Light sanding removes the raised edge; stop once the repair feels flush rather than sanding a wide area.
Step 4: Prime, match the finish, and inspect after drying
Remove all sanding dust and apply primer if the patching product or paint system calls for it. Joint compound and drywall paper absorb paint differently from an already painted wall; the USG FAQ explains that differences in porosity and surface texture can make finished areas visible, especially under glossy paint. USG’s repair guidance says to prime dry, dust-free material before painting or texturing. Follow the instructions for the compound and primer you actually used.
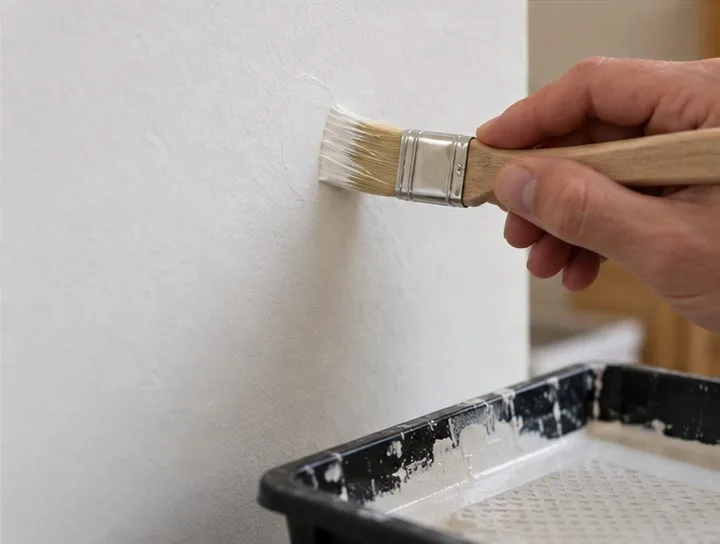
After the primer dries, apply the closest matching wall paint in the same sheen. “Same color” alone may not be enough: an old wall can have faded, accumulated grime, or been repainted, and eggshell, satin, and flat finishes reflect light differently. If you still have the original paint, stir it thoroughly and test a small area. Use the same applicator type where possible because a brush and roller can leave different surface textures.
Let the paint dry before judging the result. Inspect it in daylight and with the room lights on; wet paint can look different from dry paint. If a small touch-up leaves a visible halo, a thin coat across the wall section from corner to corner may blend better than repeatedly adding paint only to the patch. Sherwin-Williams advises that bare or patched areas need appropriate preparation and notes that spot priming can produce a nonuniform appearance between primed and unprimed areas. Its surface-preparation guidance also says patching material should dry, be sanded smooth, and have dust removed before priming.
Paint the primed patch with a matching finish, then wait for it to dry before checking for a halo.
What makes a small patch remain visible?
Visible problem
Common repair issue
Practical correction
A raised circle or shadow
Too much compound or an unfeathered edge
Sand lightly or apply a thin skim coat, dry, and smooth again.
A small crater after painting
Compound shrank or the first coat did not fill the depth
Apply another thin coat, allow full drying, and repeat the finish steps.
A dull or shiny patch
Different absorption, sheen, paint age, or applicator texture
Prime as directed and test matching paint; repaint a larger wall section if needed.
A repair that cracks or loosens
Opening too large, unstable edges, or underlying movement/moisture
Stop treating it as a cosmetic pinhole and use an appropriate patch or address the cause.
How to tell whether the repair is finished
When the repair is dry, the wall should feel level to a light touch, show no open pinhole or raised rim, and have a surface texture that is reasonably close to the surrounding area. The paint should not have a conspicuous color or sheen ring under normal lighting. A perfect invisible touch-up cannot be guaranteed: wall texture, old paint, lighting direction, and finish sheen can all affect what the eye sees. If the repair remains visible after one careful paint coat, repainting the wall plane or getting help to match a textured finish may give a better result than piling on more filler.
For a tiny, dry hole in intact drywall, thin coats and patient finishing are usually the simplest route. For soft, damp, crumbling, textured, plaster, or larger damage, choose a method designed for that condition before covering the opening. Source guidance checked September 30, 2026; product labels and local lead-safety requirements take precedence over general steps.