Home
» Babies
»
How to Clean Baby Feeding Equipment While Traveling Without a Dishwasher
How to Clean Baby Feeding Equipment While Traveling Without a Dishwasher
Travel can turn a simple bottle wash into a small logistics problem: the hotel has a sink but no dishwasher, the next feeding is coming soon, and you do not want clean parts touching a questionable countertop. The good news is that a dishwasher is not required. The CDC's current guidance supports careful hand-washing with safe water, soap, a dedicated basin, and a brush used only for infant feeding items. The most important details are keeping parts out of the sink itself, cleaning after use, rinsing with fresh water, and allowing everything to air-dry completely.
A travel scenario: a weekend hotel stay (illustrative example)
Imagine an illustrative example: Maya is traveling for three nights with her 6-month-old baby. The room has a small sink, no kitchenette dishwasher, and limited counter space. She packed four bottles, nipples, rings, caps, a collapsible basin, a compact bottle brush, dish soap, paper towels, and a clean storage bag. Her goal is not to create a sterile hotel room. It is to build a repeatable clean-to-dry workflow that keeps used items separated from clean ones.
This scenario is only an example, not a report of a real family or a test result. The same workflow can be adapted to a rental apartment, relative's home, campground with safe running water, or another place where a dishwasher is unavailable.
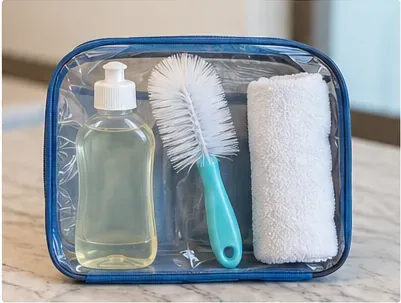
A small, dedicated cleaning kit makes it easier to keep bottle-washing supplies separate from general travel items.
What to pack before you leave
A compact cleaning kit prevents you from improvising with a hotel sink sponge or a damp kitchen towel. Useful items include:
A clean wash basin or food-safe container used only for feeding equipment.
A dedicated bottle brush and, if your system has tiny valves or crevices, the manufacturer's recommended small-part brush.
Dish soap in a leakproof travel container.
Clean paper towels or an unused clean cloth to create an air-drying surface. Do not use the cloth to rub parts dry.
Clean tongs if you expect to sanitize by boiling.
A clean, protected container or bag for completely dry items.
How to clean feeding equipment without a dishwasher
1. Wash your hands first
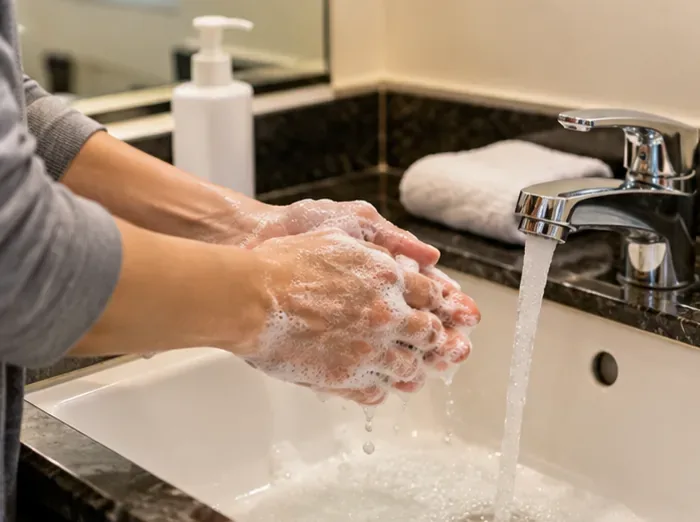
Wash your hands with soap and water for 20 seconds before handling the equipment. On a travel day, that means doing this after handling luggage, door handles, phones, transit tickets, or diapering supplies and before you begin the bottle-cleaning process.
Start with clean hands before touching bottles, nipples, caps, valves, or other feeding parts.
2. Take every bottle apart
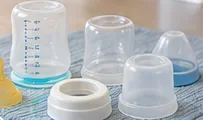
Separate the bottle, nipple, ring, cap, valve, membrane, and any other removable piece. Milk residue can remain where parts meet, so washing an assembled bottle is not equivalent to cleaning all surfaces. Check the feeding product's instructions because some valves and anti-colic assemblies have extra pieces or specific cleaning limits.
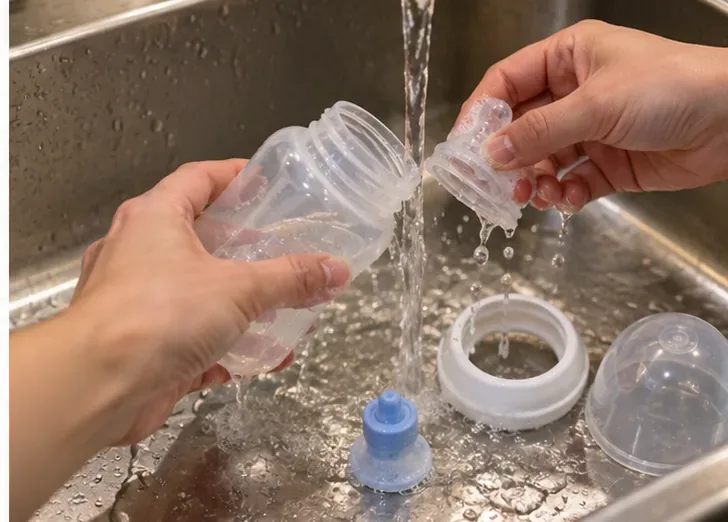
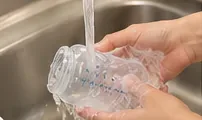
Rinse the disassembled parts under running water. CDC says the rinse water can be warm or cold. Do not set the parts in the sink, which can contain germs from hands, food, or previous use.
Take bottles fully apart and rinse each piece under running water; do not leave parts sitting in the sink.
3. Make a dedicated wash zone
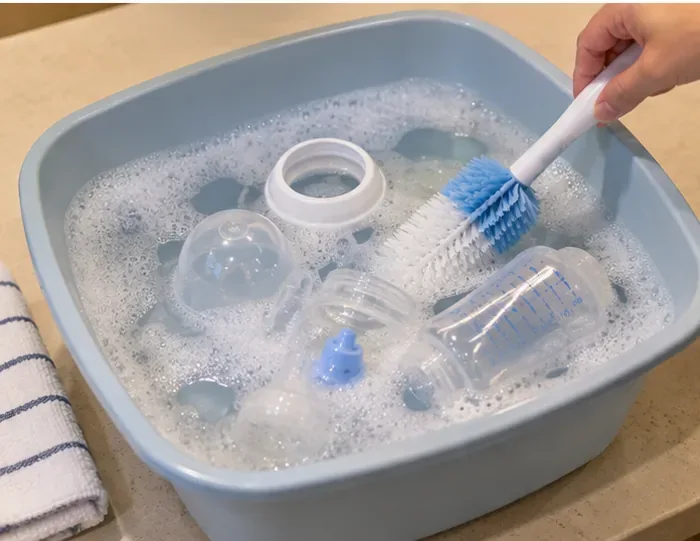
Place the feeding parts in your clean basin, not directly in the hotel or rental sink. Add hot water and dish soap. Keeping the basin dedicated to feeding equipment creates a clear boundary between the baby's items and the sink surface.
In Maya's example, the collapsible basin sits on one side of the counter, while used bottles wait in a separate bag until she has time to wash them. Clean and dirty items never share the same container.
Wash feeding items in a clean basin used only for feeding equipment rather than directly in the sink.
4. Scrub every surface and opening
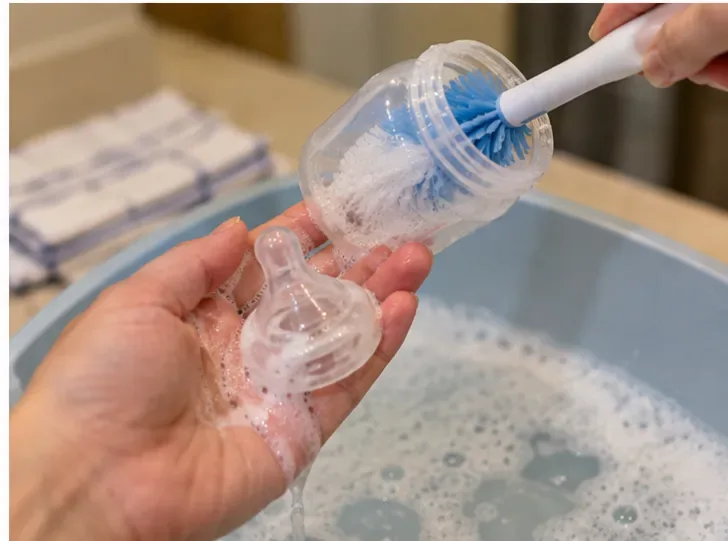
Use a clean brush that is reserved for infant feeding equipment. Scrub the inside and outside of bottles and all detachable pieces. For bottle nipples, squeeze soapy water through the nipple opening so the narrow passage is cleaned as well.
Scrub bottle interiors and small parts with a brush reserved for infant feeding items, and push soapy water through nipple holes.
5. Rinse with clean, fresh water
Rinse each washed item under running water, or immerse it completely in fresh water held in a separate clean basin used only for cleaning feeding items. The point is to remove soap without putting a freshly cleaned part back onto a contaminated sink surface.
If you are traveling somewhere the tap water may not be safe, do not guess. Follow local public-health advice and use safe water for cleaning. CDC notes that bottled water is generally the safest choice during emergencies when water safety is uncertain. For travel water treatment, CDC says boiling is the best way to kill disease-causing organisms: bring water to a full rolling boil for 1 minute, or 3 minutes above 6,500 feet, then let it cool before use. See CDC Travelers' Health guidance on avoiding contaminated water.
After washing, rinse away soap with clean running water or fresh water in a separate clean basin.
6. Air-dry completely
Place parts on a clean, unused dish towel or paper towel in an area protected from dirt and dust, then let them air-dry thoroughly. Do not rub or pat them dry with a dish towel; CDC warns that towel-drying can transfer germs back to clean equipment.
Drying matters because storing damp bottle parts creates a moist environment where germs or mold can grow. Wait until every groove and small part is dry before reassembling and putting it into a clean container.
Let all parts air-dry completely in a protected area; avoid rubbing them dry with a dish towel.
7. Clean the basin and brush, too
The cleaning tools are part of the system. Rinse the basin and bottle brush well after use and let both air-dry. CDC advises washing them every few days for most families. If the baby is younger than 2 months, was born prematurely, or has a weakened immune system, CDC advises washing the basin and brush after every use.
On a multi-day trip, allowing the brush to dry between washes is better than sealing it wet inside a toiletry bag. Keep it separate from toilet-cleaning, dishwashing, and general housekeeping tools.
8. Sanitize when it is indicated
Cleaning removes milk residue and most germs; sanitizing is an extra germ-reduction step done after cleaning. CDC recommends daily sanitizing particularly when a baby is younger than 2 months, was born prematurely, or has a weakened immune system. For older, healthy babies, daily sanitizing may not be necessary when items are carefully cleaned after every use.
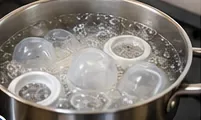
If the manufacturer says the parts can be boiled, put the disassembled items in a pot, cover them with water, bring the water to a boil, and boil for 5 minutes. Remove them with clean tongs and let them air-dry. Steam systems are another option when you can follow the device manufacturer's directions. CDC also provides a bleach method when boiling, steaming, or a sanitizing dishwasher is not available: use 2 teaspoons of unscented bleach per gallon (16 cups) of water, keep items fully submerged for at least 2 minutes, then remove them with clean hands or tongs and allow them to air-dry without rinsing. Always confirm that your feeding equipment is compatible with the chosen sanitizing method.
When sanitizing is needed and the manufacturer permits boiling, fully submerge disassembled parts and boil for 5 minutes.
What if there is no safe water or suitable washing area?
A lack of safe water changes the plan. During an emergency, CDC advises using disposable feeding supplies when safe water and soap are not available for cleaning. Water contaminated with chemicals, toxins, or radioactive material cannot be made safe simply by boiling or adding bleach. In those circumstances, follow local public-health instructions rather than trying to improvise a home treatment.
Travelers should also separate bottle cleaning from diapering. A bathroom vanity may be the only counter available, but clean feeding items should be kept away from the toilet and diaper-changing area. If the sink area is visibly dirty, clean the surrounding work surface first while keeping the dedicated basin itself reserved for feeding equipment.
Common travel shortcuts that are not equivalent to proper cleaning
Rinsing and refilling a used bottle: a rinse alone does not replace washing with soap and scrubbing.
Washing directly in the sink: CDC specifically recommends a clean basin or container used only for feeding items.
Drying with the hotel hand towel: rubbing clean parts can reintroduce germs; air-drying is preferred.
Sealing damp parts in a bag: wait until items are fully dry before protected storage.
Using a shared kitchen sponge: use a dedicated bottle brush rather than an unknown sponge that may have been used on food or other dishes.
Sanitizing dirty items: clean first. Sanitizing does not replace removal of milk residue.
A simple routine for the illustrative weekend trip
Back to Maya's example: after each feeding, she separates the bottle parts and keeps them in a designated dirty-items bag until she can wash them. At the hotel, she washes her hands, rinses the pieces, washes them in the dedicated basin with hot soapy water and the bottle brush, rinses them with fresh water, and leaves them to air-dry on a clean paper-towel surface. Once completely dry, they go into a clean lidded container. Because her baby is 6 months old and healthy in this hypothetical scenario, she follows careful cleaning after each use and checks with her pediatrician or product instructions if she has any reason to use a more intensive sanitizing routine.
The practical lesson is that travel cleaning is mostly about controlling contact points: clean hands, safe water, a dedicated basin, a dedicated brush, thorough rinsing, full air-drying, and protected storage. That routine is portable even when the kitchen facilities are not.