Home
» Babies
»
Baby’s First Halloween: Comfortable Costumes and Short Photo Sessions
Baby’s First Halloween: Comfortable Costumes and Short Photo Sessions
The easiest way to make a baby’s first Halloween comfortable is to keep the costume simple, keep the baby awake and supported for photos, and stop when the baby needs a break. A soft, well-fitting outfit over familiar clothes can feel festive without a bulky headpiece or a long photo setup. There is no evidence-based number of minutes that every baby should tolerate a photo session; plan for a few quick pictures, then let the baby’s comfort decide whether to continue.
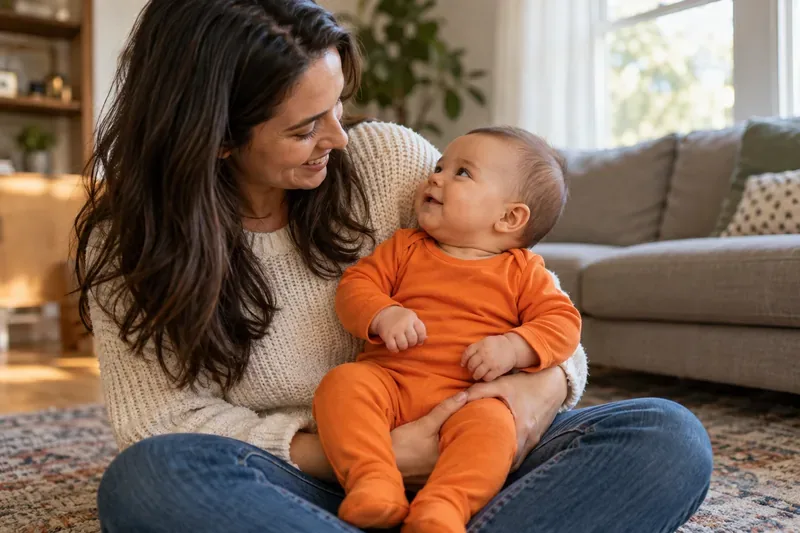
A simple orange outfit and a parent’s arms can make a festive portrait without a complicated costume or prop setup.
For example, if your baby is alert after a nap and has recently been fed, you might dress them in a soft orange one-piece, sit near a window, and take a few pictures while holding them. If they start fussing, look away, or seem tired, pause for a cuddle or end the session. The point is a comfortable moment together, not getting a particular pose.
Choose a costume that lets your baby move and stay comfortable
For an infant, a costume does not need to be elaborate. A comfortable base layer in a Halloween color, a printed sleeper, or a simple one-piece can be enough. Before you dress your baby, check that the outfit is the right size, does not restrict the legs or arms, and has no rough seam, tight elastic, or scratchy material near the face or neck. If you are choosing a store-bought costume, read the label and follow its age and care information.
Skip details that can come loose or get in the way. Avoid long ribbons or cords around the neck, dangling pieces, small detachable decorations, sharp accessories, and anything that covers the nose or mouth. Babies explore with their mouths, and loose parts can create a choking risk. A mask is also unnecessary for a baby: keep the face uncovered so you can see and respond to the baby easily.
The U.S. Consumer Product Safety Commission (CPSC) advises choosing costumes that fit well and looking for flame-resistant labeling. Keep any costume away from candles, jack-o’-lantern flames, fireplaces, and other open flames. If the outfit’s label is missing or unclear, do not assume a fabric is flame resistant based on how it looks or feels; choose a simpler alternative and keep the baby away from flame sources.
Dress for the room and the weather
A baby can become too warm under several costume layers, especially indoors or under bright lights. The American Academy of Pediatrics (AAP) suggests dressing babies in no more than one extra layer than an adult would wear in the same setting. Treat that as a starting point, not a substitute for checking your individual baby. Watch for sweating, a hot chest, or flushed skin; remove a layer and move to a cooler spot if you notice them.
For an indoor photo, a breathable sleeper or soft outfit may be all you need. If you will be outdoors in cold weather, use practical layers that can be taken off once you come inside. Avoid bulky coats or padded costumes beneath the car-seat harness. NHTSA advises buckling the child into the seat in lighter clothing, tightening the harness correctly, and placing a blanket or coat over the harness for warmth. Check your car-seat manual for model-specific instructions.
Hats and hoods can be cute for a quick supervised picture, but take them off if they slide toward the face, make the baby hot, or upset them. The AAP advises skipping indoor hats once a baby is home from the hospital, except in special newborn or neonatal-care circumstances. If your baby was born prematurely or has individual temperature or skin-care instructions from a clinician, follow that advice instead of a general costume tip.
Make the photo session short by preparing first
Get the camera or phone ready before changing the baby. Choose one safe spot, check the light, and decide on a single simple background. A parent’s lap or arms provide support and keep the baby close; a clean floor mat can work for an awake baby when an adult stays within arm’s reach. Do not place a baby on a table, counter, bed edge, or other raised surface for a photograph, even if someone is standing nearby.
Keep the setup uncluttered. You do not need candy, small pumpkins, strings of lights, artificial cobwebs, or loose accessories in the baby’s reach. If you use a decoration in the background, place it well out of reach and away from the baby’s face. Never leave the baby alone to adjust a prop or retrieve a phone. A second adult can hold the baby while another person takes the picture, but the baby should remain supported throughout.
A low-pressure plan
Choose a time when your baby is usually calm and awake, rather than scheduling around a fixed “perfect” shot.
Feed, burp, or change the baby first if those needs are due; keep the usual routine flexible.
Put on the simplest comfortable outfit last, so the baby spends less time dressed up.
Take a few pictures from one position before changing anything.
Pause as soon as the baby fusses or seems tired, hungry, too warm, or uncomfortable. Resume only if the baby settles and you want to.
There is no required photo count or session length. A practical limit might be one short round of pictures, followed by a break. If the baby is content, you can take another picture later; if not, a photo of the outfit laid out or a family picture without the costume can still mark the occasion.
Follow the baby’s cues, not the camera plan
Babies communicate through sounds and movements before they can explain what they need. Fussing, turning the face away, rooting, yawning, or becoming harder to settle can be reasons to pause and check for hunger, tiredness, temperature, or a diaper. One cue by itself does not tell you exactly what is wrong, so respond to the whole situation. Pick the baby up, remove a layer or accessory if needed, and return to the ordinary routine.
If crying intensifies or the baby does not settle, end the pictures. You do not have to soothe the baby while keeping the camera ready, and you do not need to try again that day. If your baby has a medical condition, is very young, or you have questions about clothing, skin reactions, or temperature, ask your pediatrician for advice specific to your child.
When the photo is over, reset for sleep safely
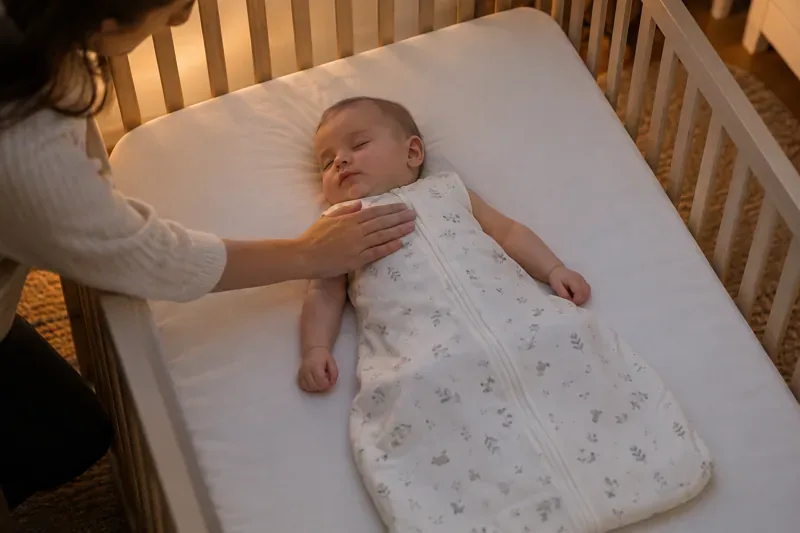
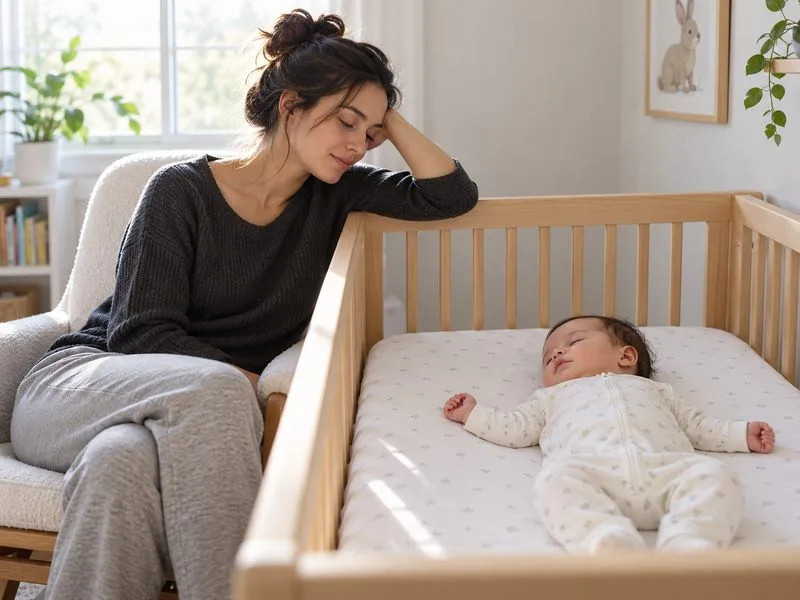
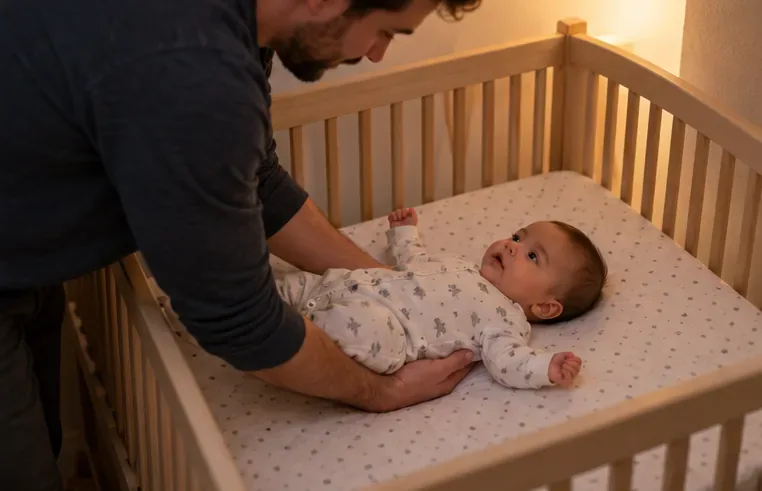
A costume photo is an awake-time activity. If the baby falls asleep, change them out of any costume pieces or accessories that are not suitable for sleep, then place them in their regular safe sleep space: on their back, on a firm, flat surface, with the sleep area free of loose blankets, pillows, toys, and other soft objects. Do not leave the baby asleep on a photo prop, couch, adult bed, or in a car seat after the trip has ended. The AAP’s safe-sleep guidance applies on holidays too.
If you travel to a photo location by car, remember that the car-seat harness needs to fit snugly. Bulky costume padding beneath the straps can make the fit looser than it appears. Put the baby in a thin layer for the ride, secure the harness according to the seat instructions, and add warmth over the harness if necessary.
Quick check before you take the picture
Can the baby move freely, breathe easily, and keep the face uncovered?
Are there any loose parts, neck cords, scratchy edges, or small decorations to remove?
Does the baby seem comfortable for the room or outdoor temperature?
Is the baby awake and supported, with no raised or soft prop surface?
Is the camera ready so you can keep the session brief?
Will you stop if the baby fusses, seems tired, or gets too warm?
Do you know where the baby will sleep safely after the pictures?
A baby’s first Halloween can be special without a full costume or a long shoot. A familiar, comfortable outfit, a supported awake baby, a few quick pictures, and an early pause when needed are enough. The photo should fit around your baby’s comfort and routine—not the other way around.